Who doesn’t love the summer? The days we spend lounging by the beach, basking in the warm sunlight, diving into the refreshing blue of the pool, savoring the mouthwatering barbecues, and marveling at the vibrant fireworks lighting up the night sky. Summer days are full of rich colors and intense contrasts that, like our memories, become deeply etched in our minds.
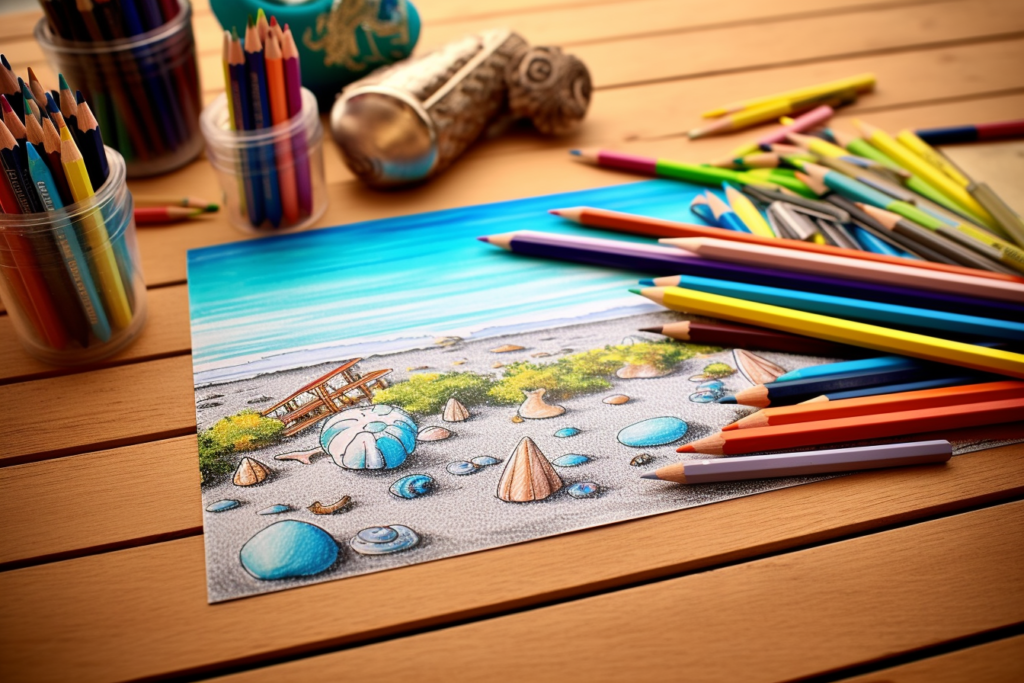
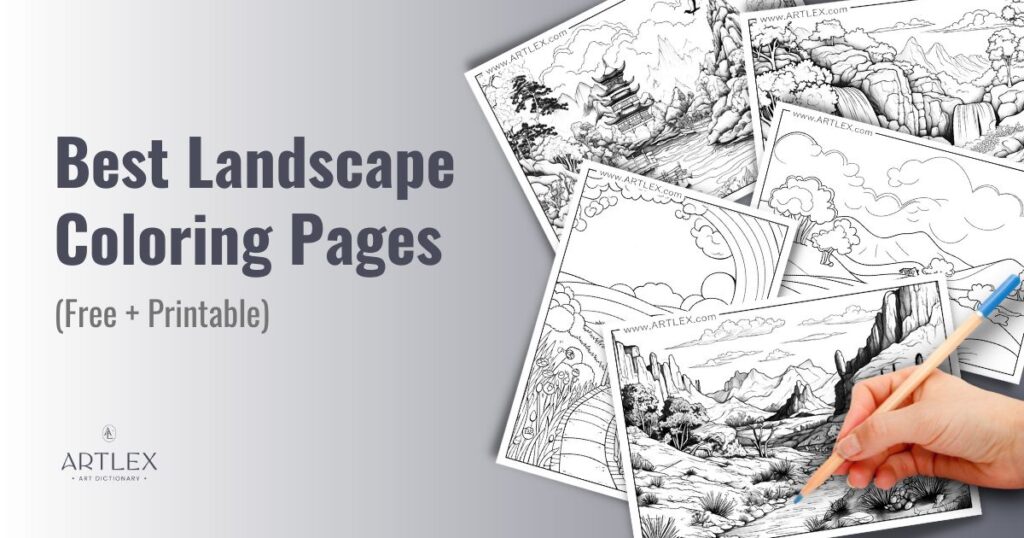
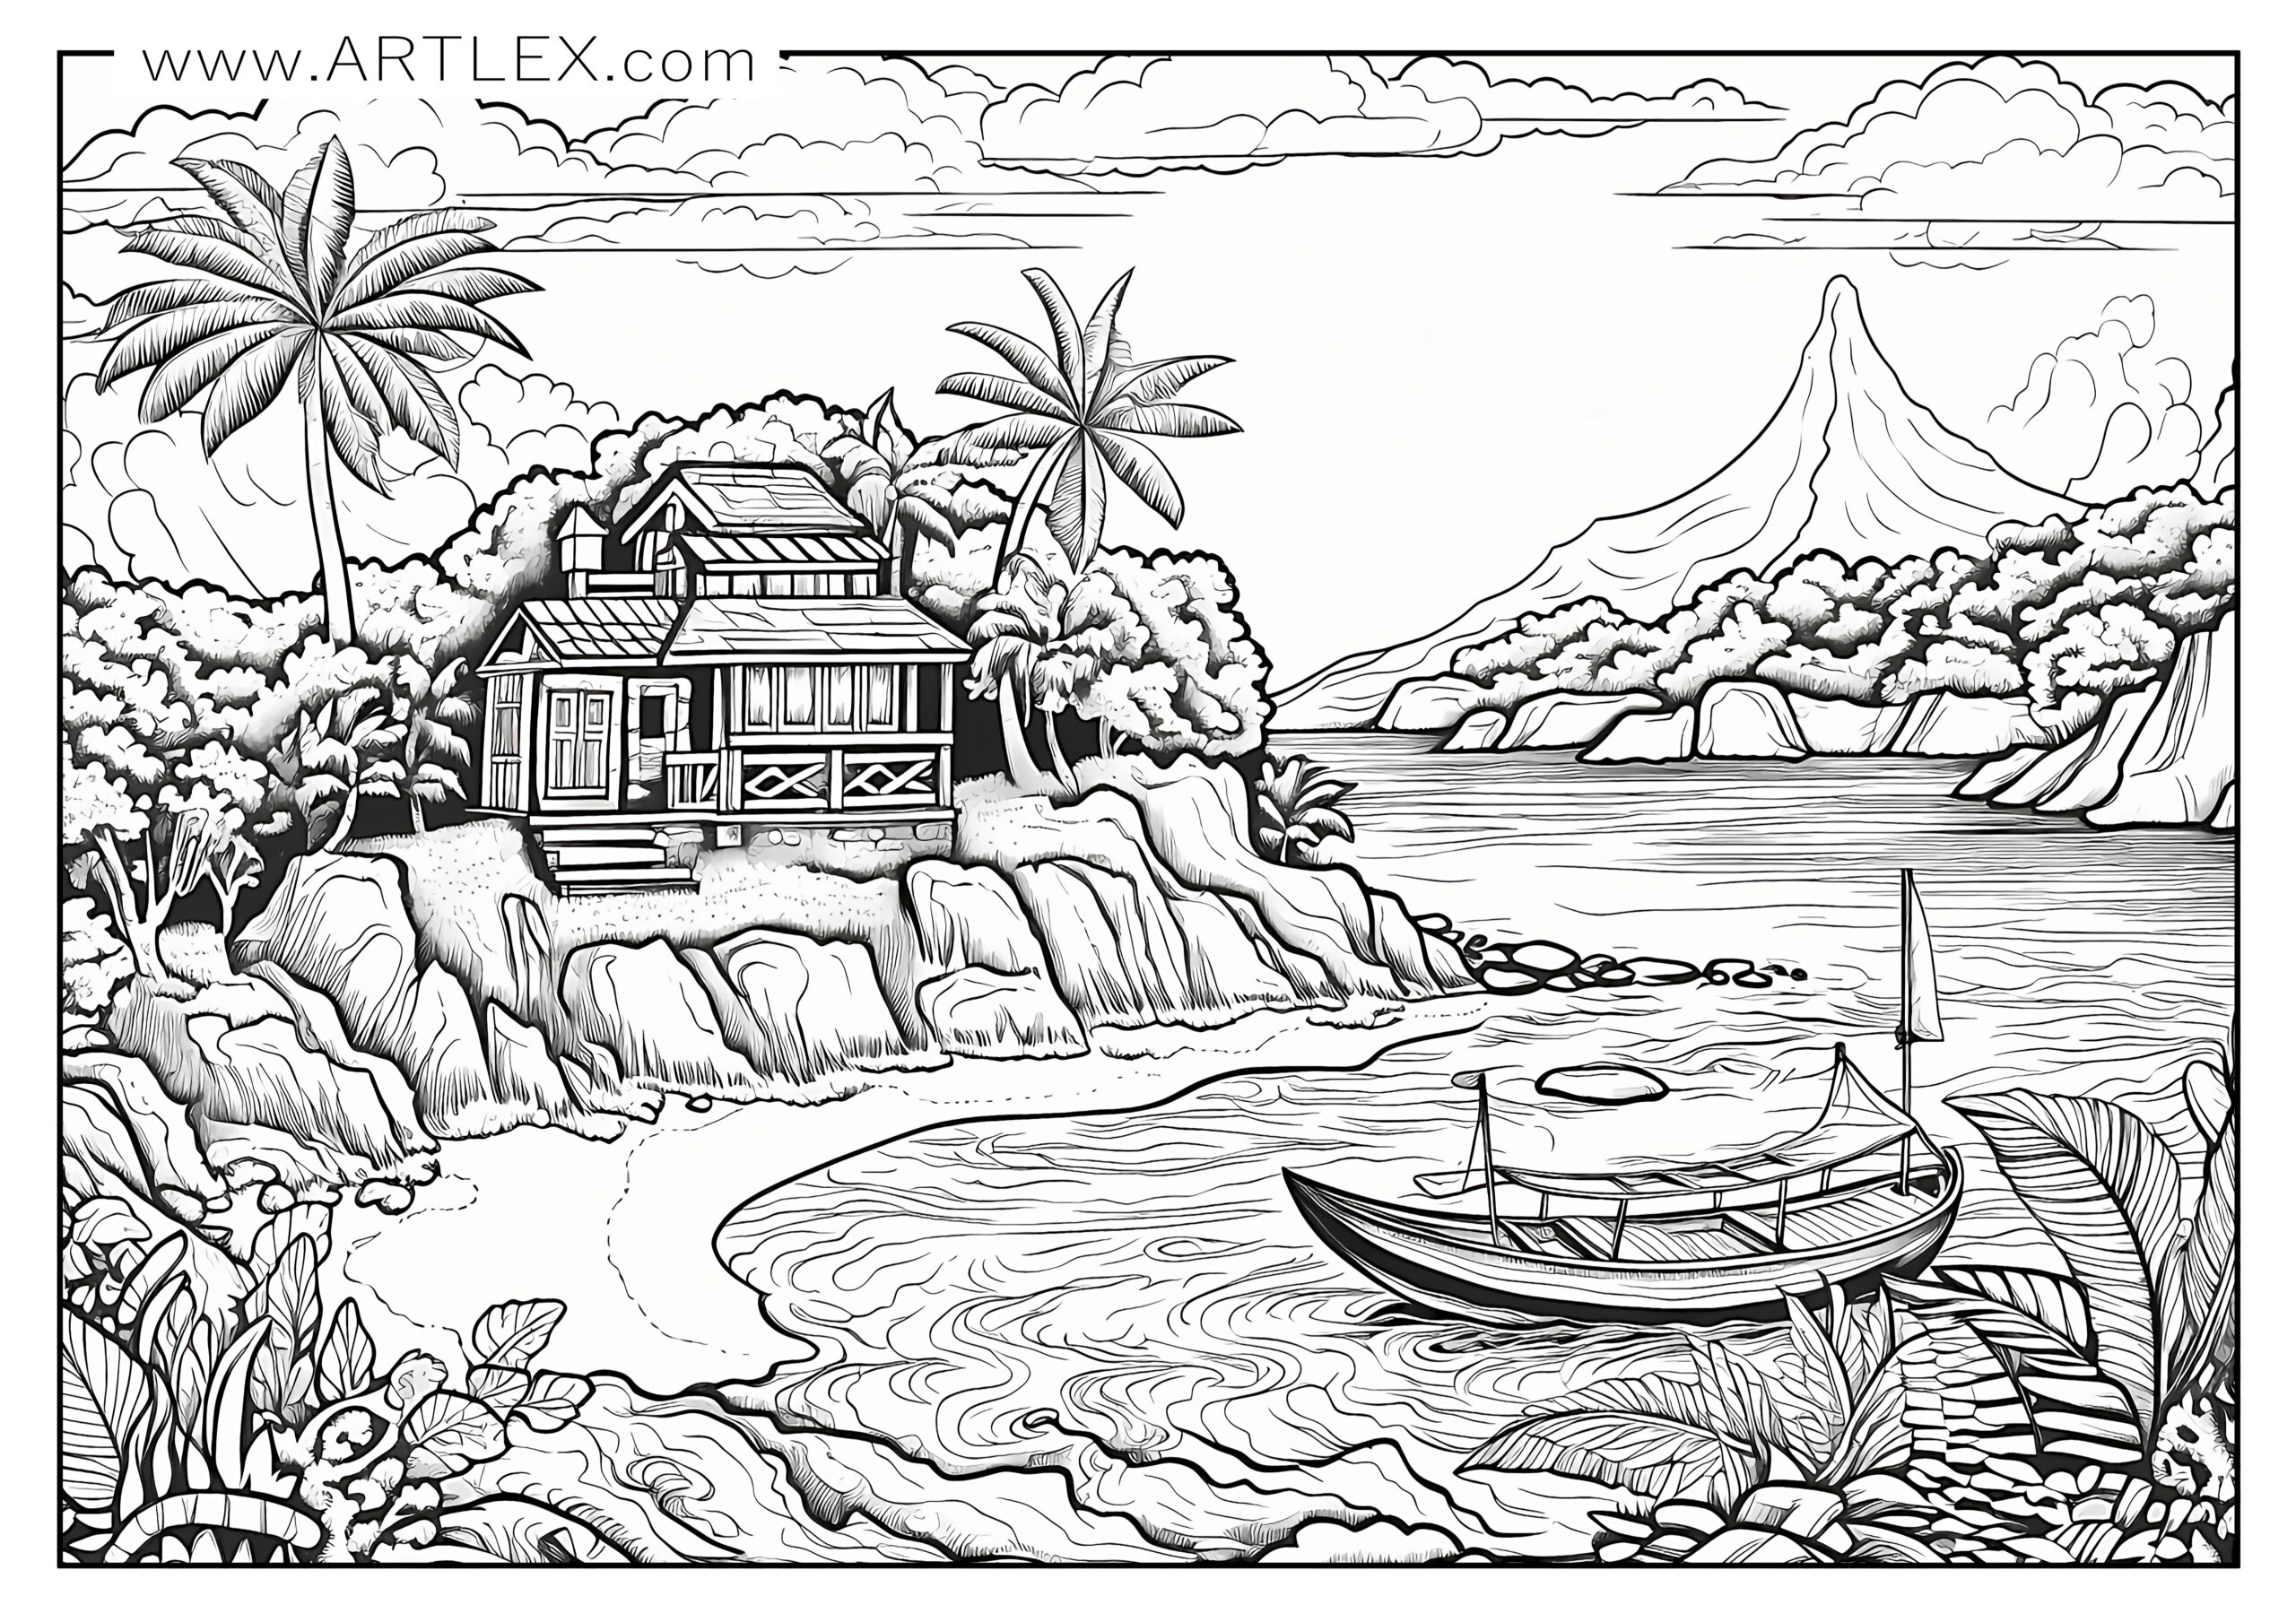
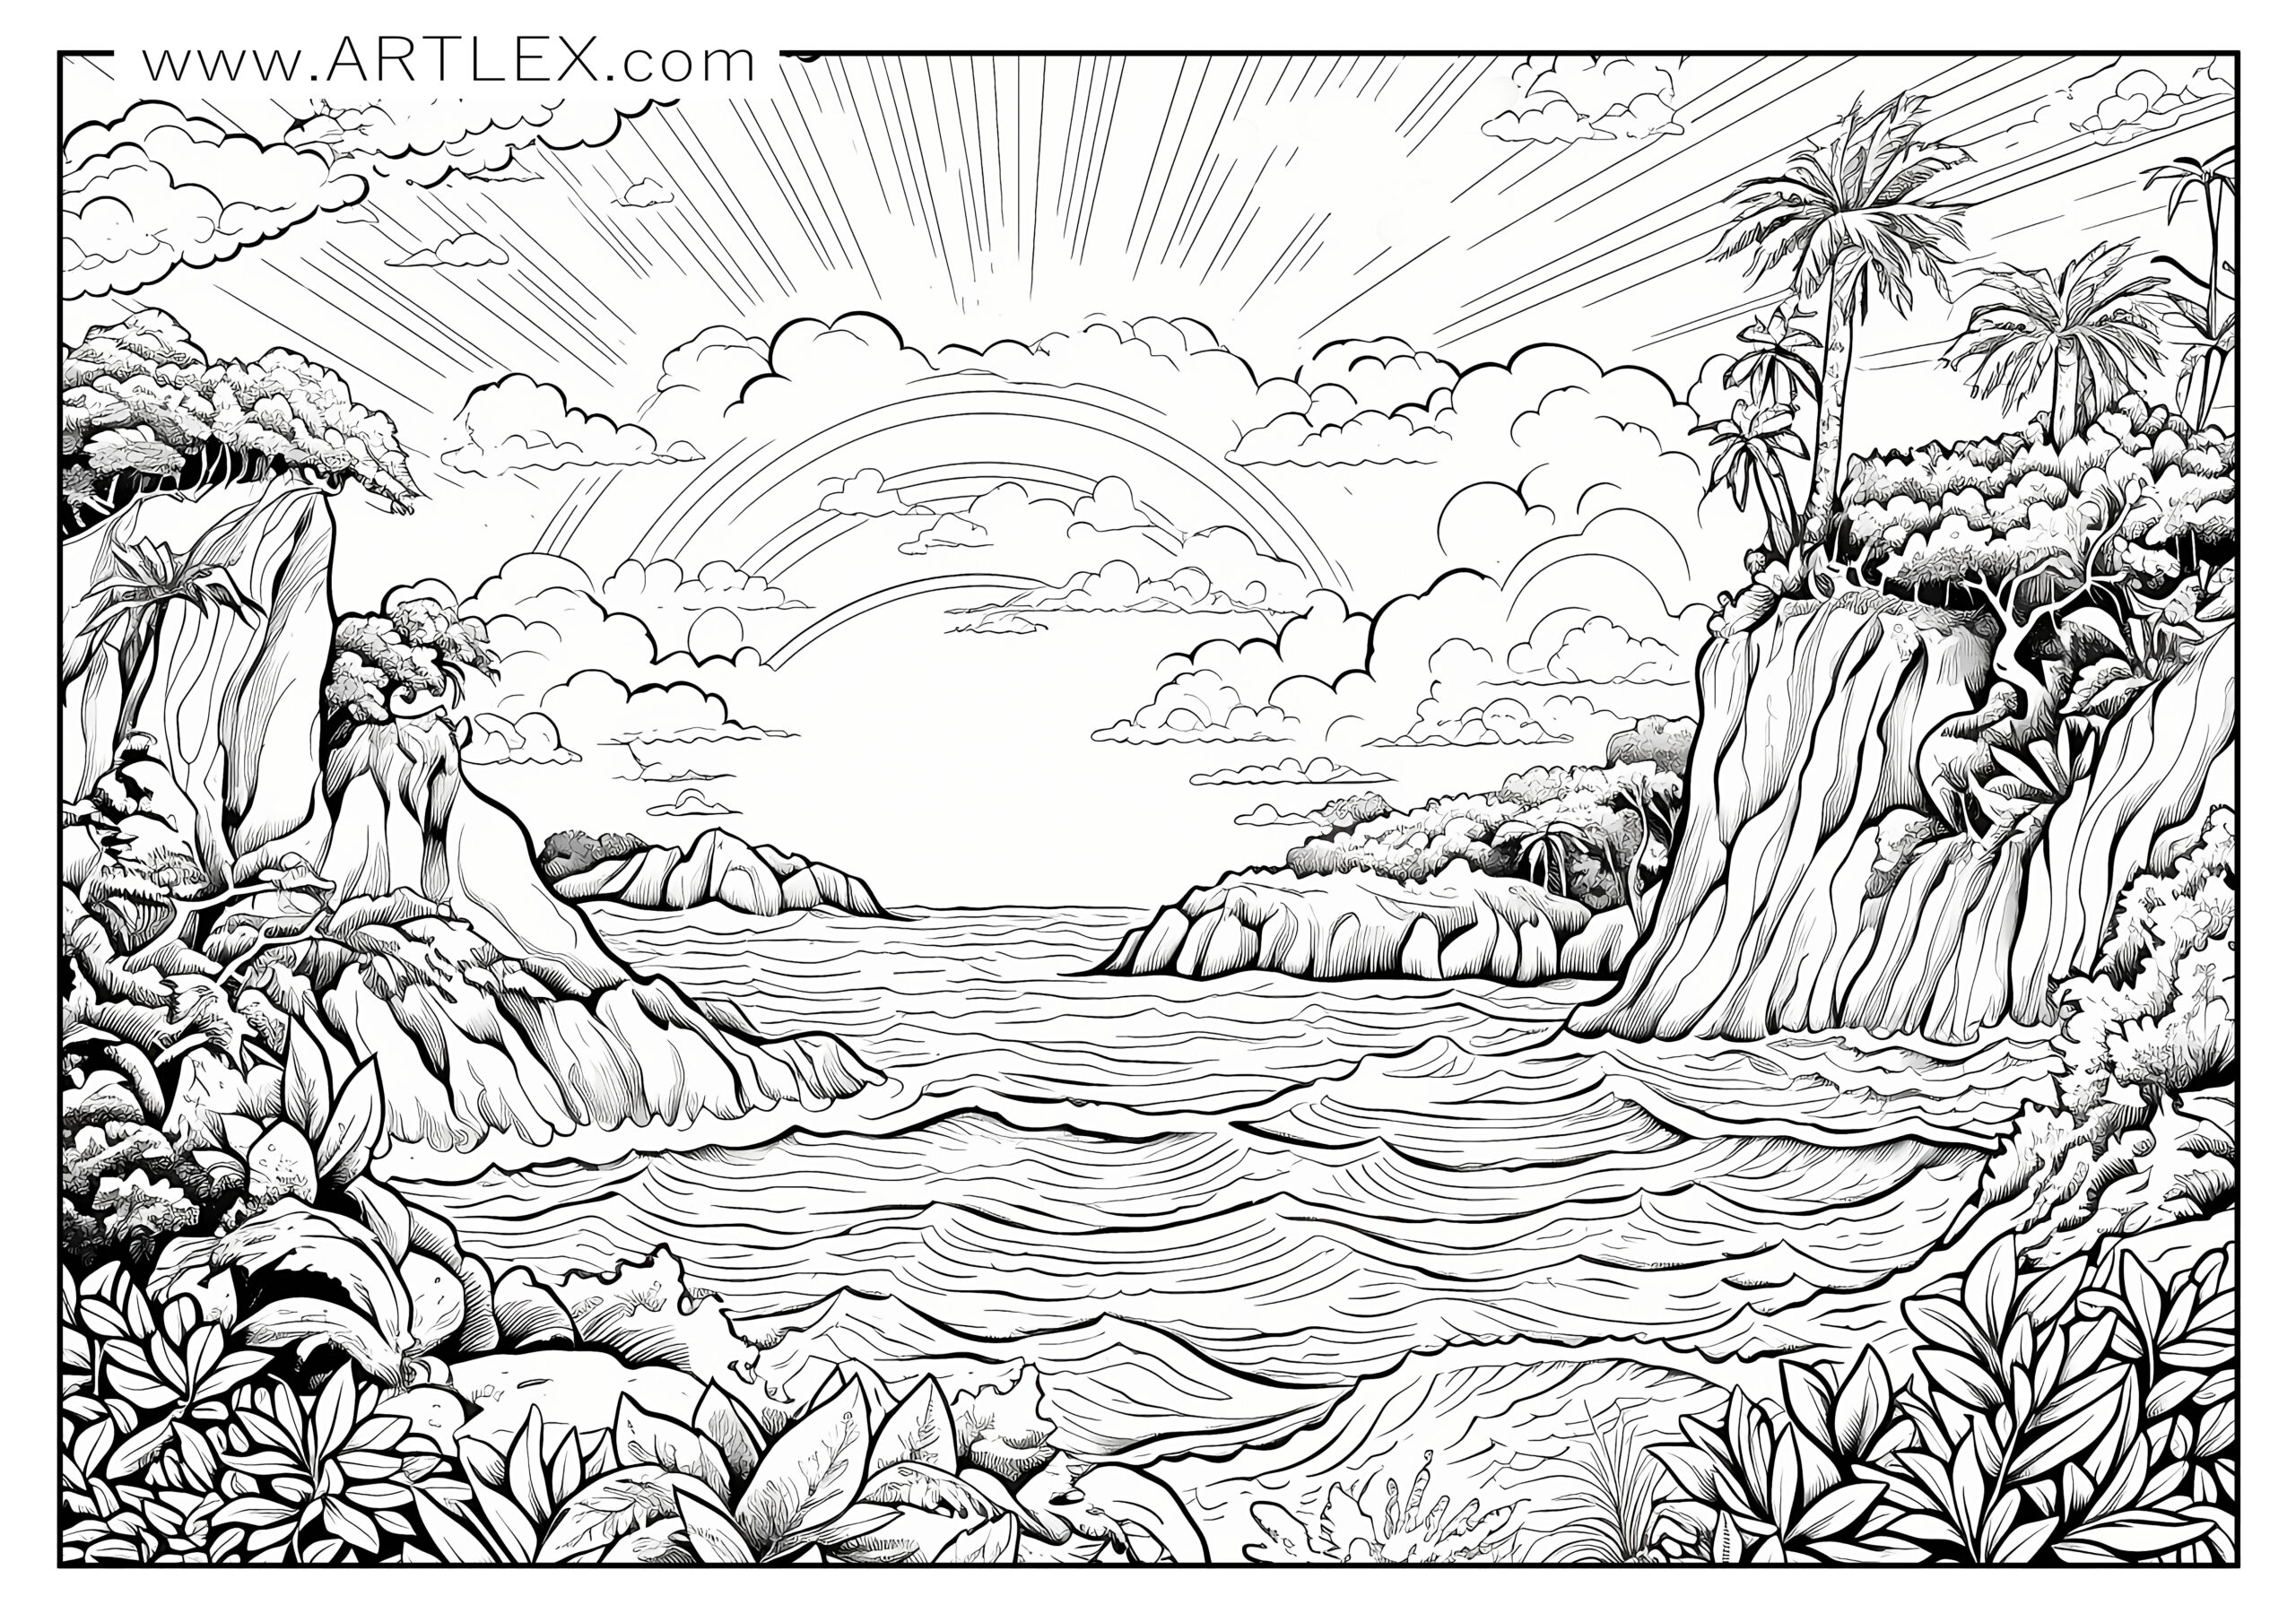
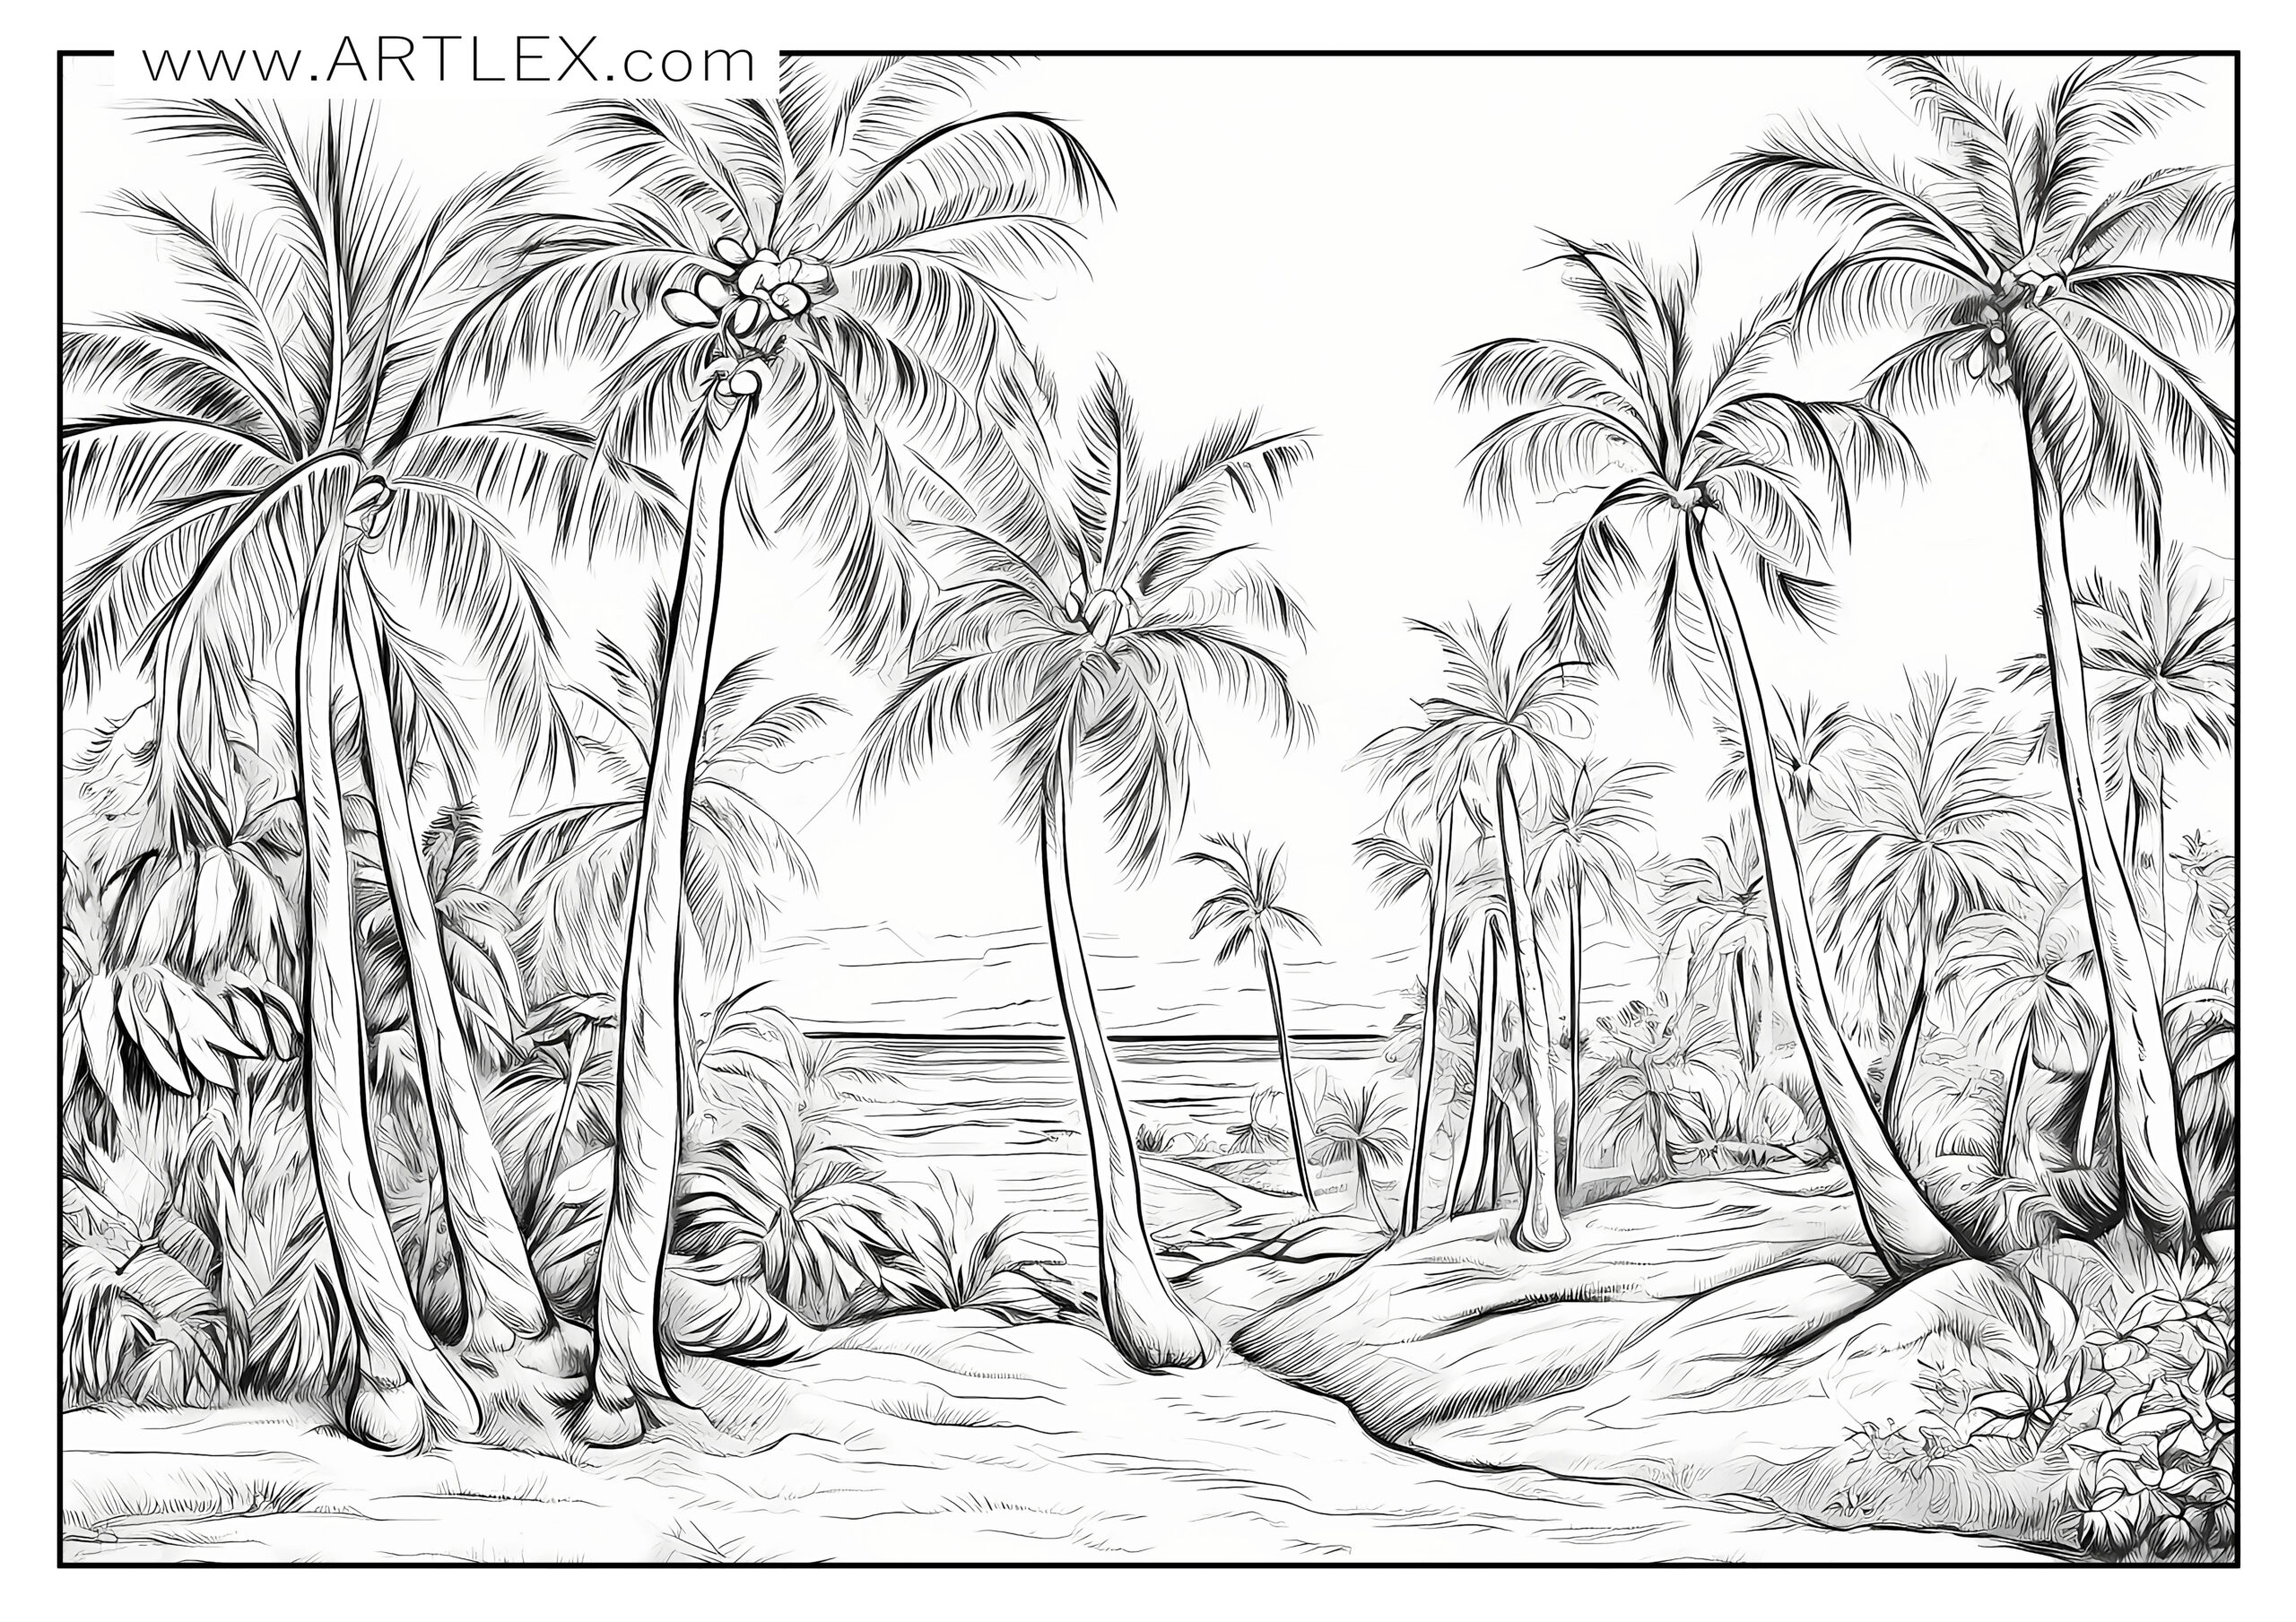
In this article, we will delve into the enchanting world of summer coloring pages, a way to capture the essence of this beloved season. Whether it’s an aquamarine sea dotted with colorful beach umbrellas, a lush green garden in full bloom, or a serene sunset casting golden hues over a peaceful landscape, coloring can take us back to these treasured moments.
So let’s grab our colored pencils, and embark on a sun-drenched journey through summer’s most iconic scenes. Prepare to be inspired, relax, and perhaps even feel the summer warmth on your skin as you fill these pages with color.
Recommendations
Now, let’s talk about some tips for a stress-free coloring experience.
- Before you get started, make sure to choose a well-lit and comfortable space to work in. It’s also important to select appropriate coloring pages and supplies, including the right coloring tools and paper.
- Since our coloring pages are very high quality, you’ll be able to print them on any surface your printer supports. You can use thicker paper as well as cardstock or even watercolor paper. If you’re feeling adventurous, you can also print on paper that supports gouache or acrylic paint.
- We don’t advise you to paint with wet mediums (watercolors, gouache, inks) if you’re printing with an inkjet printer since the inks are dye-based and not resistant to water; on the other side, if you have a laser printer, then you’ll have nothing to worry about.
Take your time and remember to relax and have fun while you color – this is supposed to be a fun and therapeutic activity, so don’t stress and enjoy!
Now, let’s talk colors!
Summer scenes are usually bright and full of light, so be generous with your use of high-saturation and high-brightness colors. However, balance them out with deeper and cooler tones, especially for shadows or night scenes. Here are some tips on how to color those moments of the summer we love and enojy:
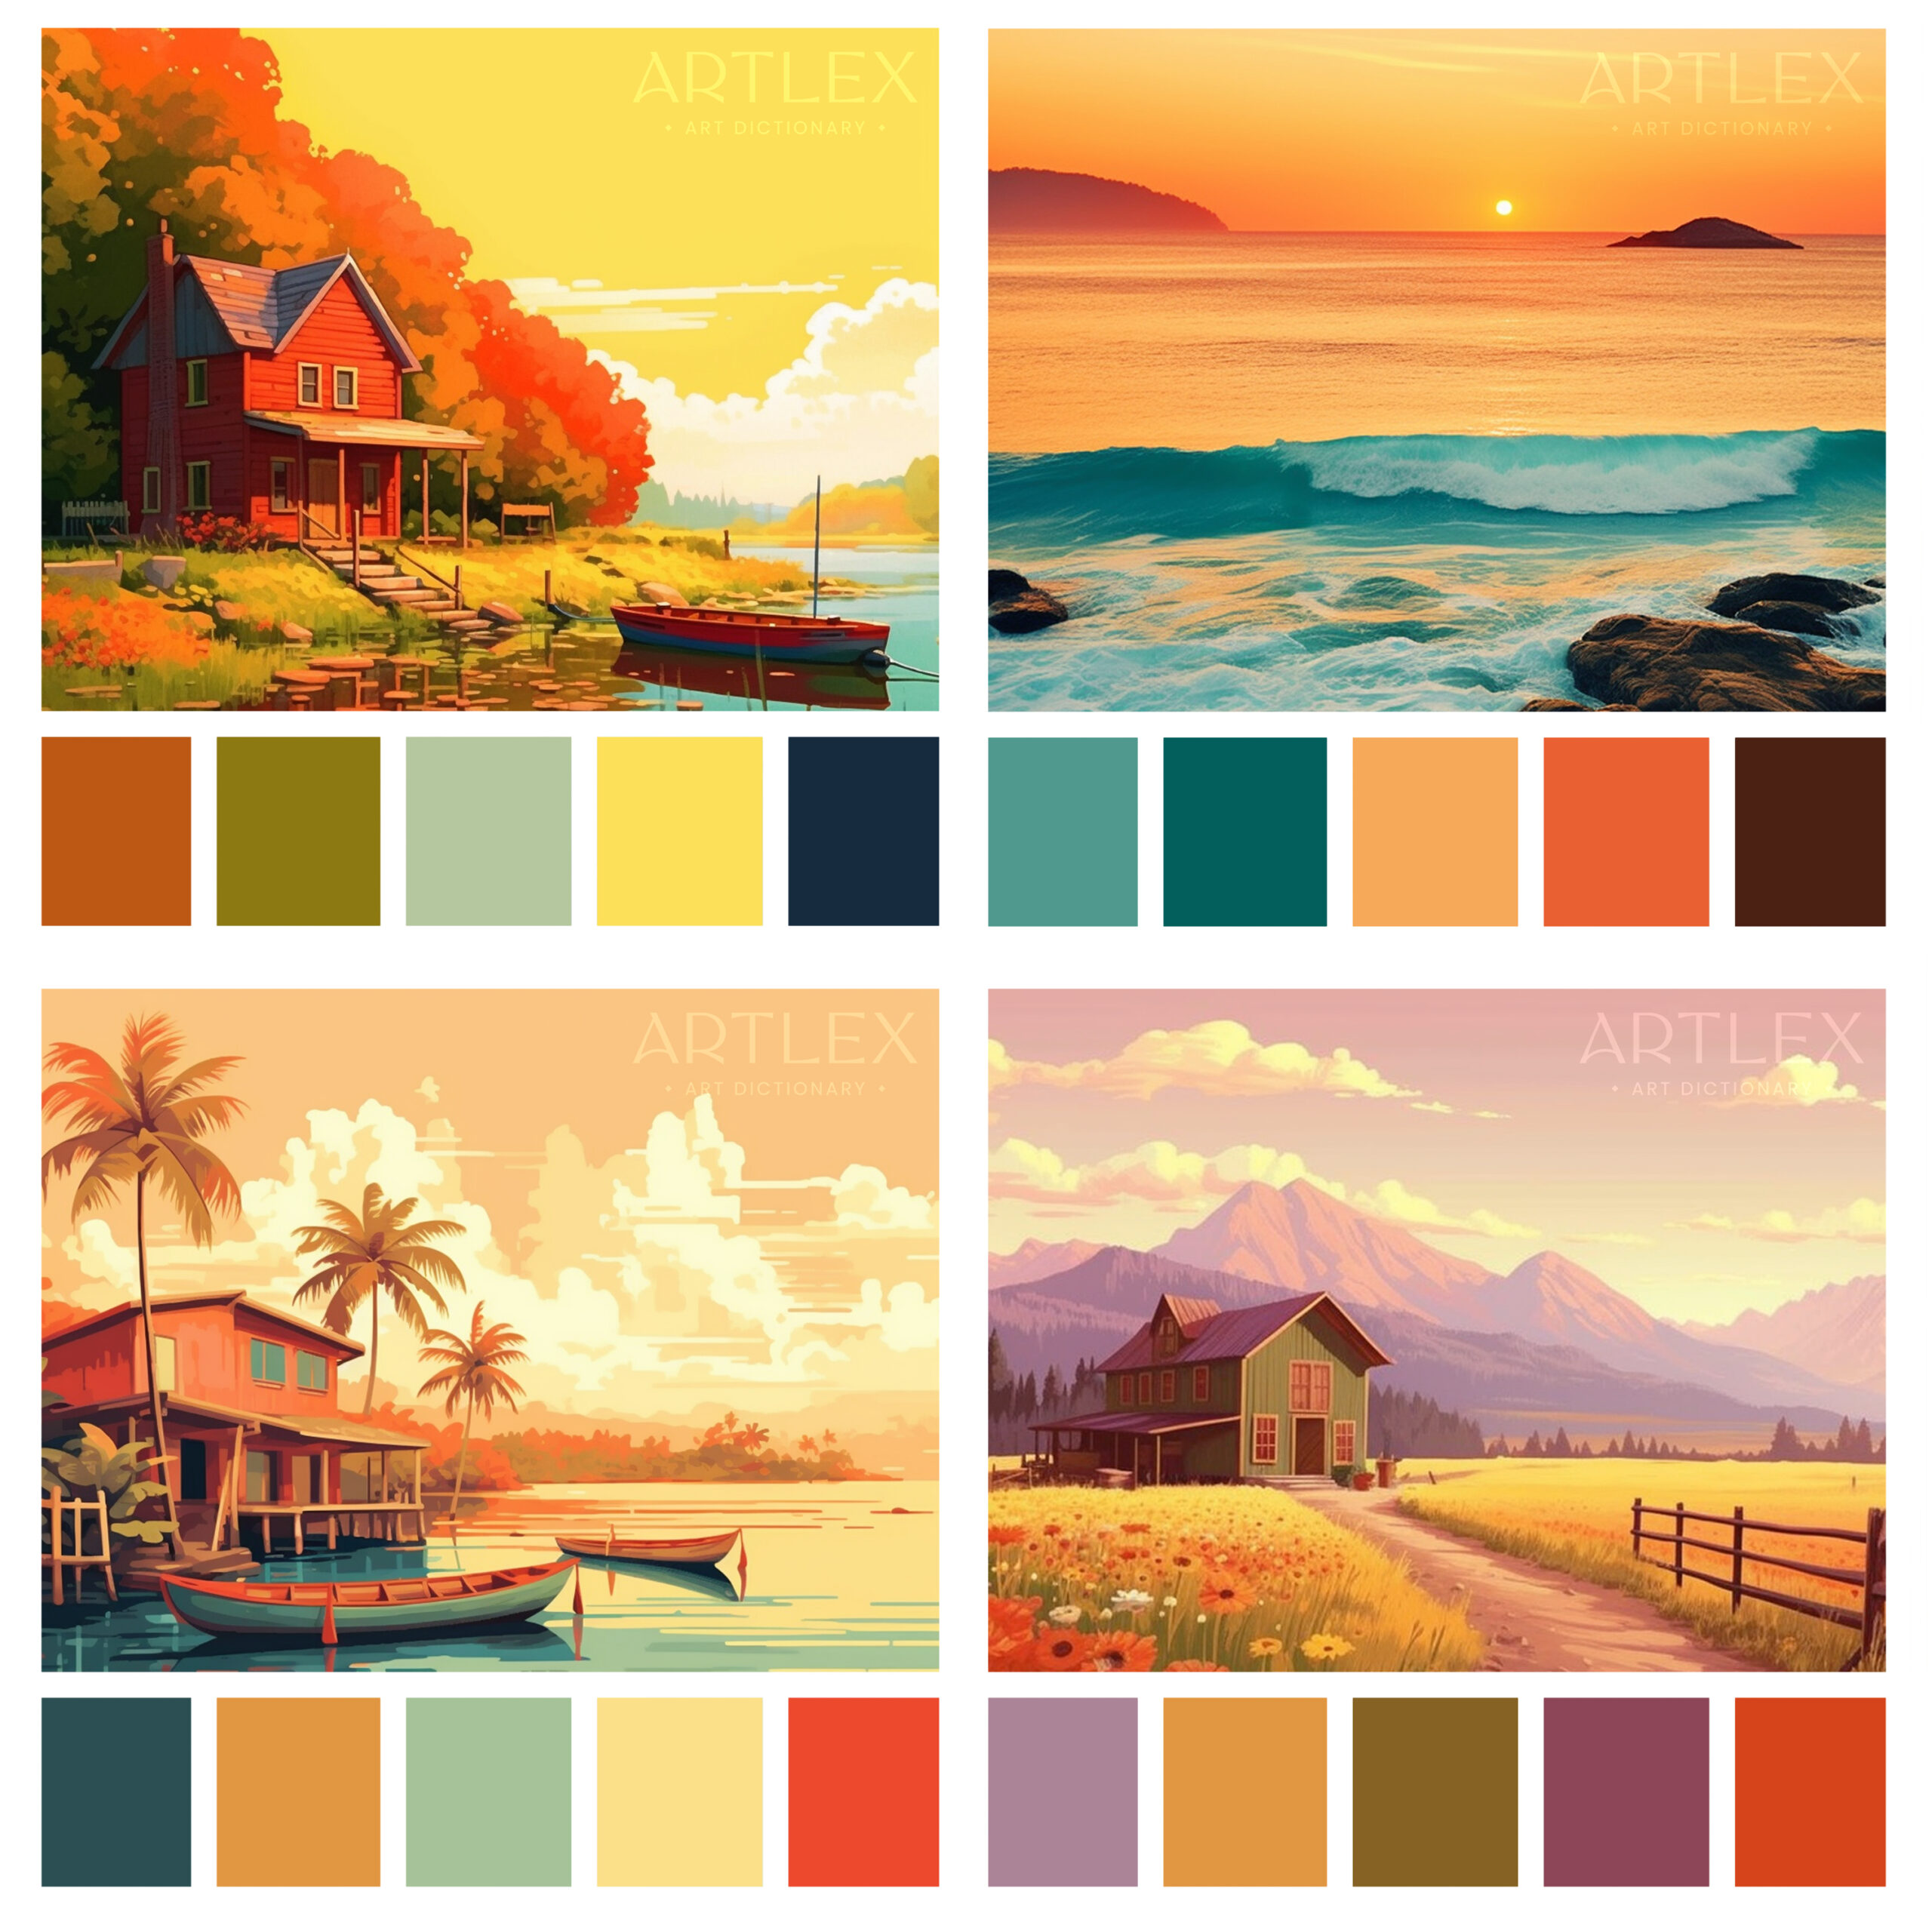
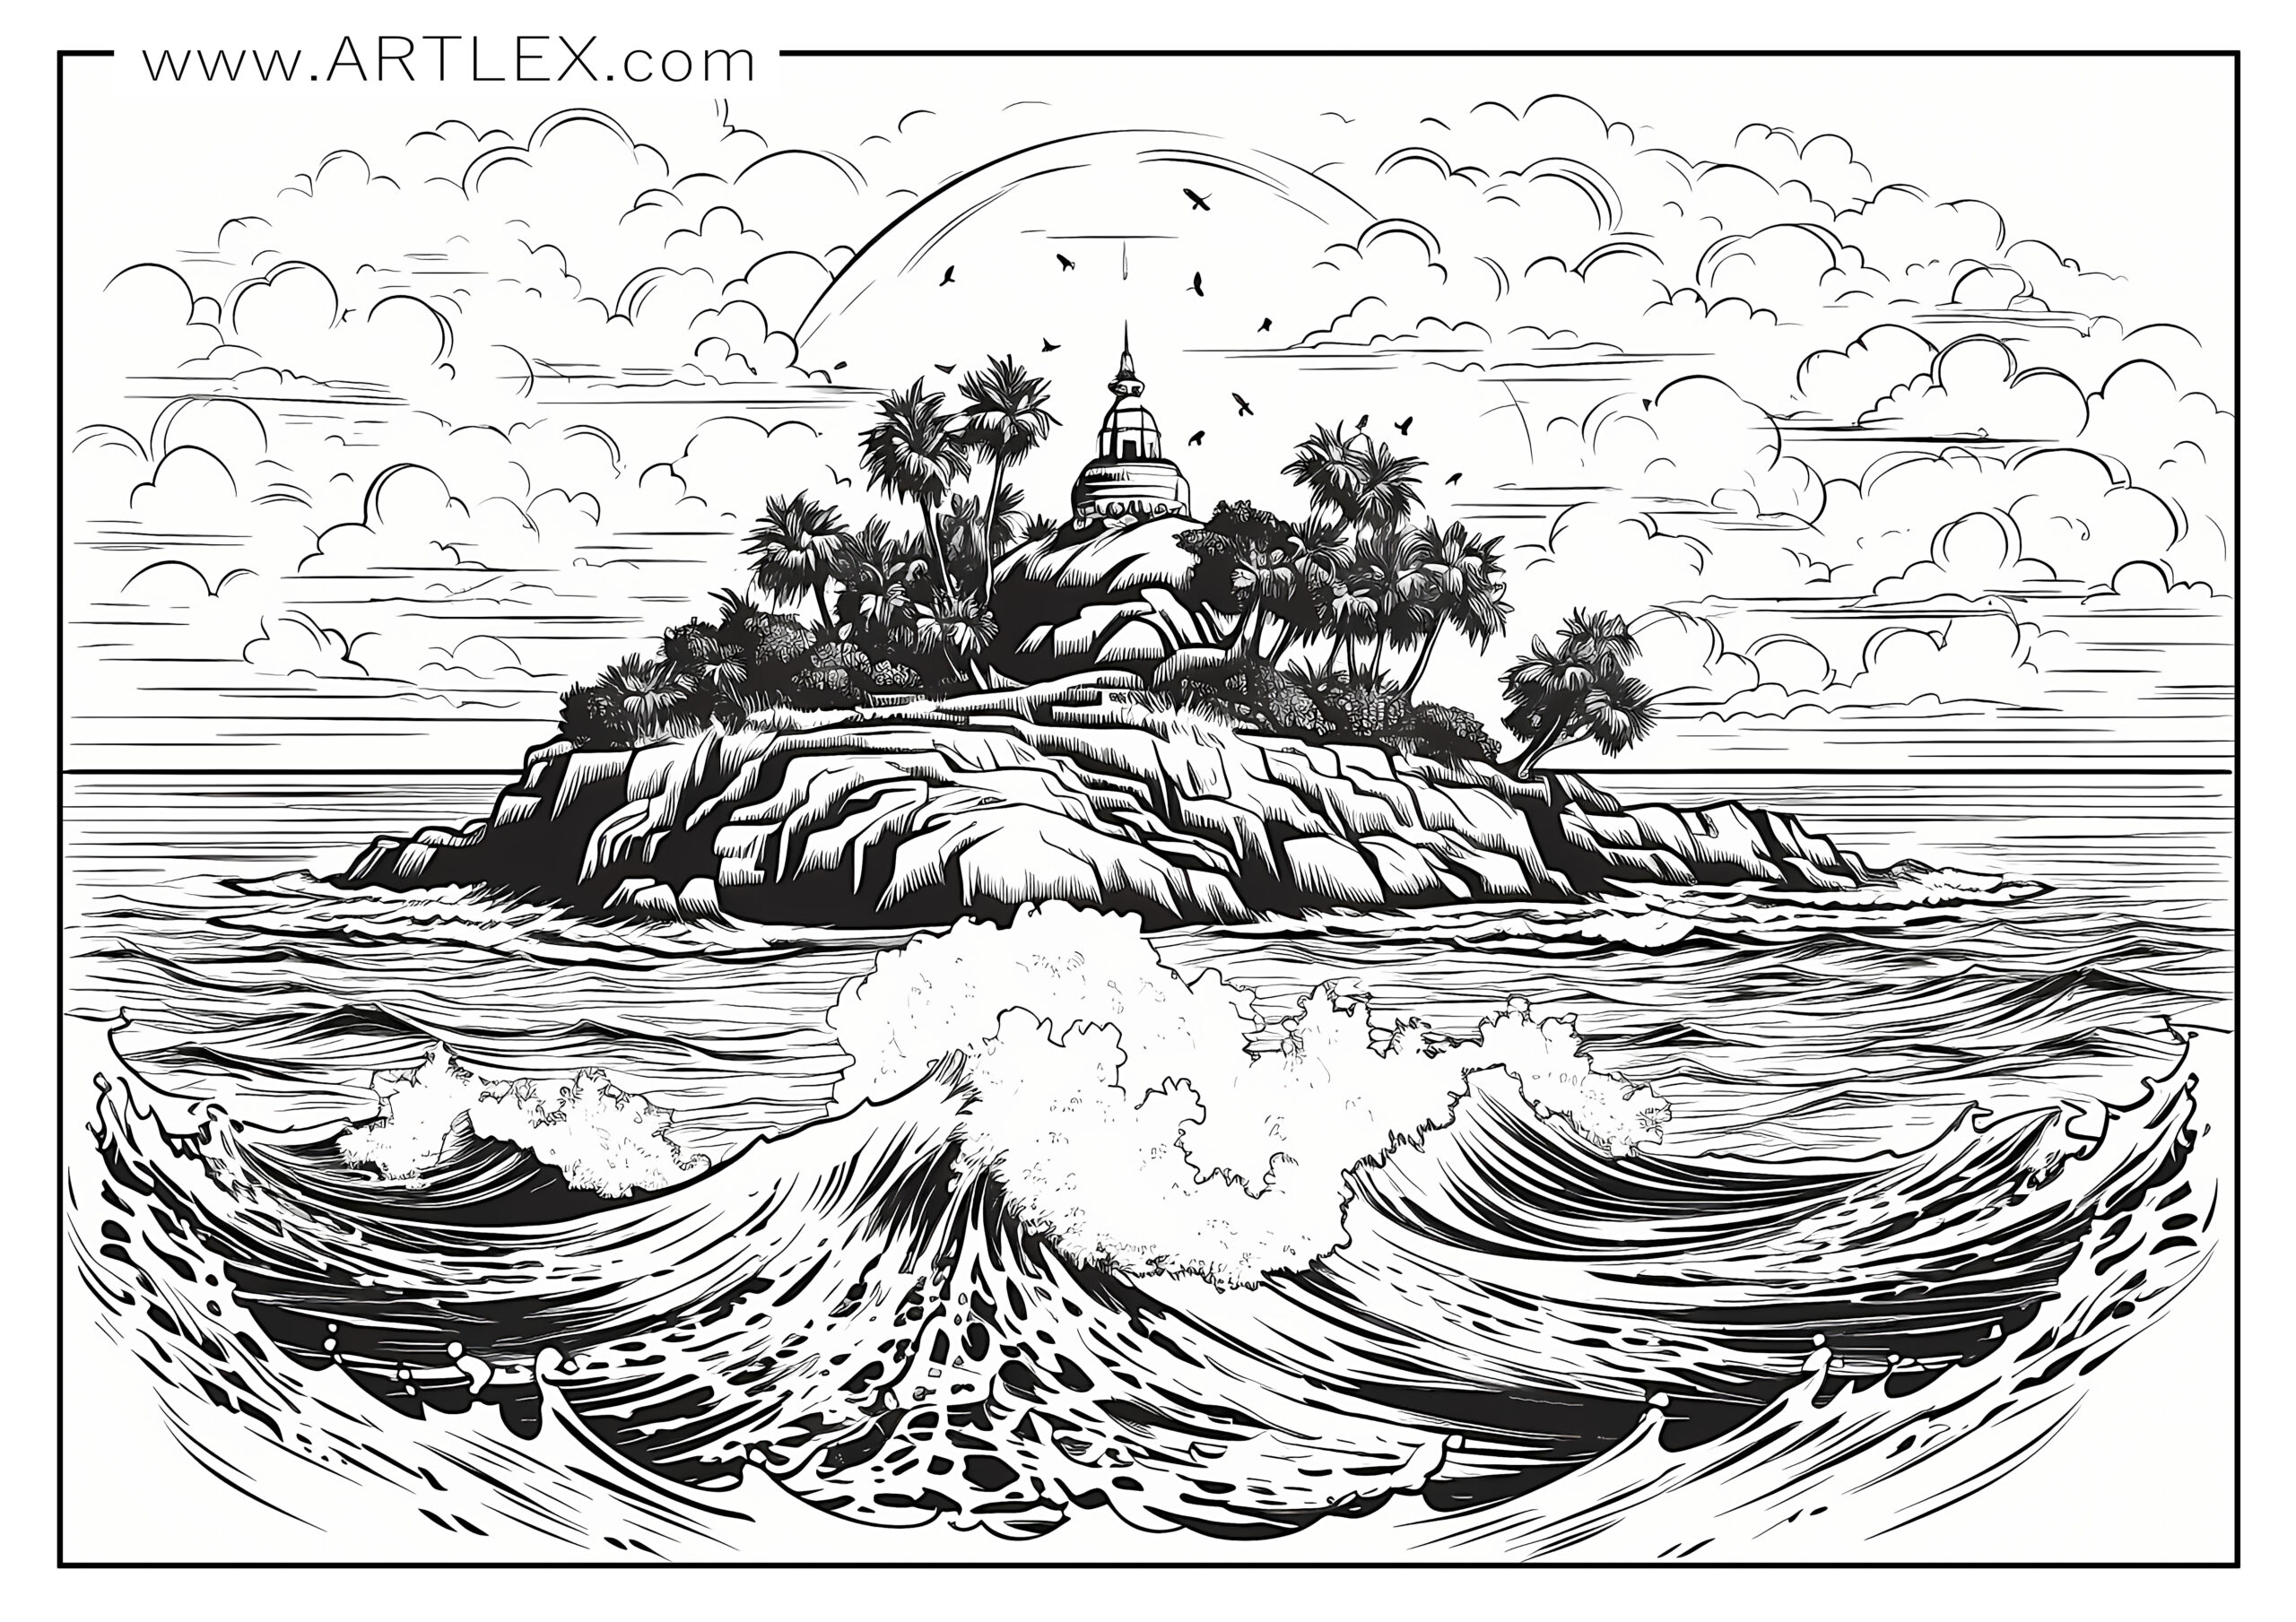
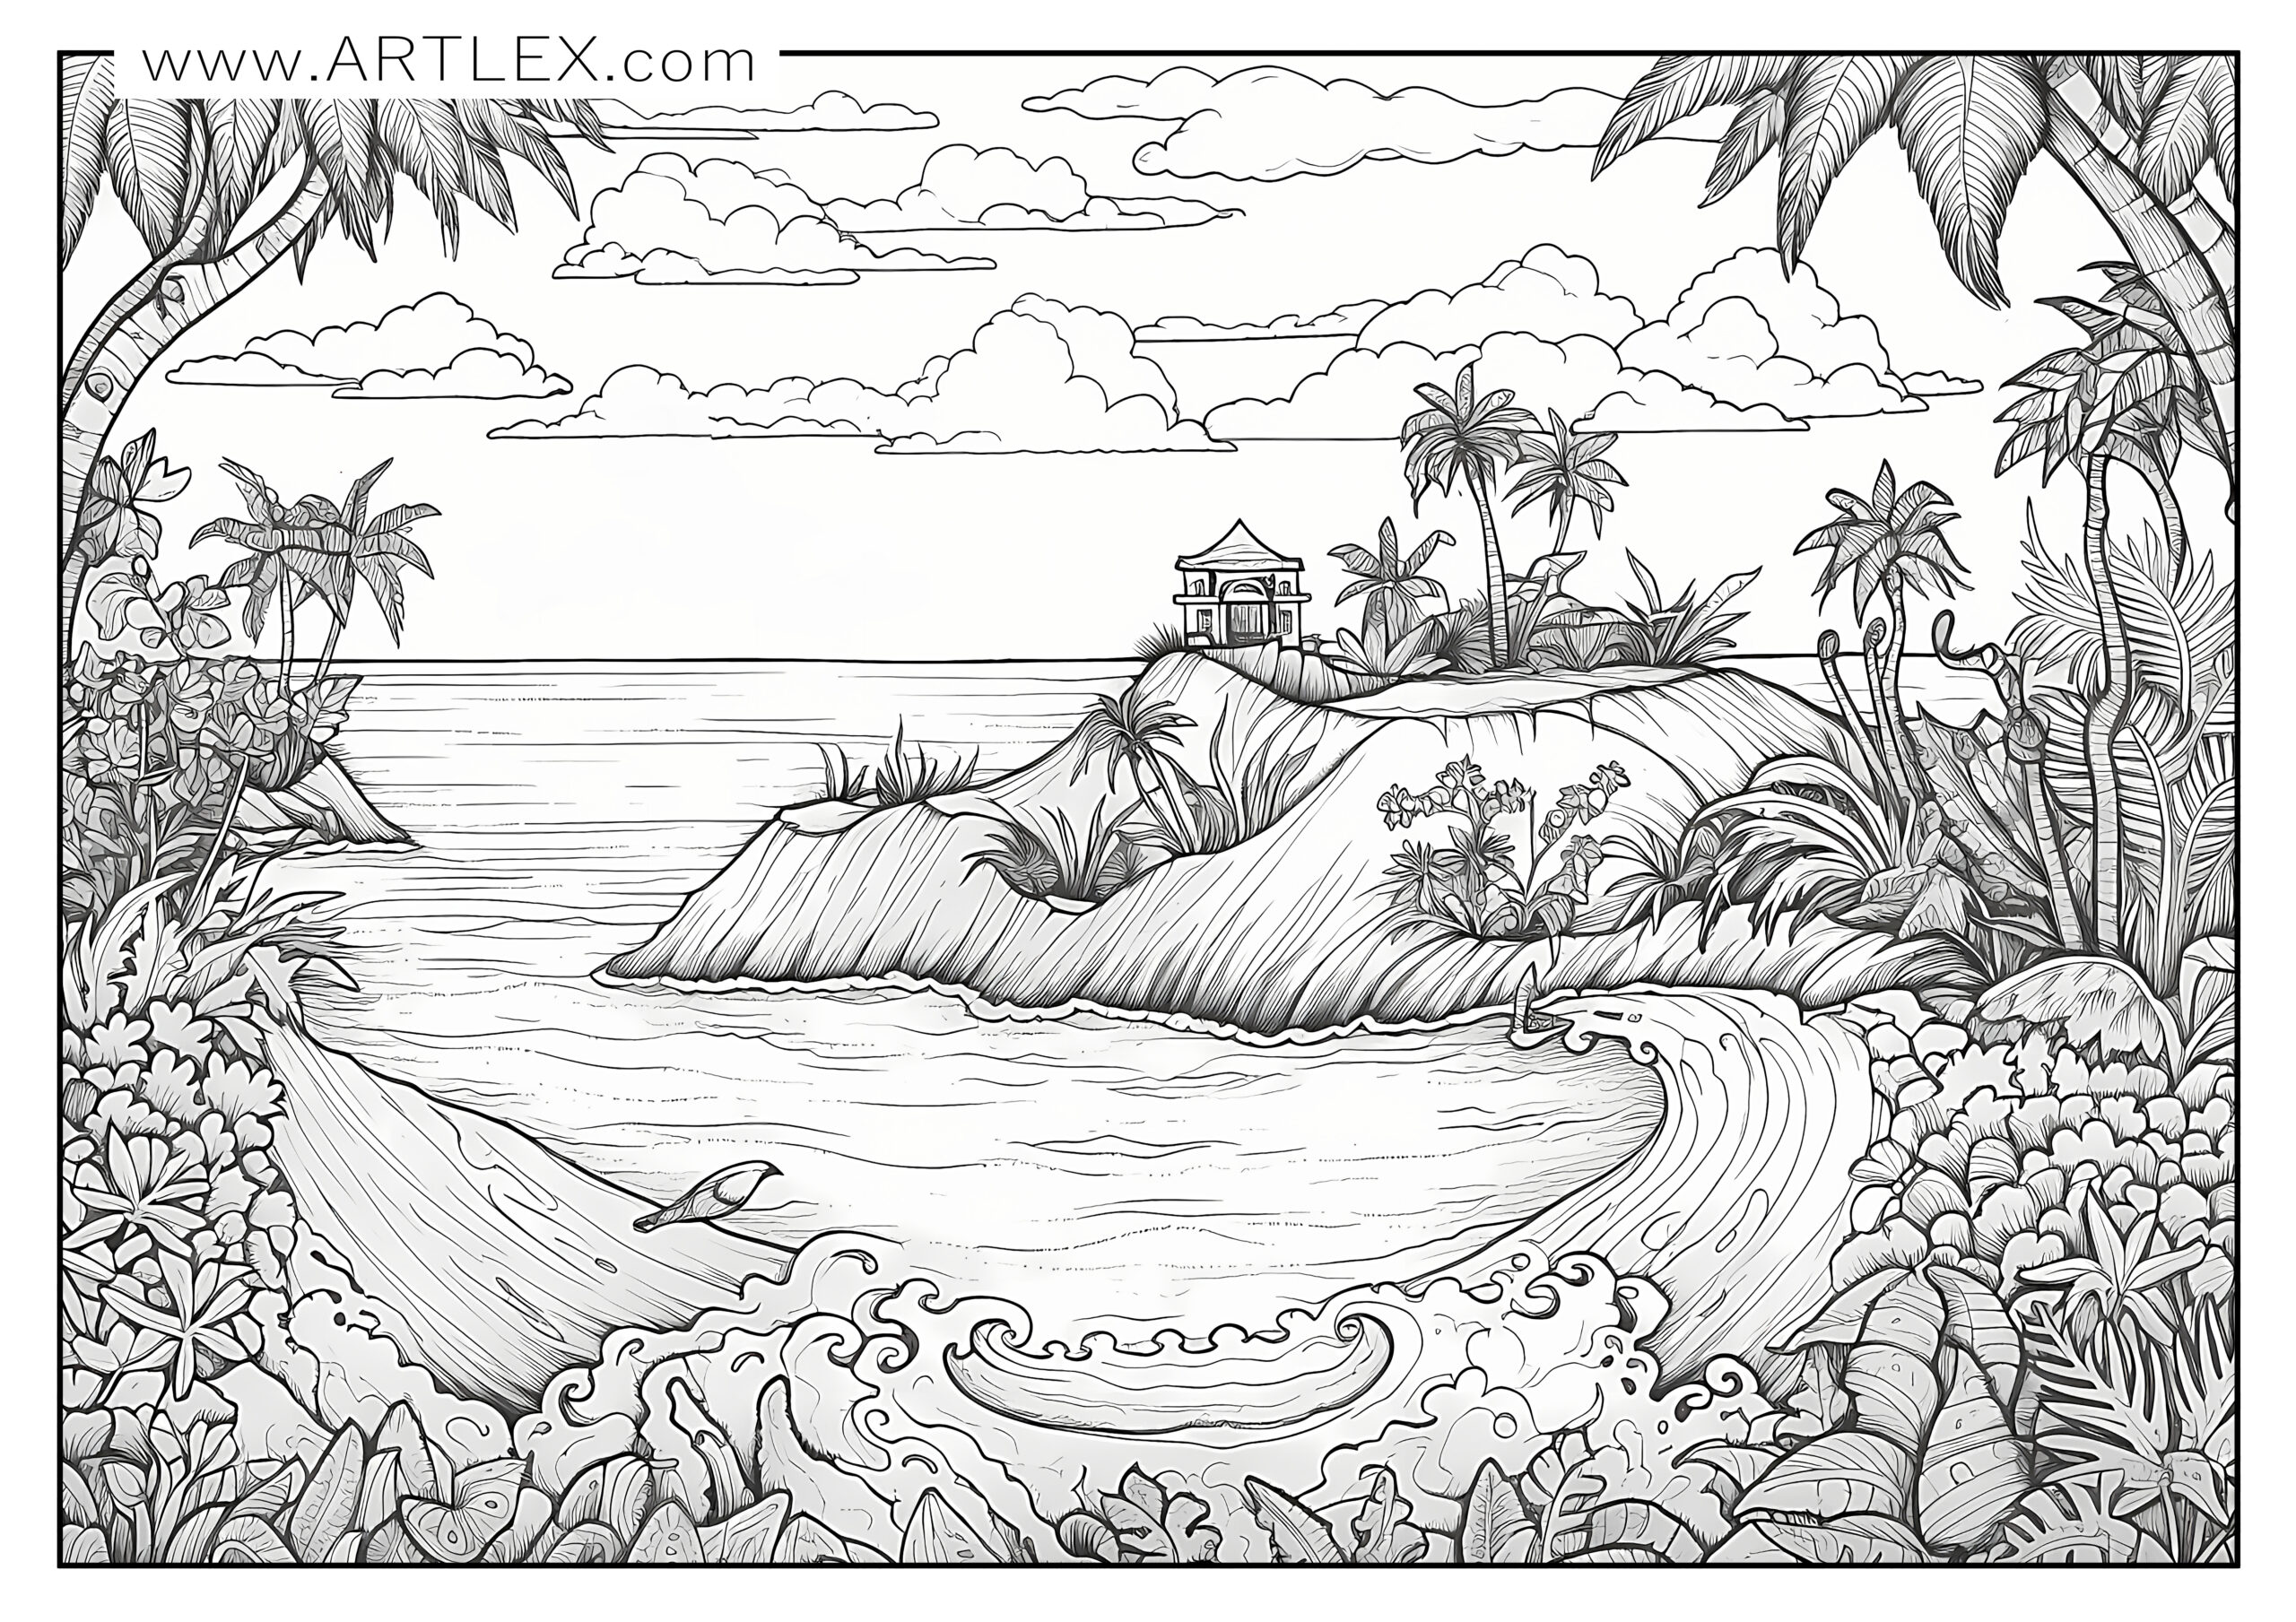
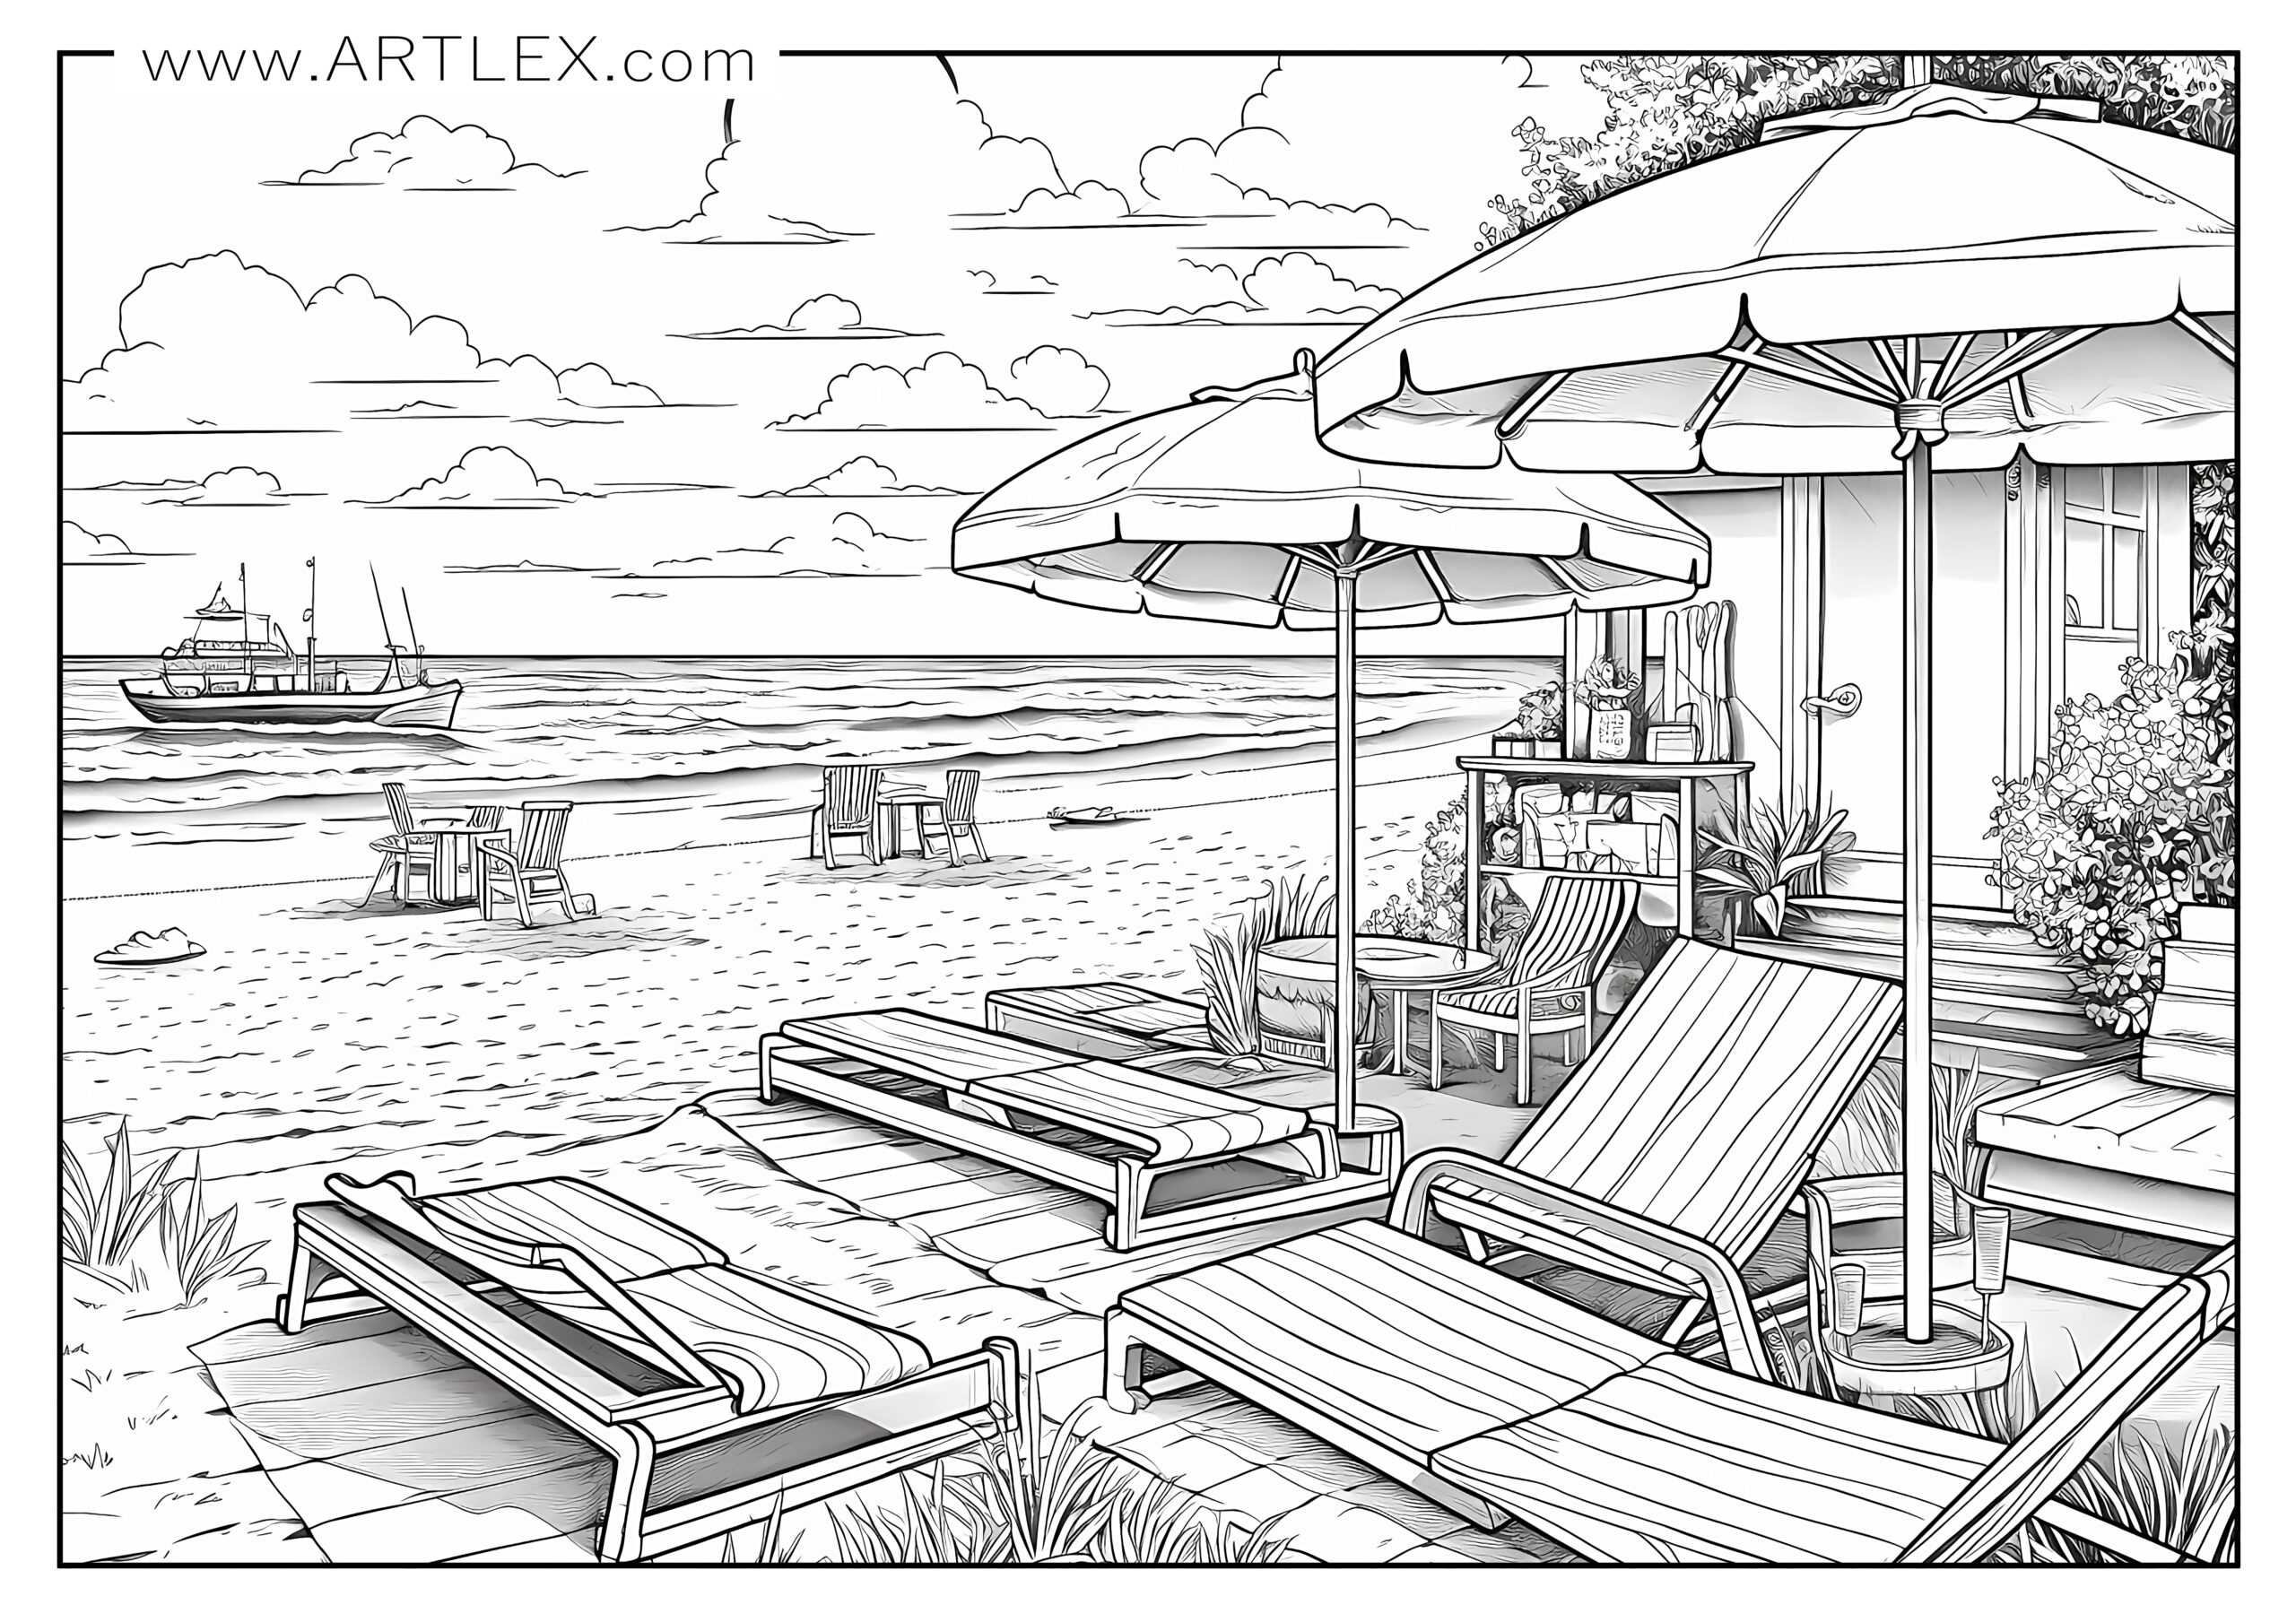
- Beaches are often bright and full of vibrant colors. For the sky, consider a gradient of light blue. Use a range of turquoise hues for the water to capture the undulating ocean waves. Beige or light brown could effectively depict the sun-kissed sand, while a bright yellow sun will certainly highlight the warmth of the summer day. To create contrast, consider using accents like coral pink or hot pink for bikinis and beach umbrellas, white for breaking waves and clouds, and green for the surrounding palm trees.
- Parks are often lush with greenery, hence using a bright green for the grass and a darker green for trees would create a natural look. Brown works well for tree trunks, lending some realism. For a playful touch, consider adding a picnic blanket with bold colors such as red or checkered patterns. Using a vibrant array of pastels for picnic food, like cupcakes or fruits, could add a fun and engaging aspect to your coloring page.
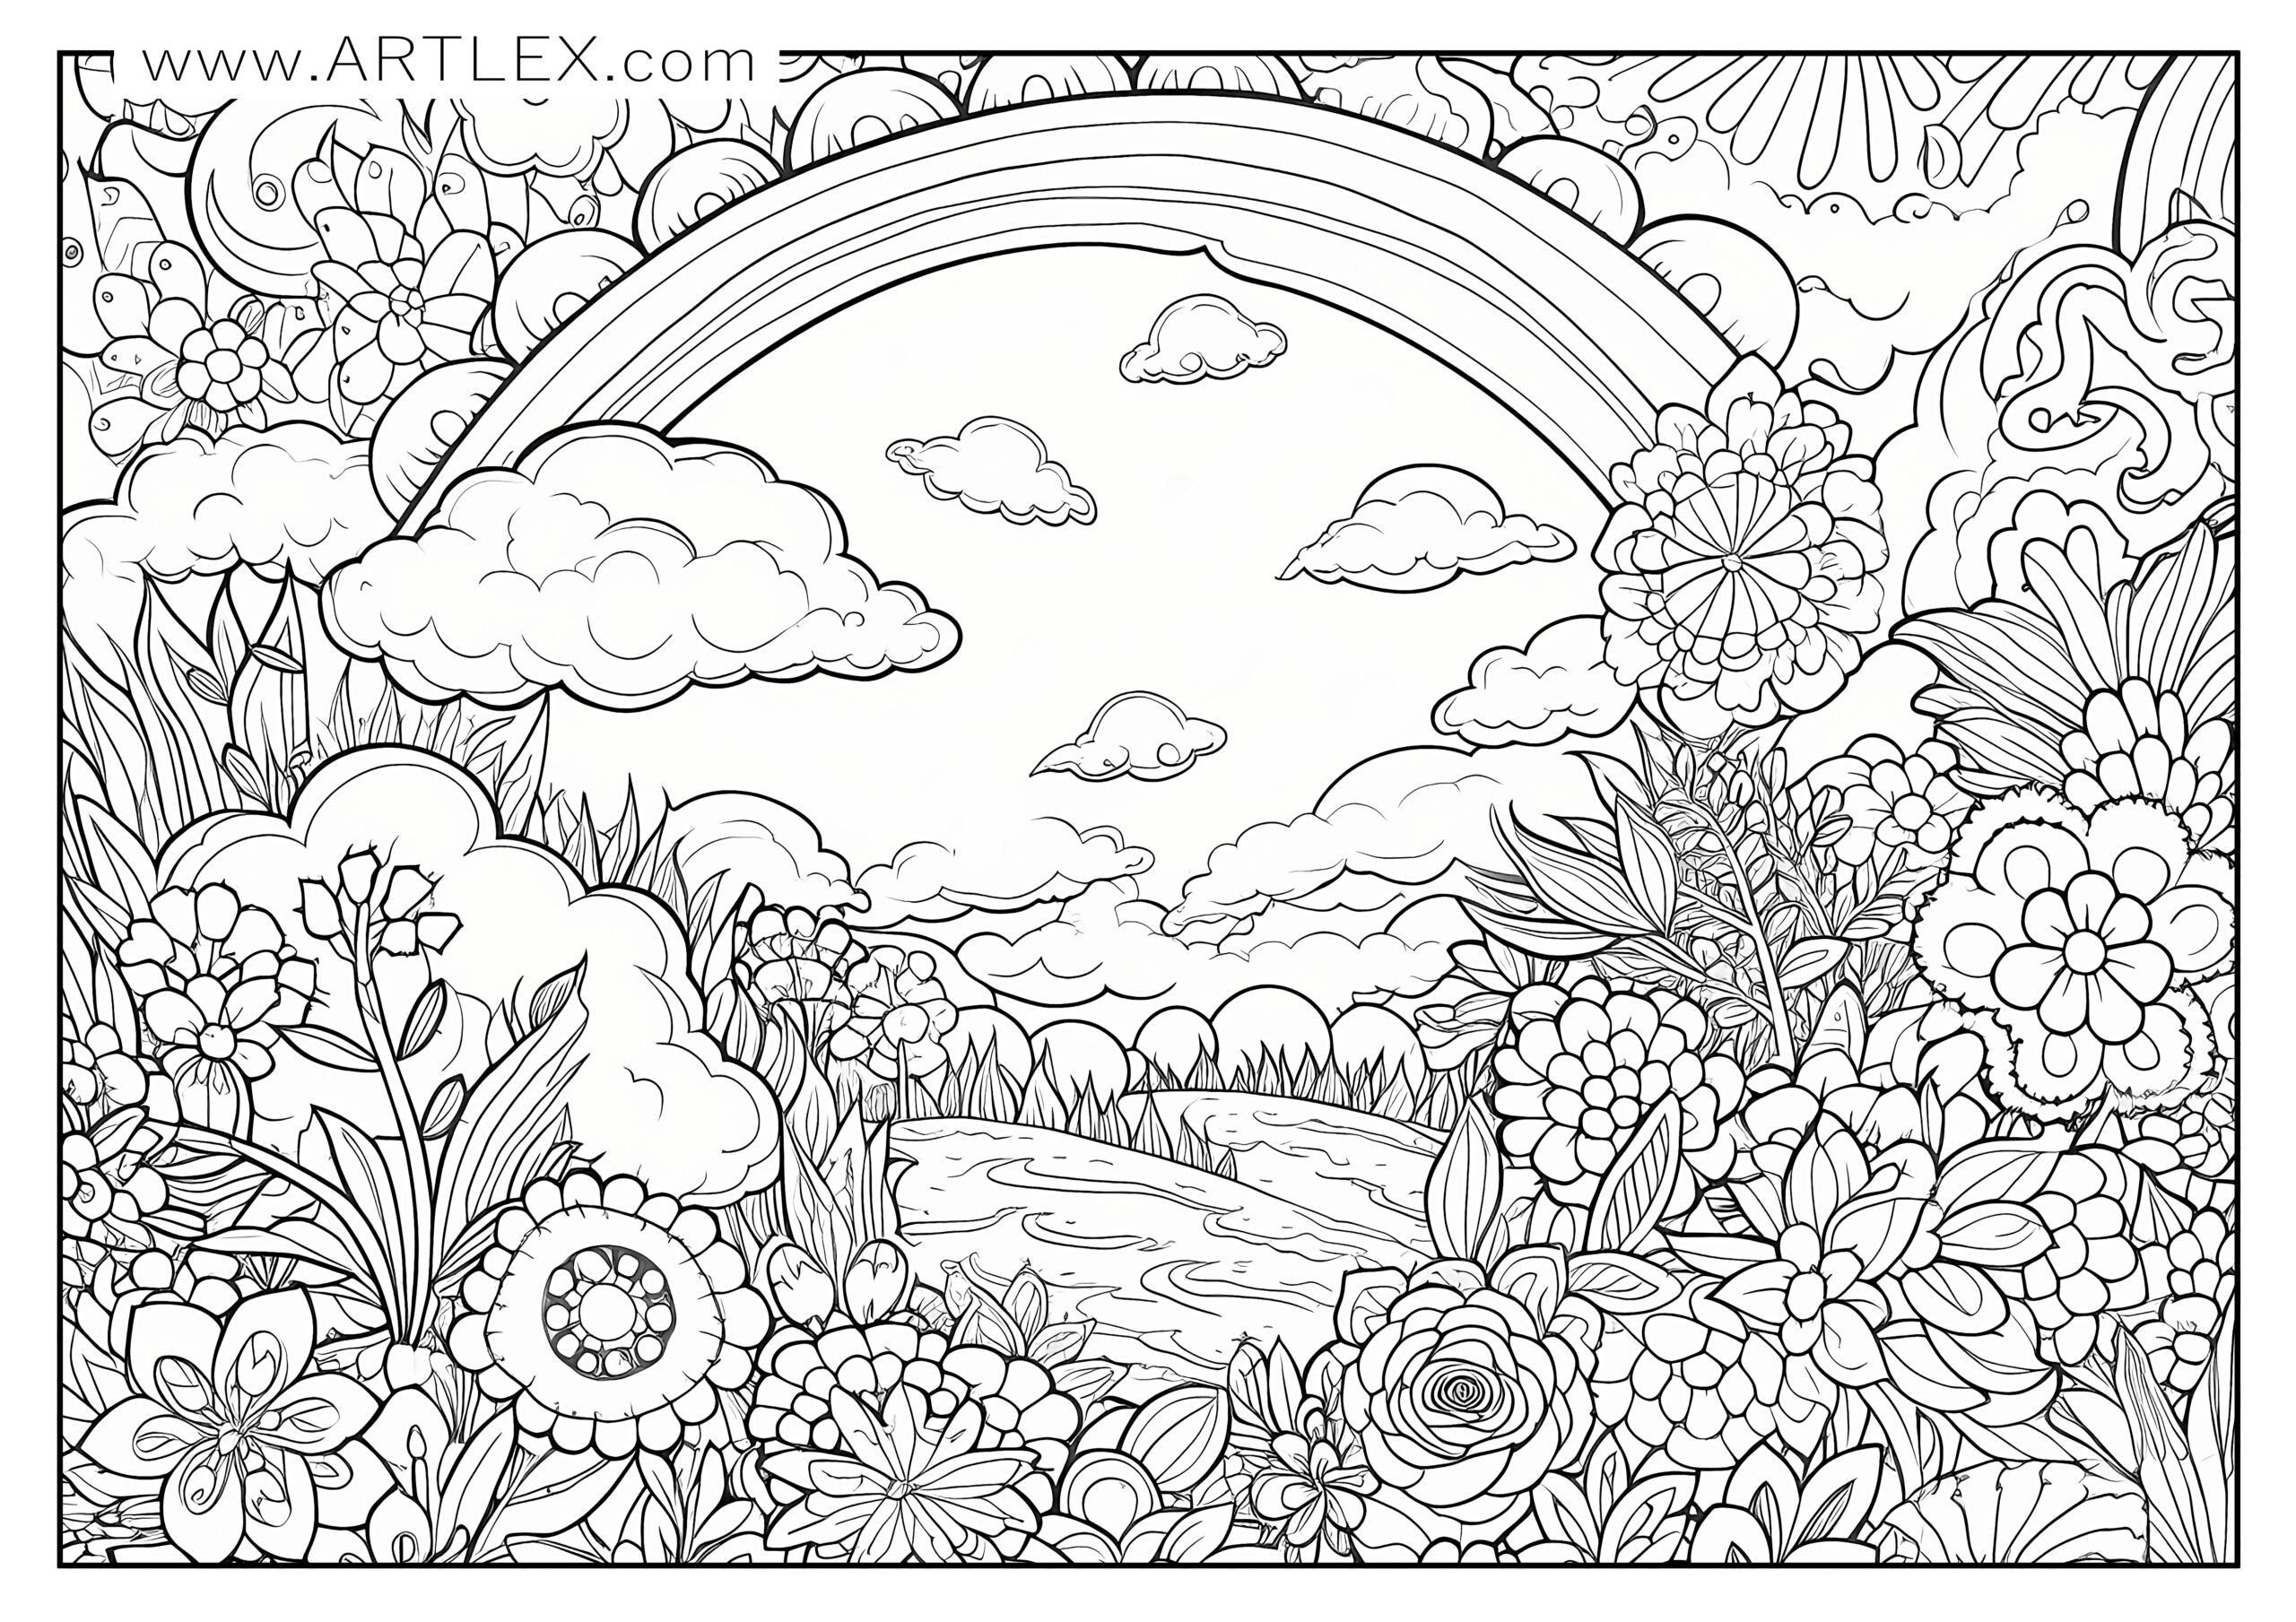
- Flower fields can be quite diverse. Try variations of green for the stems and leaves with a bright blue sky in the backdrop. For a colorful and lively look, use a variety of bright colors for the flowers, like reds for poppies, yellows for sunflowers, and purples for lavender.
Some additional tips to keep in mind:
- Summers are usually bright, hence using high-saturation and high-brightness colors would make your pages pop.
- Balance your bright colors with deeper and cooler tones for shadows or areas with less light.
- Remember, the time of day in your scene affects colors. Early morning, midday, and golden hour all have distinct color palettes. Explore them to create different moods and atmospheres.
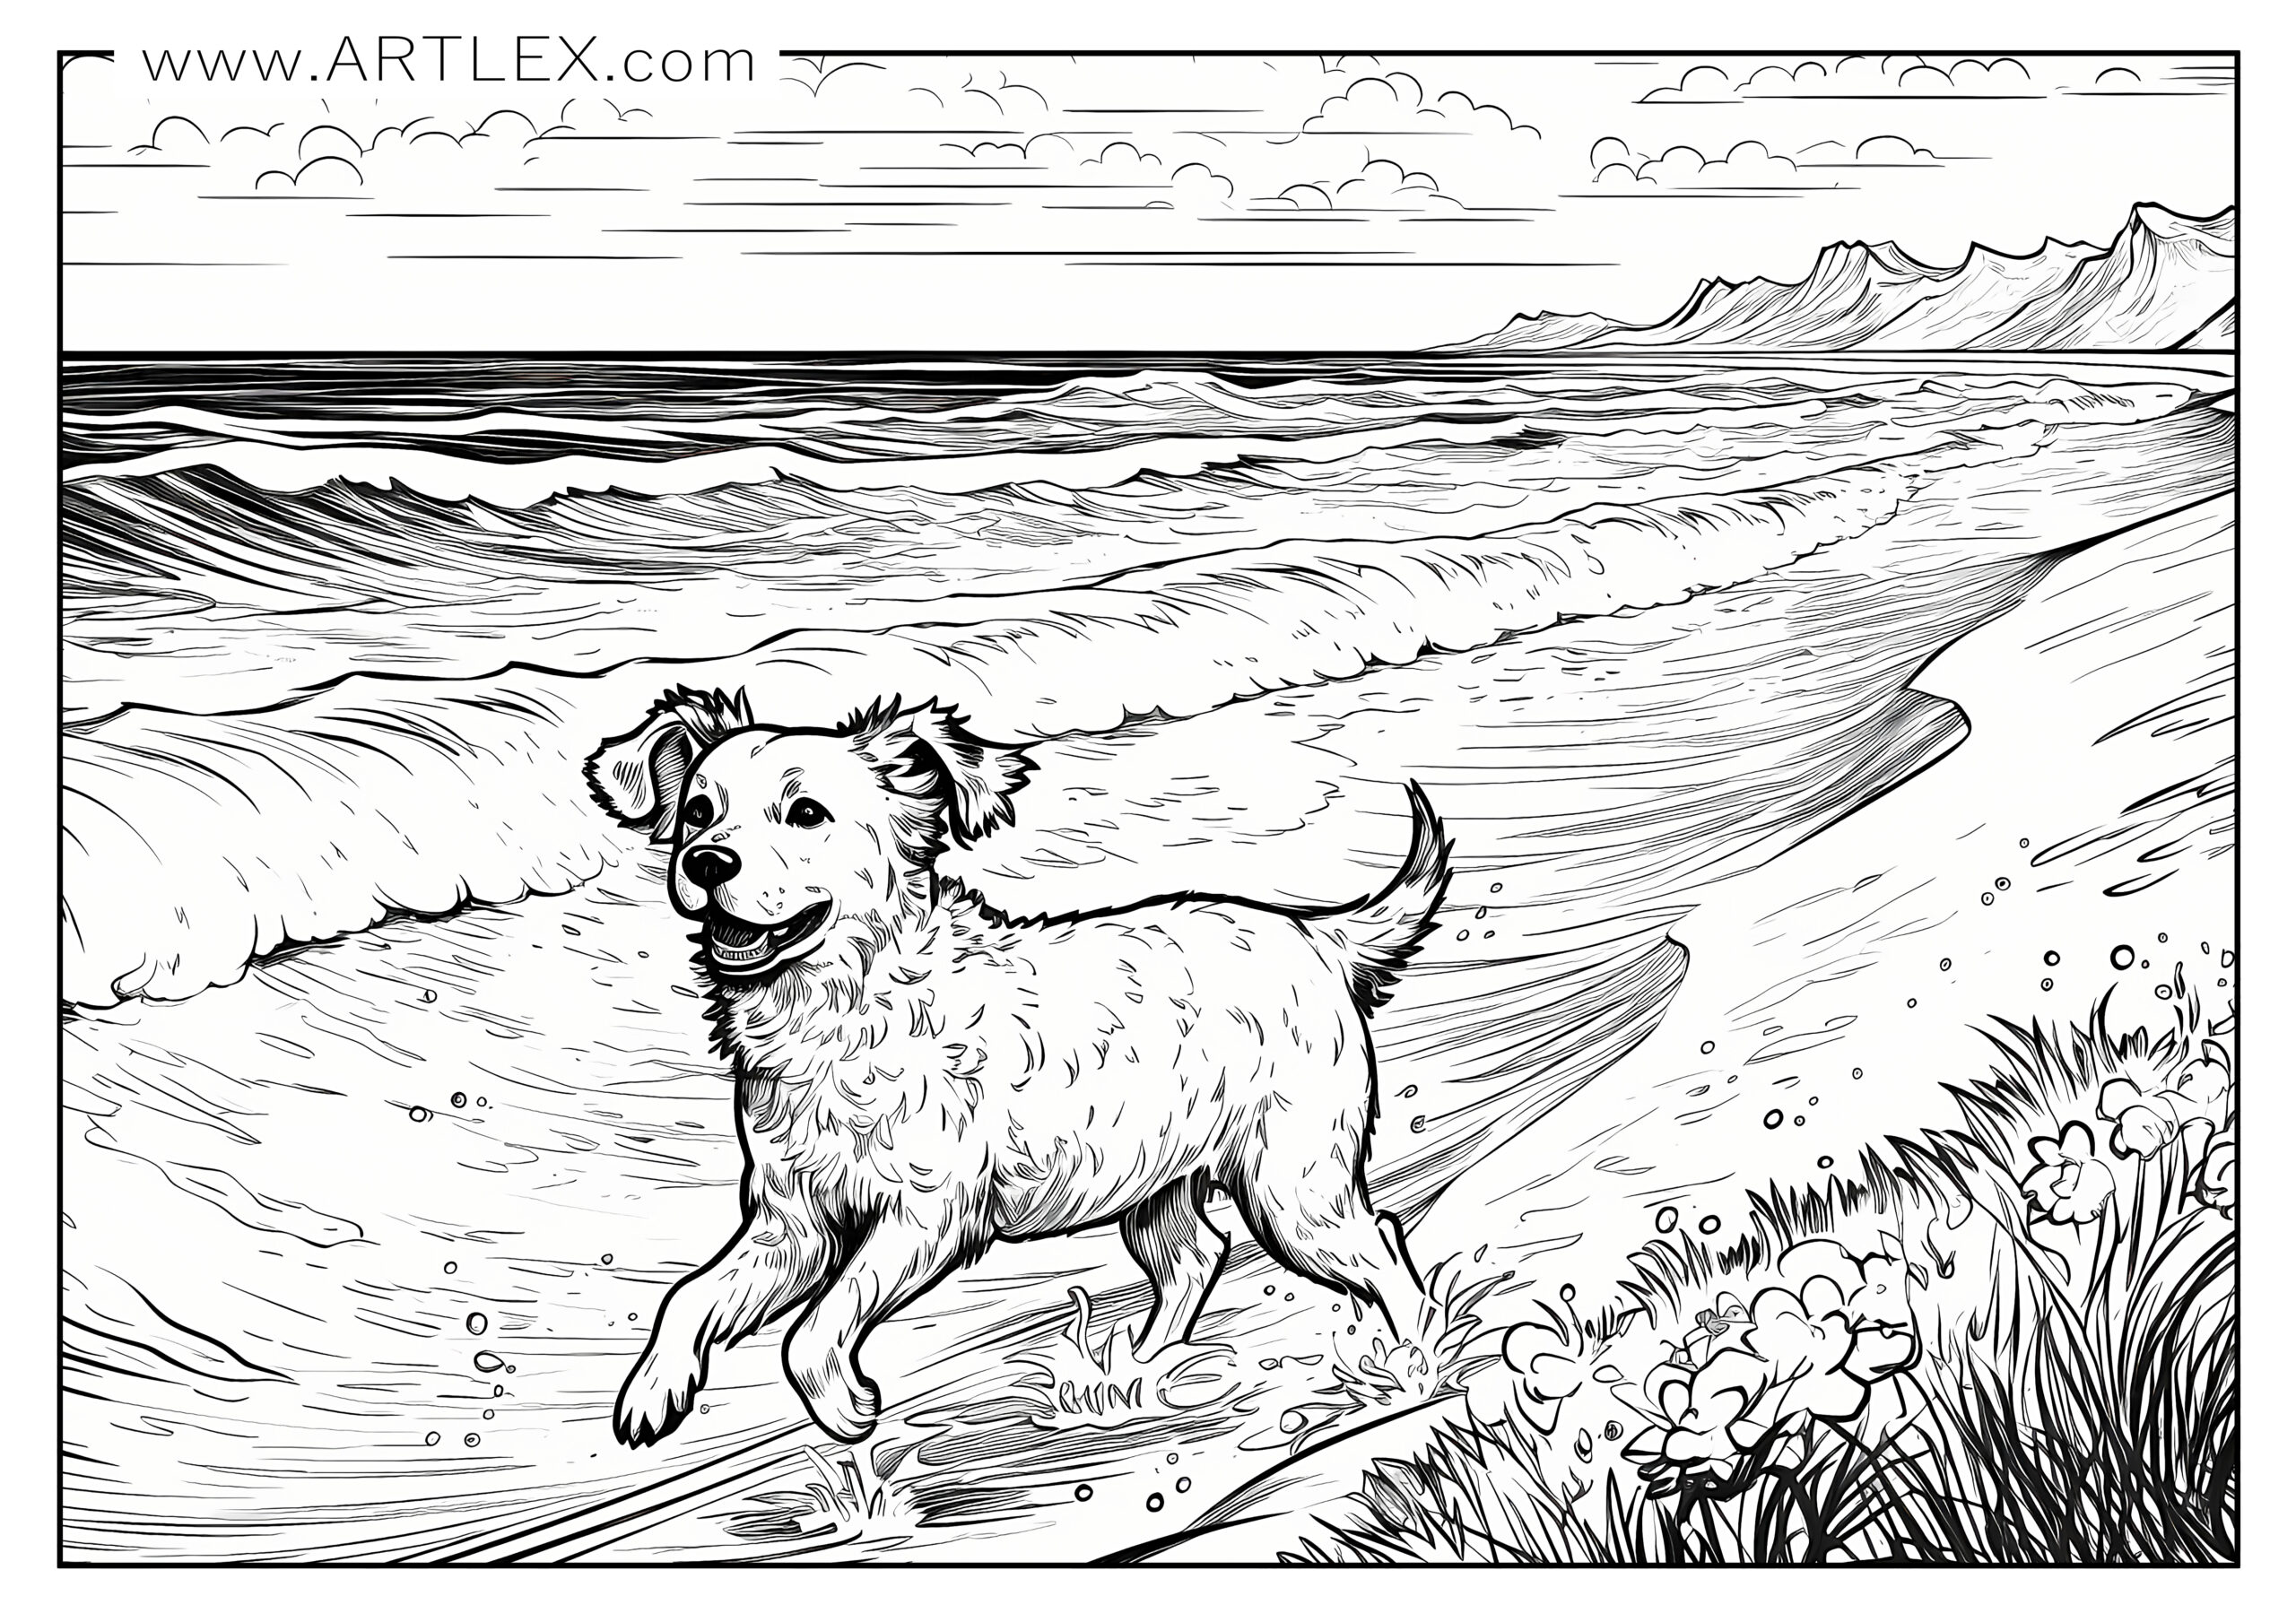
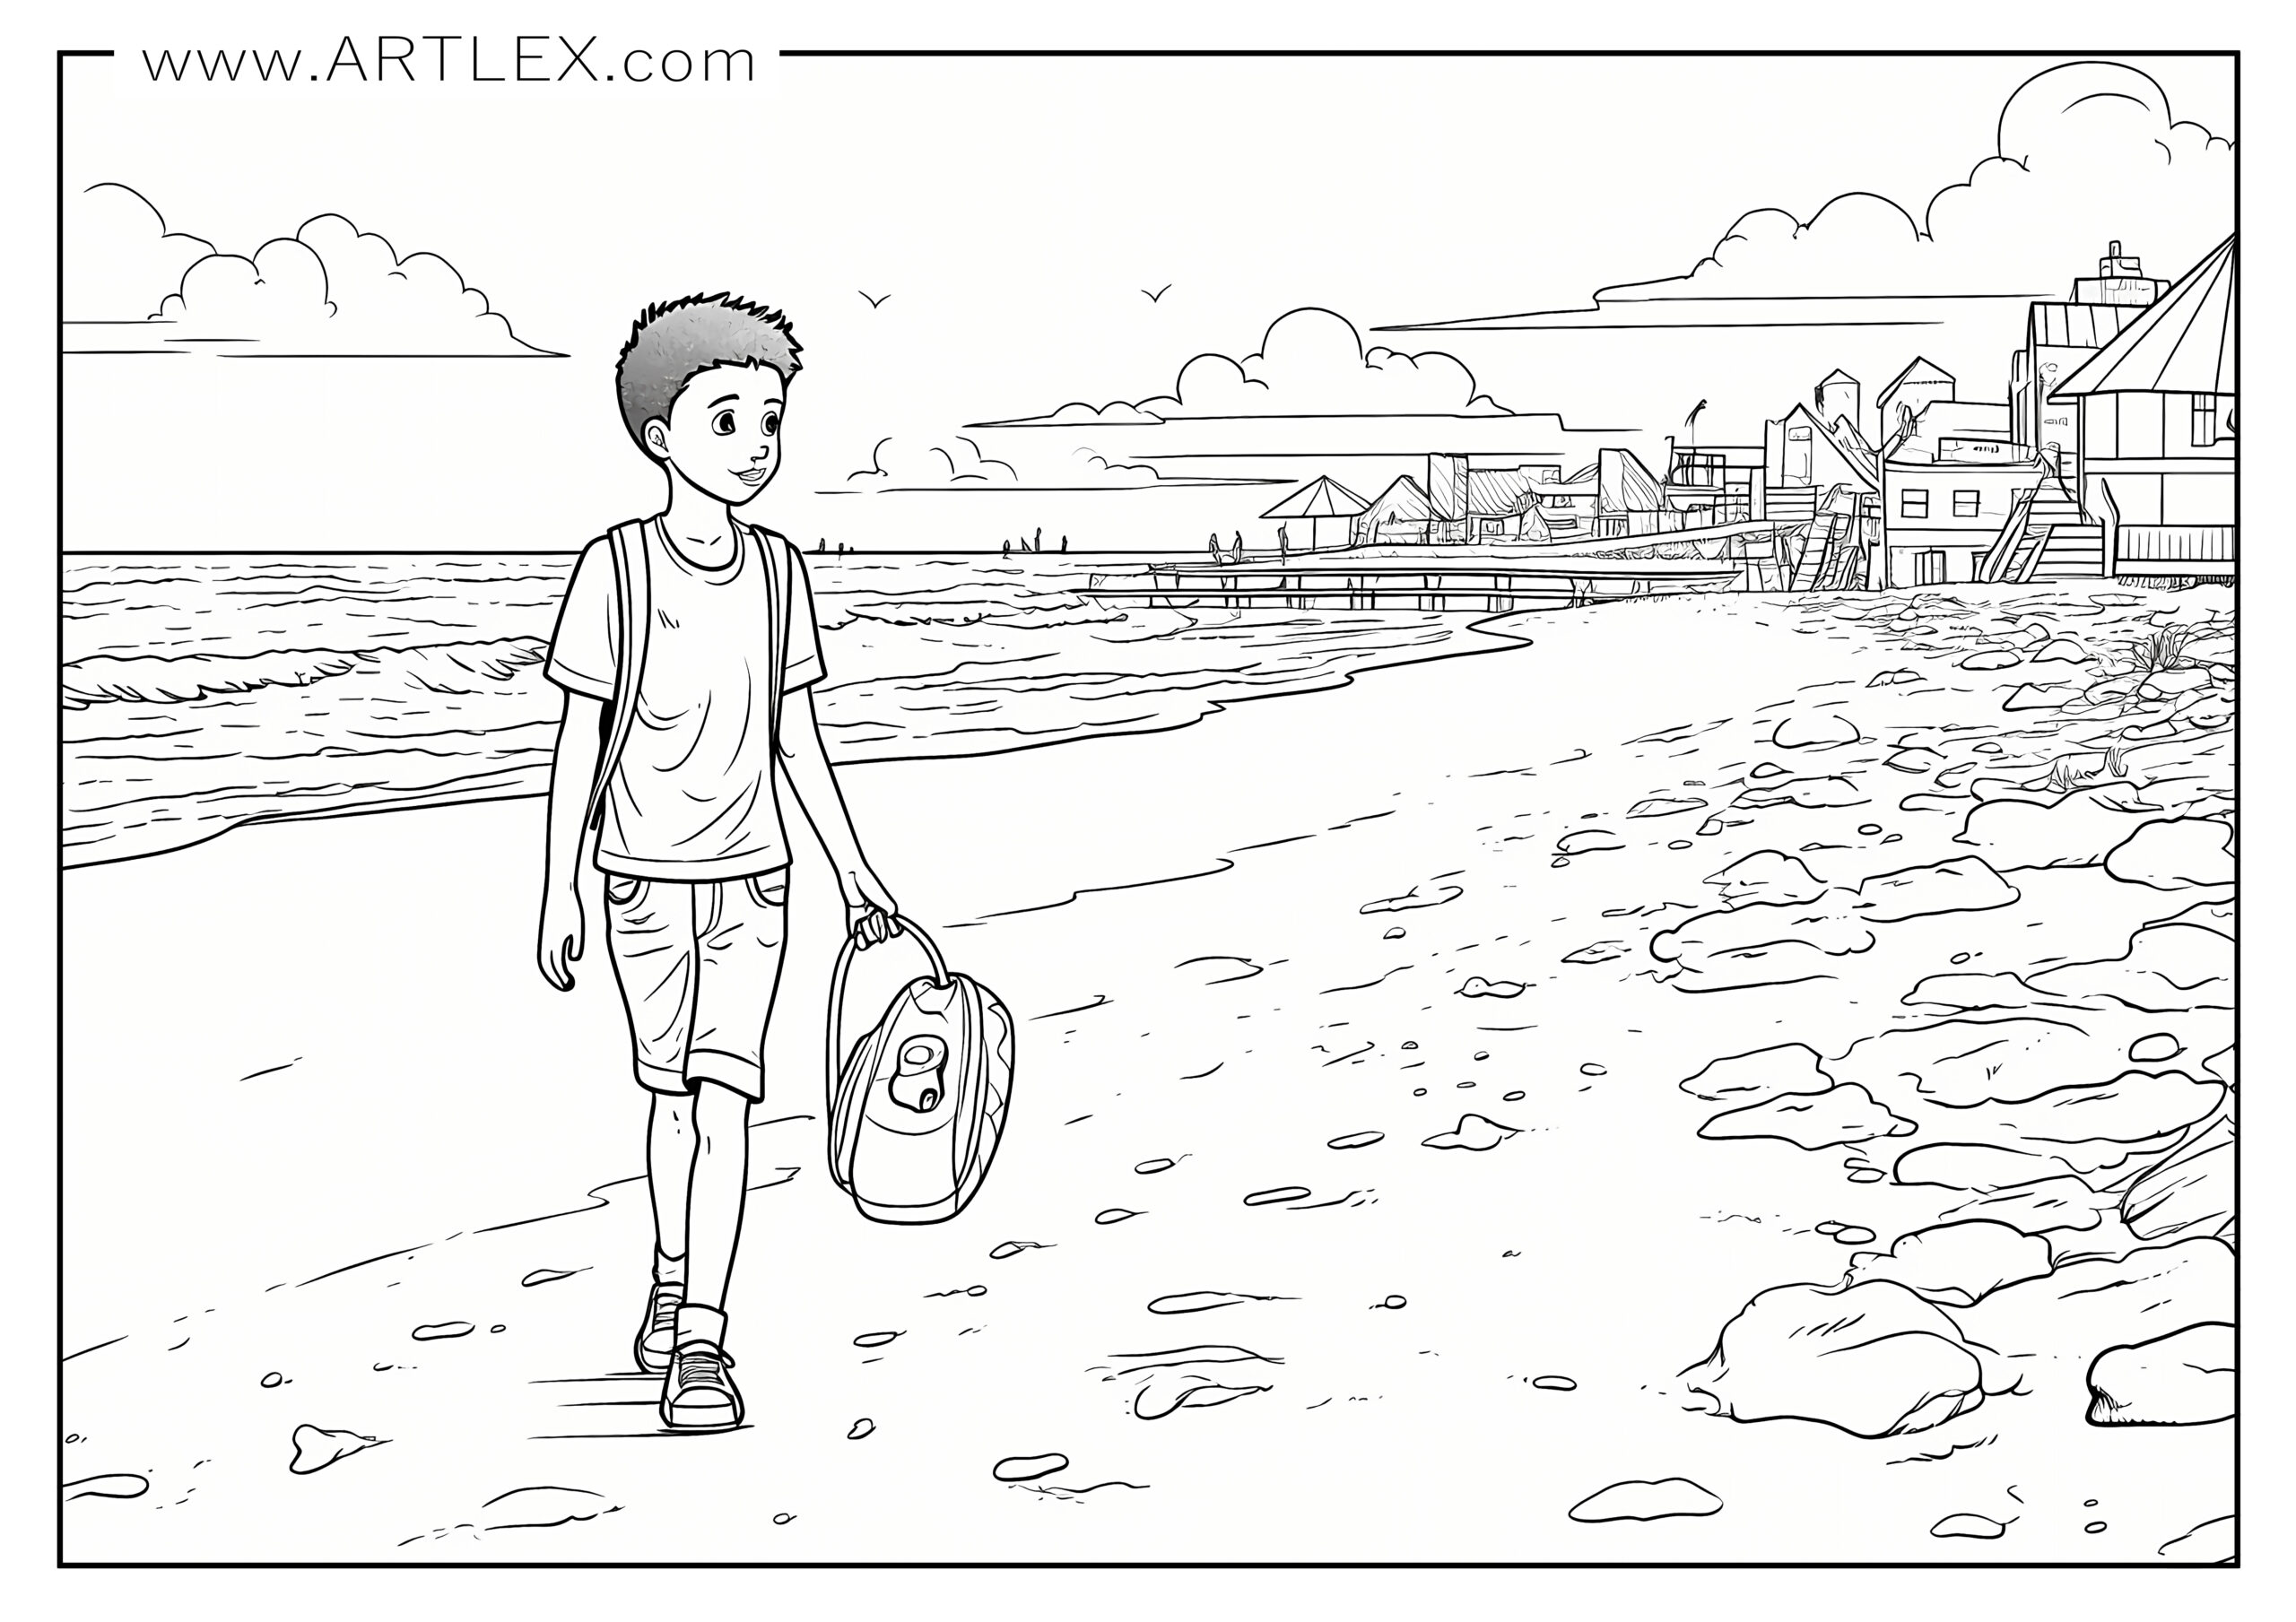

When it comes to choosing the right materials, there are a variety of options to consider, that’s why we’ve prepared a selection of recommended materials so you can enjoy your coloring journey even more. Although many say that having better supplies won’t make you a better artist, it for sure can improve your experience a lot!
Good art supplies will take away most of the frustration and lack of control bad art supplies have and will make your work look much better, with brighter, more intense colors, will last more and are a delight to use.
Here is a list of recommended materials and brands:
Coloring Pencils:
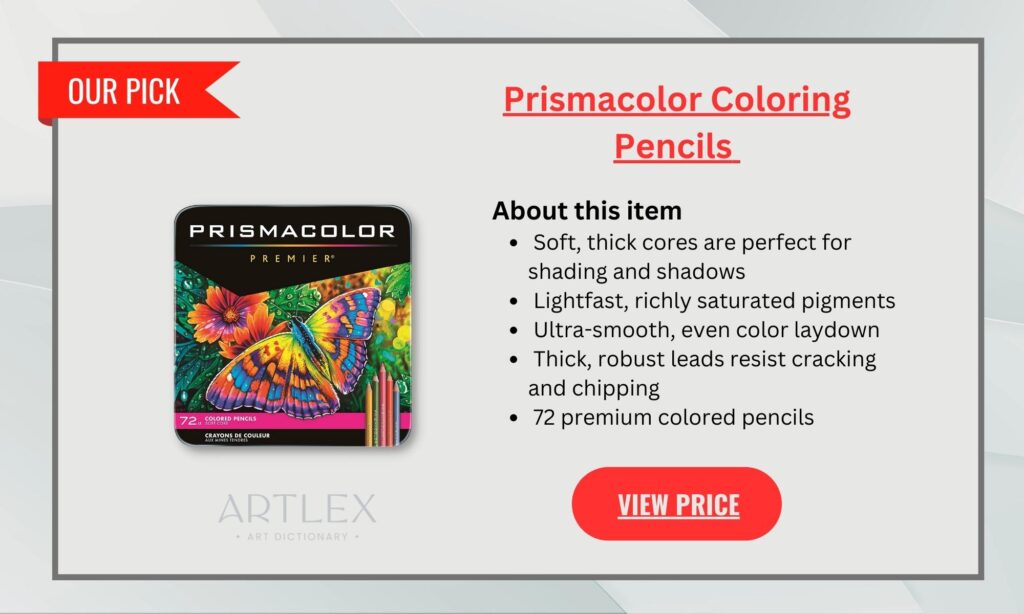
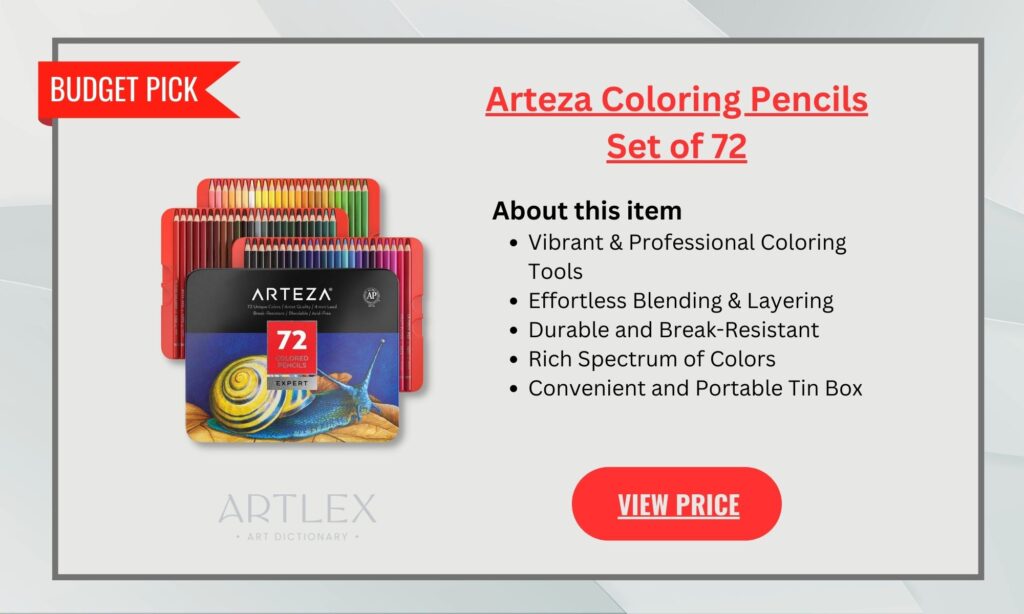
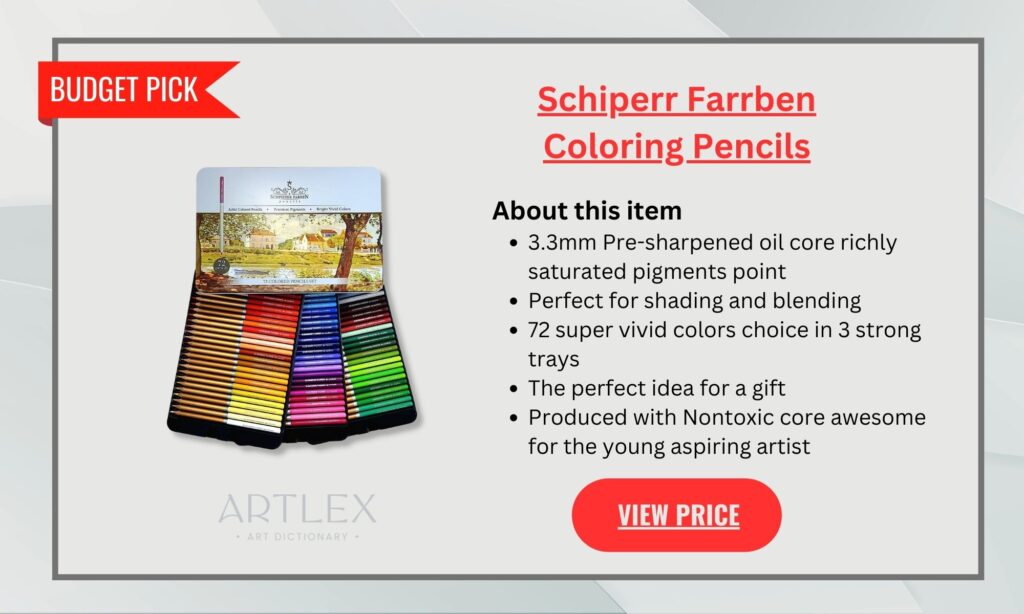
Everybody knows that there is nothing better than Prismacolor, they have the softest coloring pencils, the most intense pigments, and the highest quality, however, they are quite expensive as well. Because of that, we’ve prepared two alternatives that will give you the best results without hurting your pockets as professional colored pencils would.
Paper for Coloring
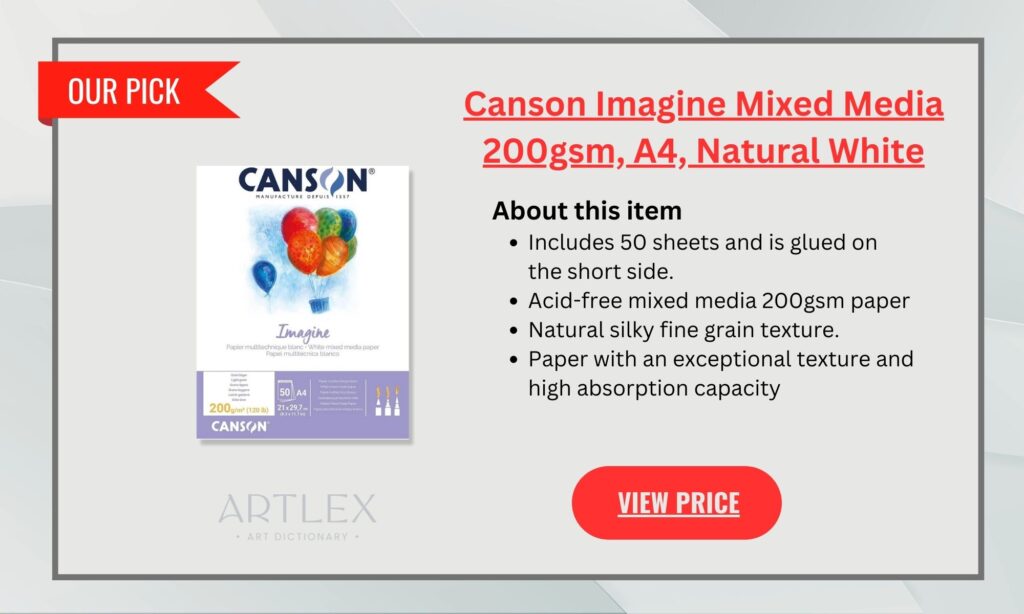
You don’t need special paper for coloring, however the experience of coloring on paper that is more resistant, that has texture or that grand the pigments better is something I suggest you try. There are many types of paper for art, each one made with a specific medium in mind, however, there is also an “all-in-one” paper where you can try different mediums and experiment all you want without worrying. These two brands have great quality and are not as expensive as other professional brands. Remember, if you are going to use any kind of “wet” medium, make sure you’re printing with a laser printer.
- Fabriano Mixed Media
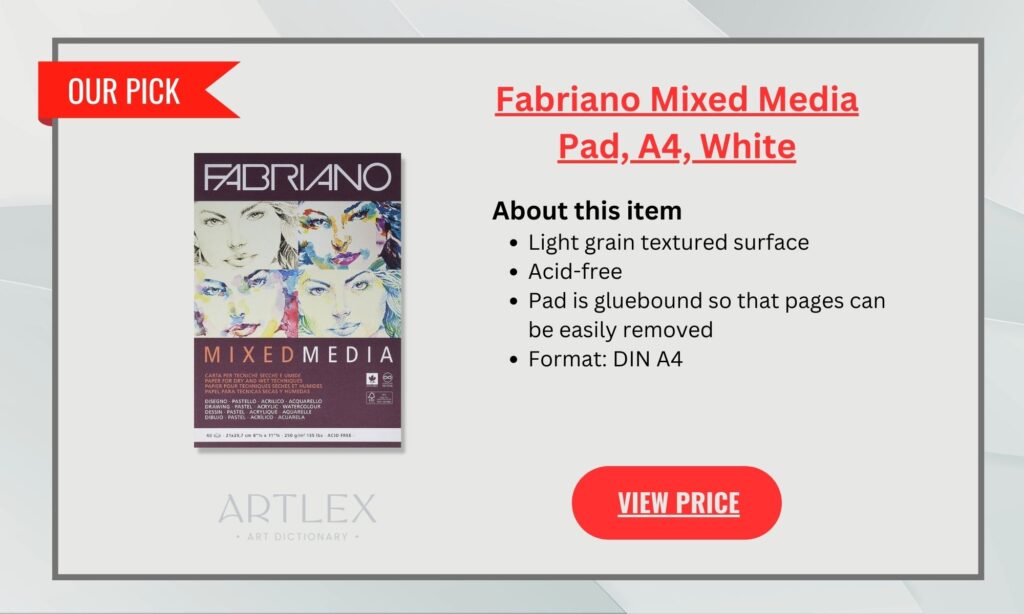
- Canson Mixed Media White
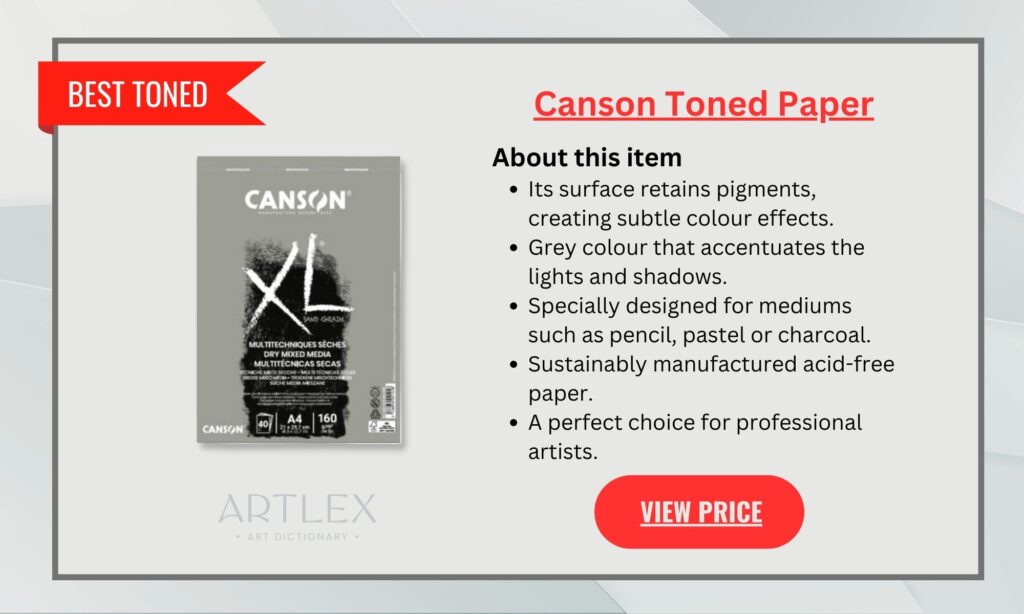
Coloring on top of white paper can affect how our brain perceives values and colors, so it’s always recommended to try toned paper. The gray tones on the paper will give your brain a base that is neutral and will force it to work with colors differently. You will learn about value and your coloring pages will look amazing with a darker background.
Accessories:
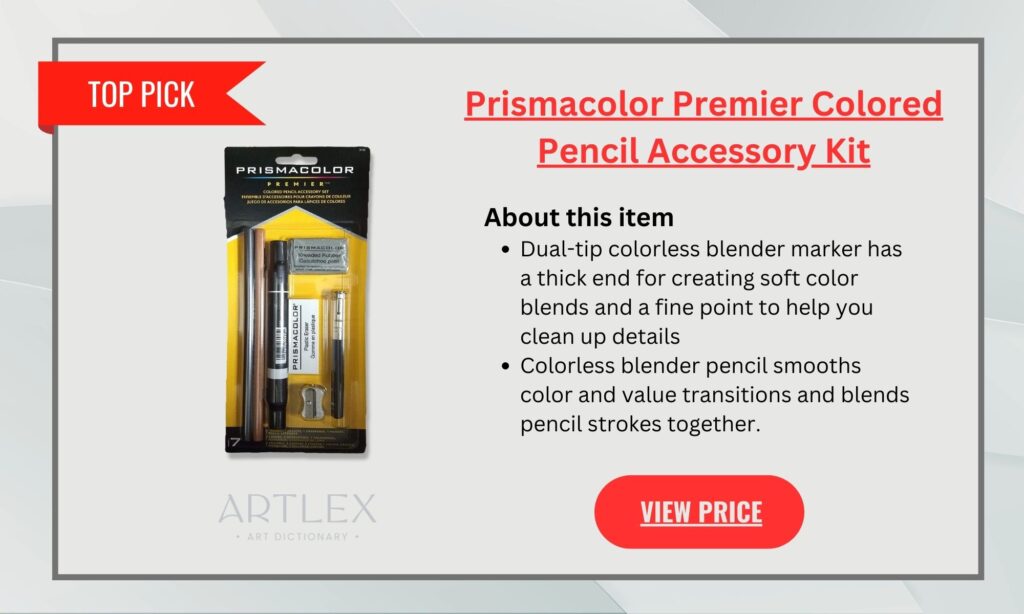
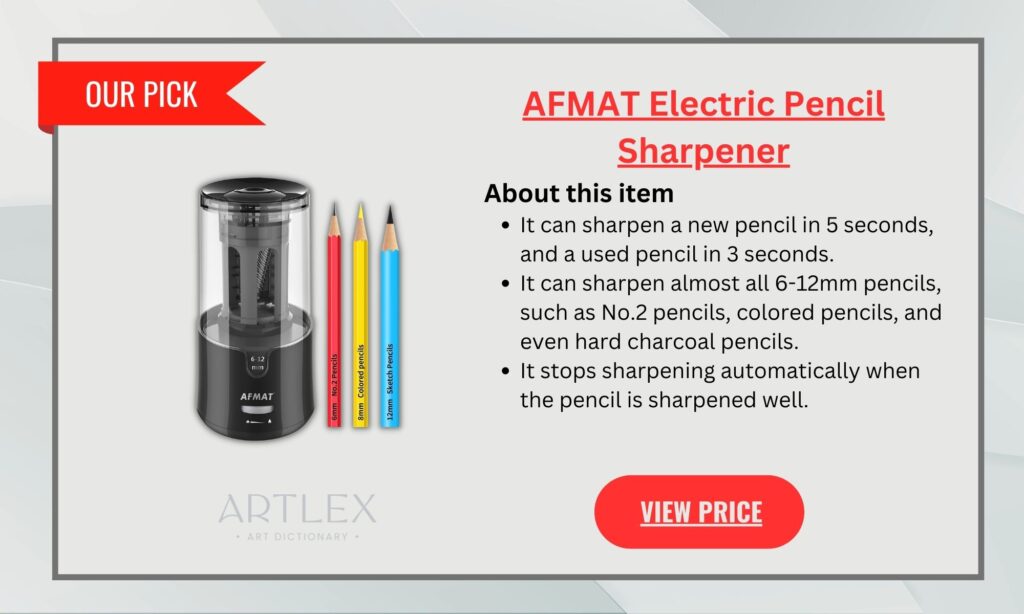
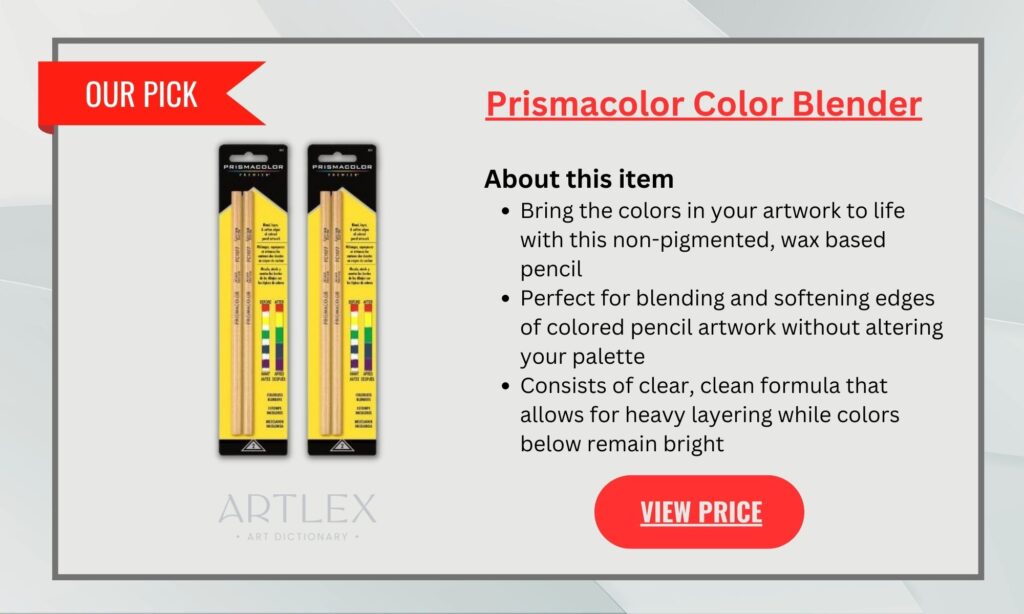
We couldn’t forget about all the accessories you need to bring your coloring to the next level! You don’t have to buy them all, of course, however, we do recommend you get the color blender and the electric eraser or the electric sharpener if you don’t have a good sharpener at home.
Colored pencils and markers are great for traditional coloring and fine detail work, while watercolor pencils allow for a more fluid and blended look. If you’re feeling adventurous, try using markers and gel pens to add bold and vibrant colors to your pages.
And remember, with the right color palettes and supplies, you can bring your coloring pages to life. So grab your coloring tools and get started today!
Happy Coloring!

