How to Draw a Panda – Step-by-Step Tutorial
Pandas are beloved creatures known for their distinctive black-and-white markings and cute, cuddly appearance. They are native to China and are considered a national treasure there. This tutorial is for you if you’ve ever wanted to learn how to draw one of these adorable animals! In the following steps, we will show you how to draw a panda step by step so that you can create your own cute and cuddly depiction of this iconic animal. Whether you are a beginner or an experienced artist, you will find helpful tips and techniques to help you capture the essence of the Panda.
So grab your pencils, and let’s get started!
- Purpose of the Tutorial:
This guide provides a structured, step-by-step process to help artists of all levels learn how to draw a panda, from its basic shapes to shading and adding details. - Materials Needed:
- Pencils: 2H graphite, 4B graphite, soft charcoal.
- Erasers: Kneaded eraser, pencil eraser, Tombow Mono Zero.
- Accessories: Blending stump and sandpaper for pencil tips.
- Section 1: Basic Shapes:
- The panda is deconstructed into simple shapes like circles, beans, and hexagons to construct its body and face.
- Key features include the torso, head, limbs, paws, and facial features (nose, eyes, mouth, ears).
- Section 2: Adding Fur and Details:
- Artists build on the basic shapes to add fur texture with fine and varied strokes using a 4B pencil.
- Emphasis is placed on creating a thick neck and detailed facial features.
- Section 3: Shading:
- Base Layer: A light layer of graphite is applied to the darkest areas of the panda’s fur.
- Black Fur: Charcoal pencil is used with short strokes for texture.
- White Fur: Blending stumps with a light touch create subtle shadows for the white areas.
- Background: Includes shaded bamboo and grass for context and depth.
- Tips for Success:
- Use light pressure when sketching construction lines for easy erasing.
- Sand pencils for precision and combine long and short strokes for realistic fur texture.
- Blend carefully to maintain natural shading and avoid harsh transitions.
- Encouragement for Artists:
Beginners are encouraged to practice without fear of imperfection and to enjoy the process of improvement.
What you’ll learn:
- A Panda’s Basic Shapes
- How to draw a Panda
- How to Shade a Panda
Materials needed:
- A piece of paper
- A 2H graphite pencil
- A soft charcoal pencil
- A Blending stump
- An eraser or a kneaded eraser
- A pencil eraser
- A Tombow Mono Zero 2.3mm
This is the Panda you’re going to draw: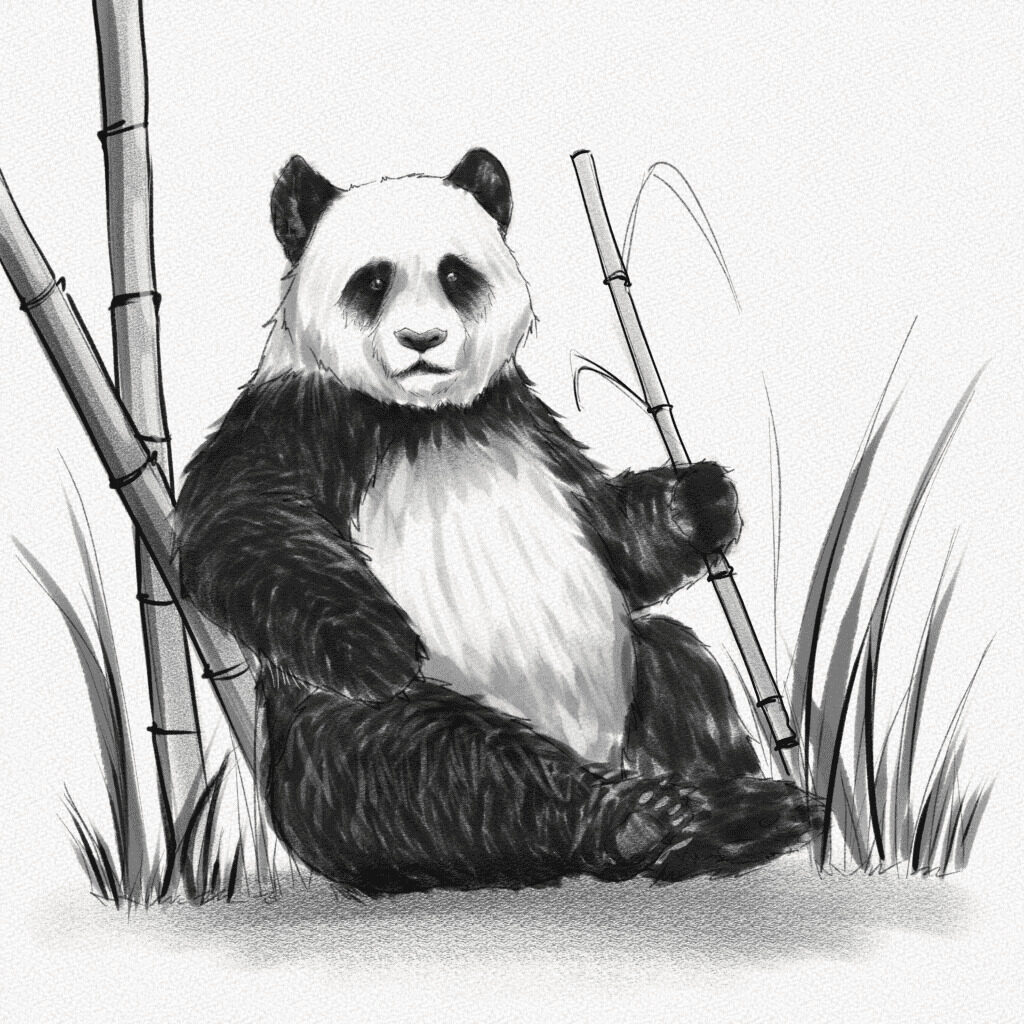
And these are all the steps we’ll walk you through: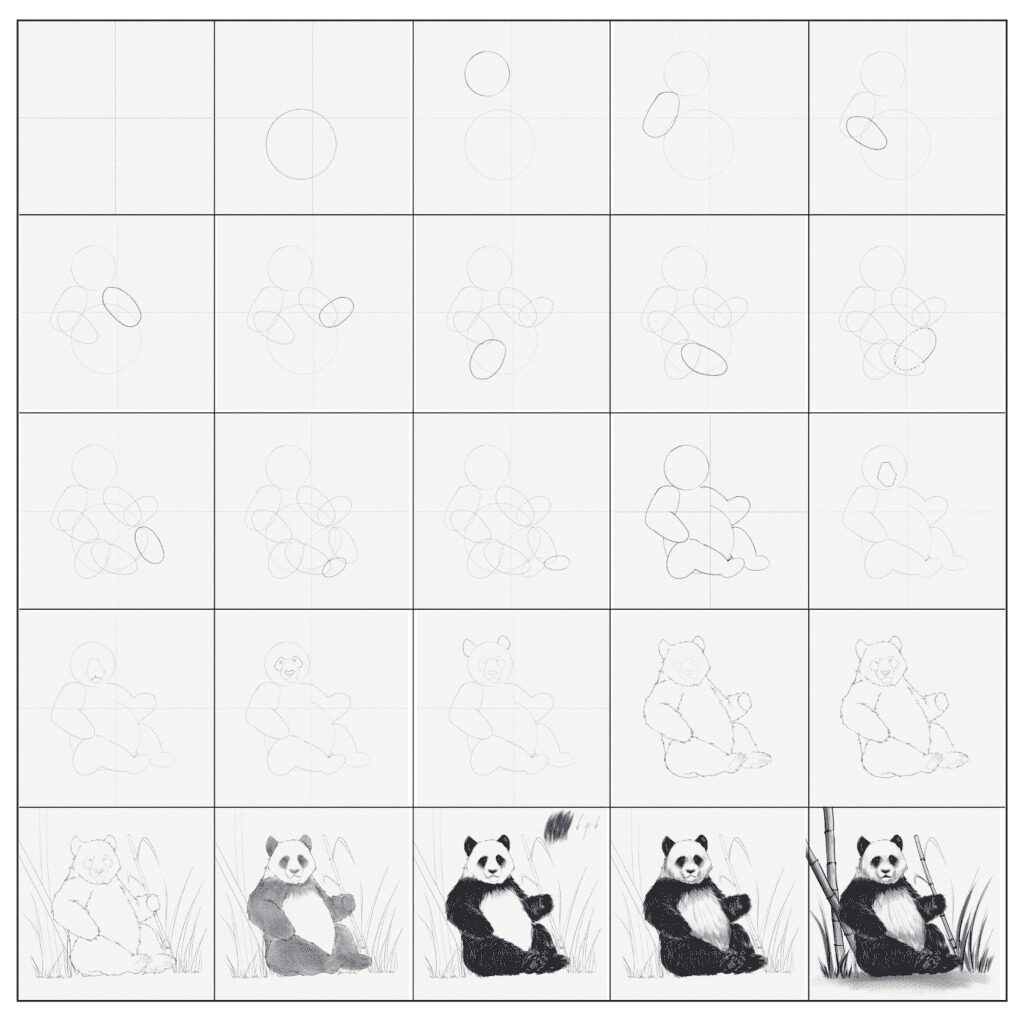
Section 1.- A Panda Basic Shapes
For this section, we’ll deconstruct the Panda into basic shapes and build it from there. We are going to use our 2H pencil and kneaded eraser. Please apply the less amount of pressure possible when drawing since we’re going to use several construction lines.
Step 1: Split your canvas into four parts
Using your 2H pencil, split your canvas into four equal parts so that you will have a reference for the Panda’s pose and size.
Step 2: Draw a circle
Sketch a circle in the lower-left part of your canvas. This will be the main part of the body (tummy) of our Panda.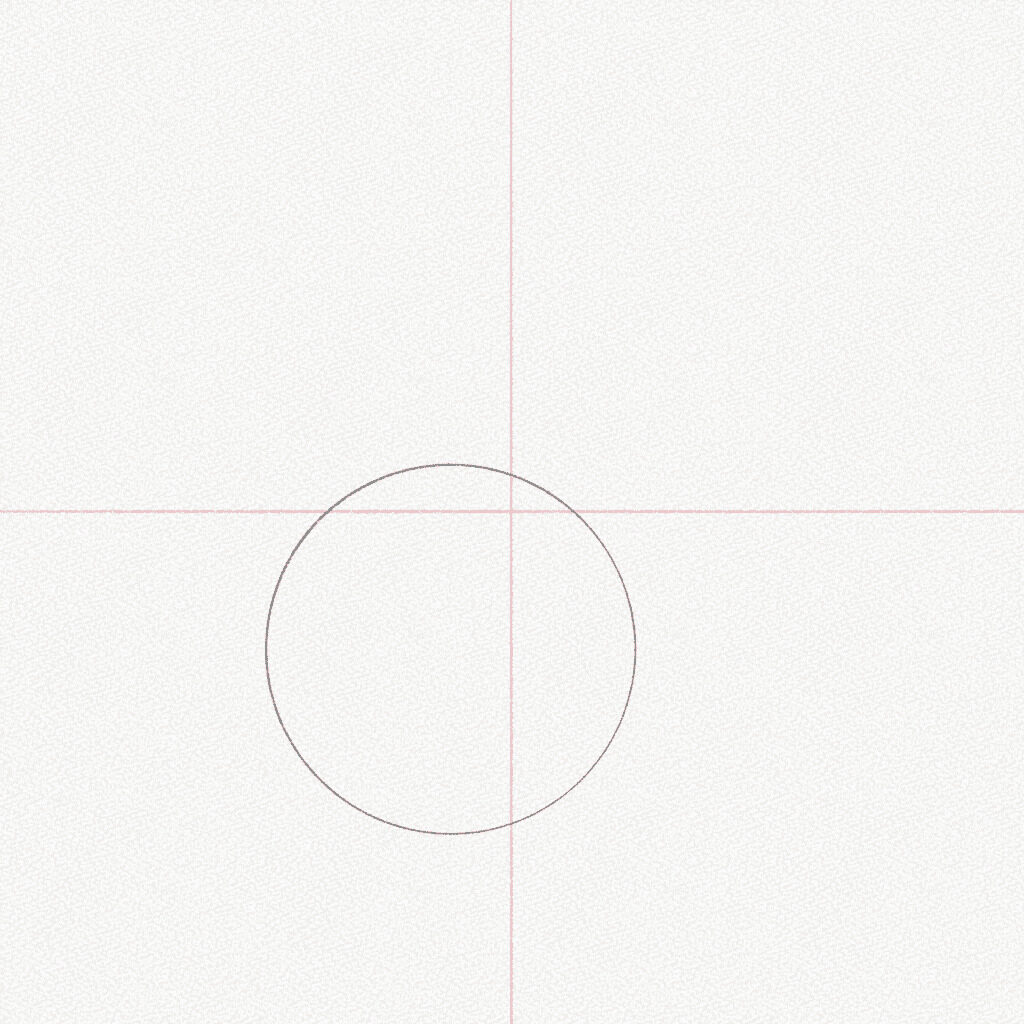
Step 3: Draw another circle
Draw a smaller circle above the first one. This will be the head of our Panda. 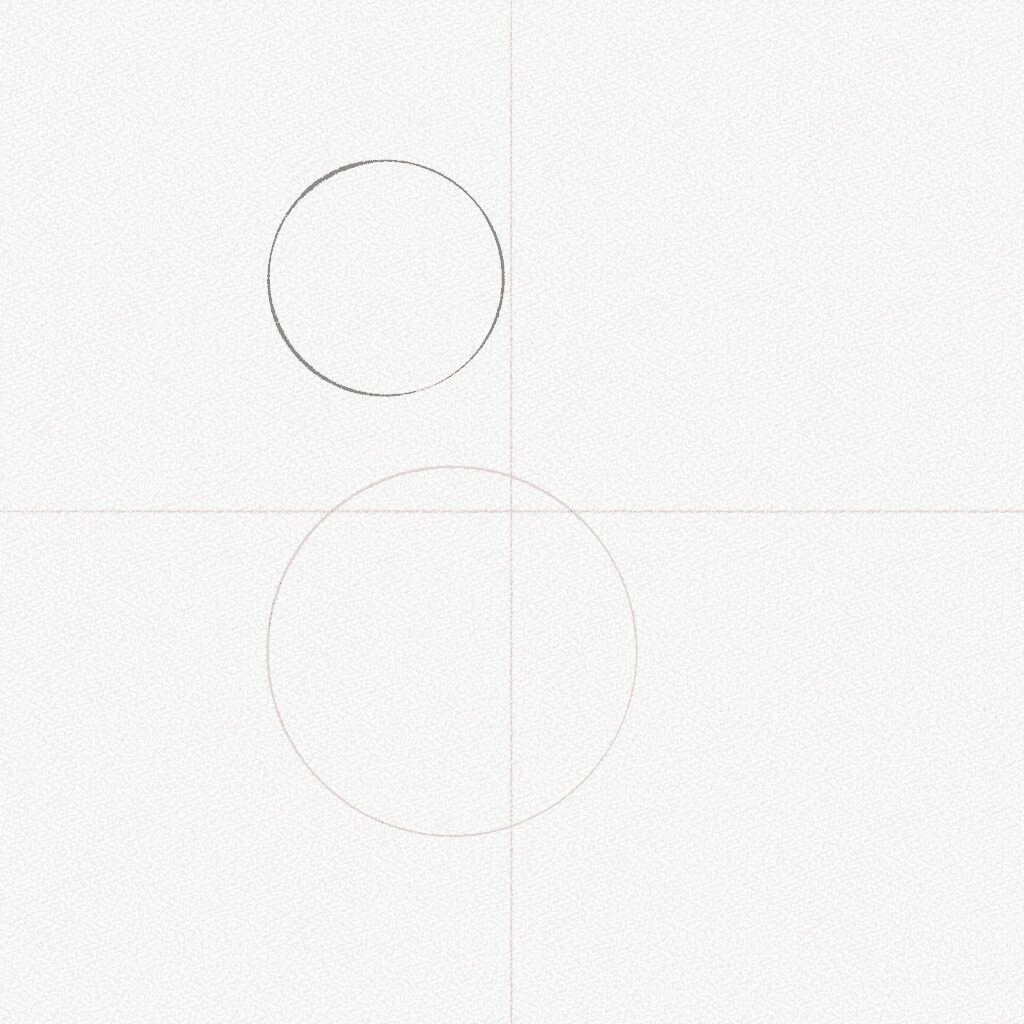
Step 4: Draw a bean
Draw a bean-like shape connecting both circles. This will be the upper arm of our Panda.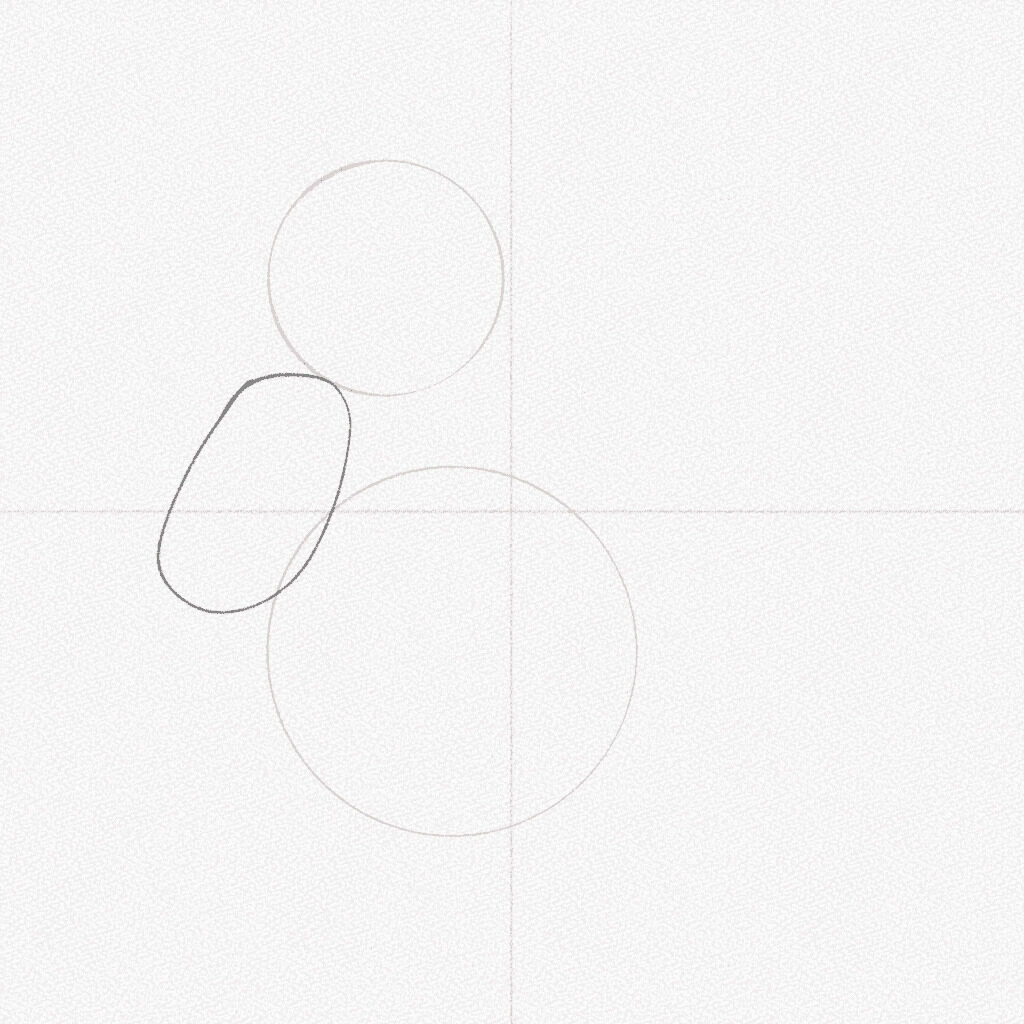
Step 5: Draw another bean
Draw another bean to complete the arm structure.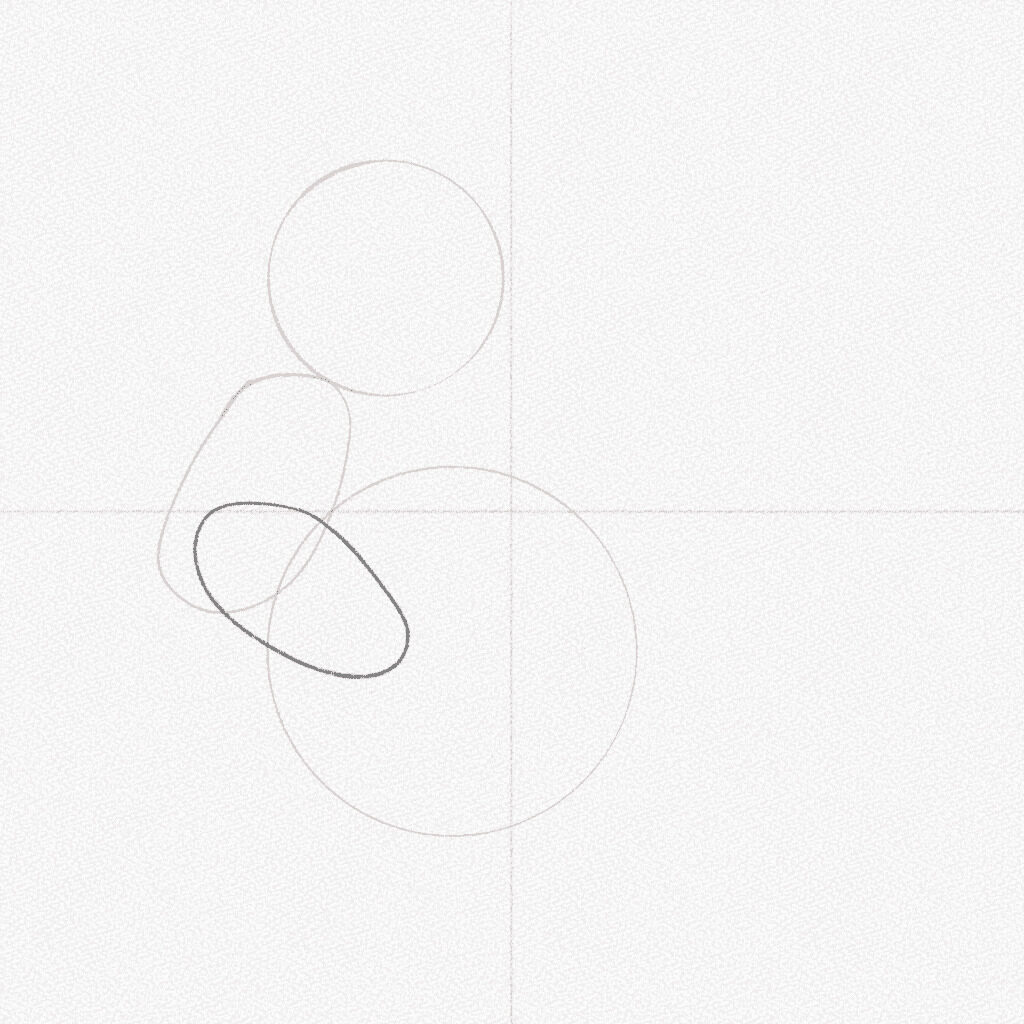
Step 6: Repeat
Repeat the steps above to make the other arm. Change the direction of the second bean to give dynamism to the pose.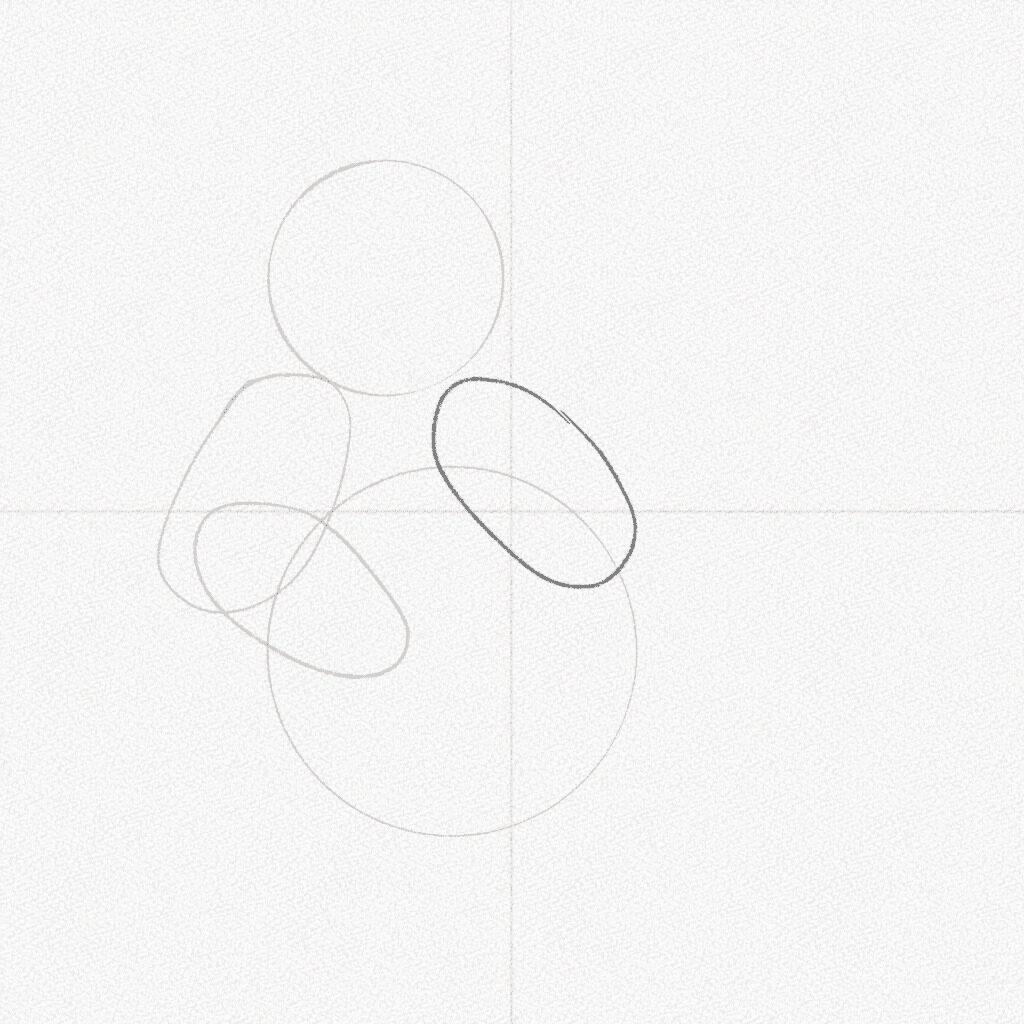
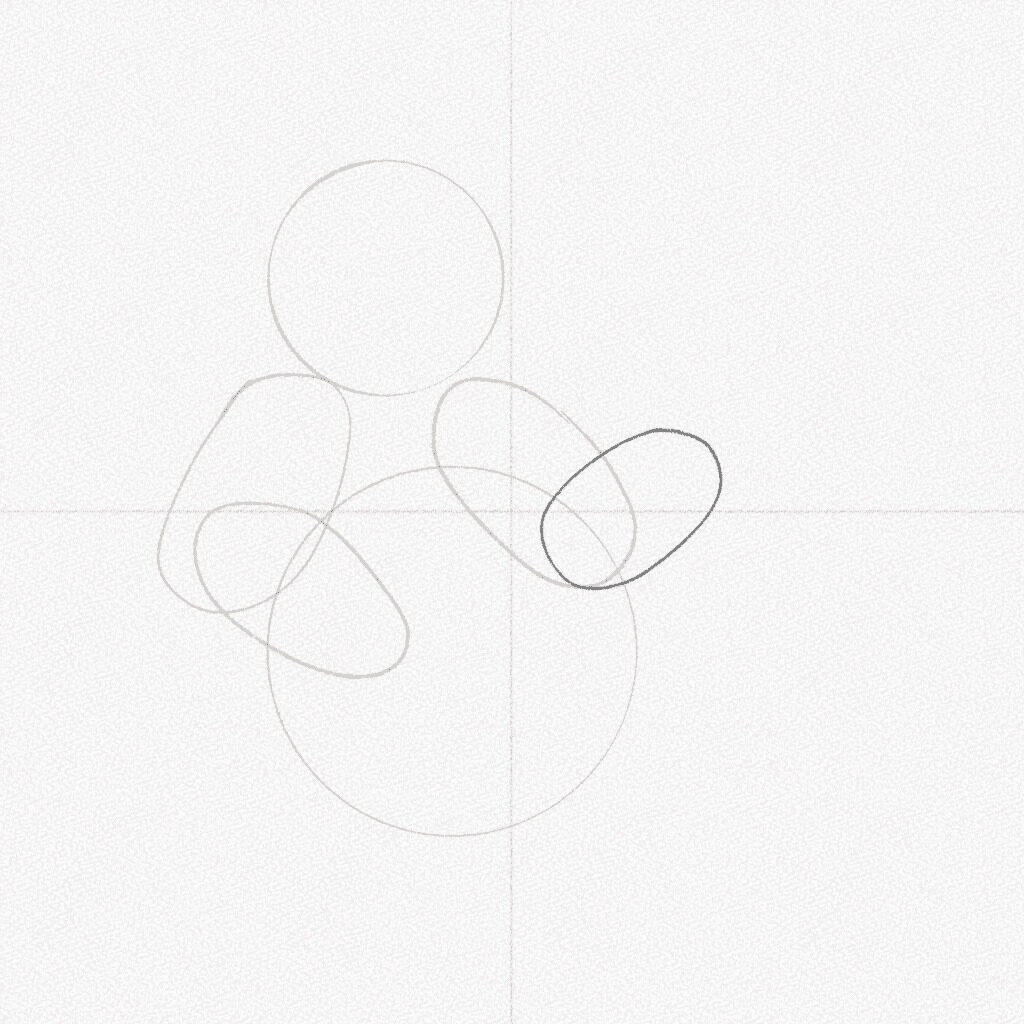
Step 7: Draw a large bean
Draw a larger bean shape for the upper part of the leg. 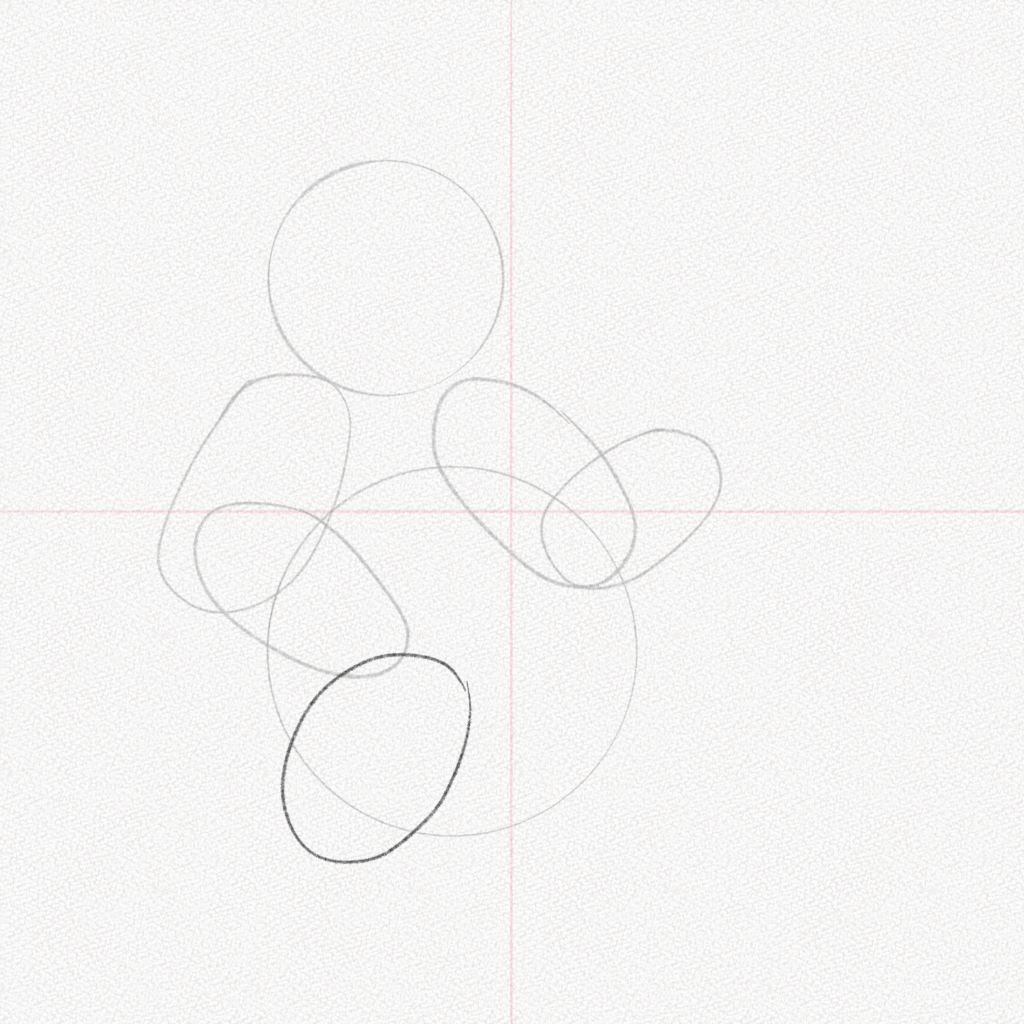
Step 8: Draw another bean
Now define the shape of the lower part of the leg with another bean-like shape.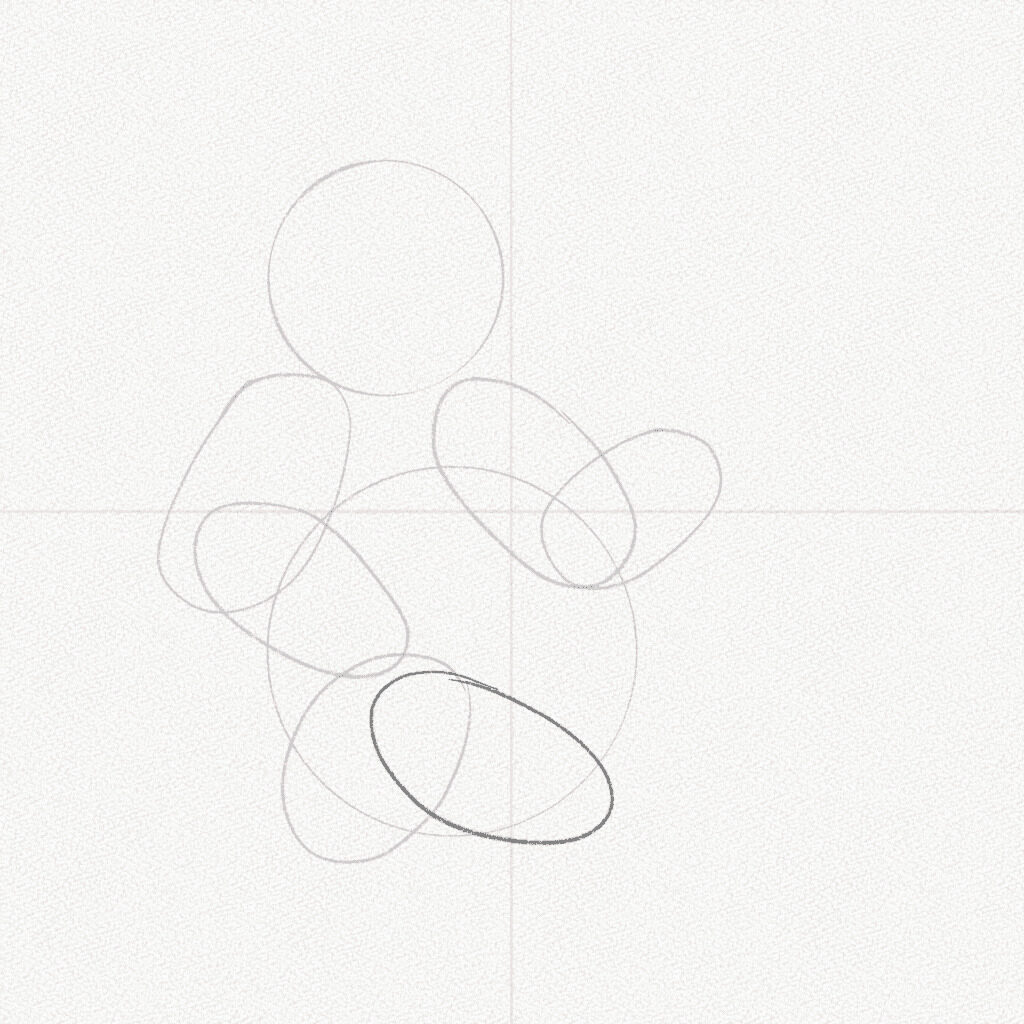
Step 9: Repeat
Repeat the steps above. Please keep in mind that most parts of the other leg will remain hidden due to overlapping with the body.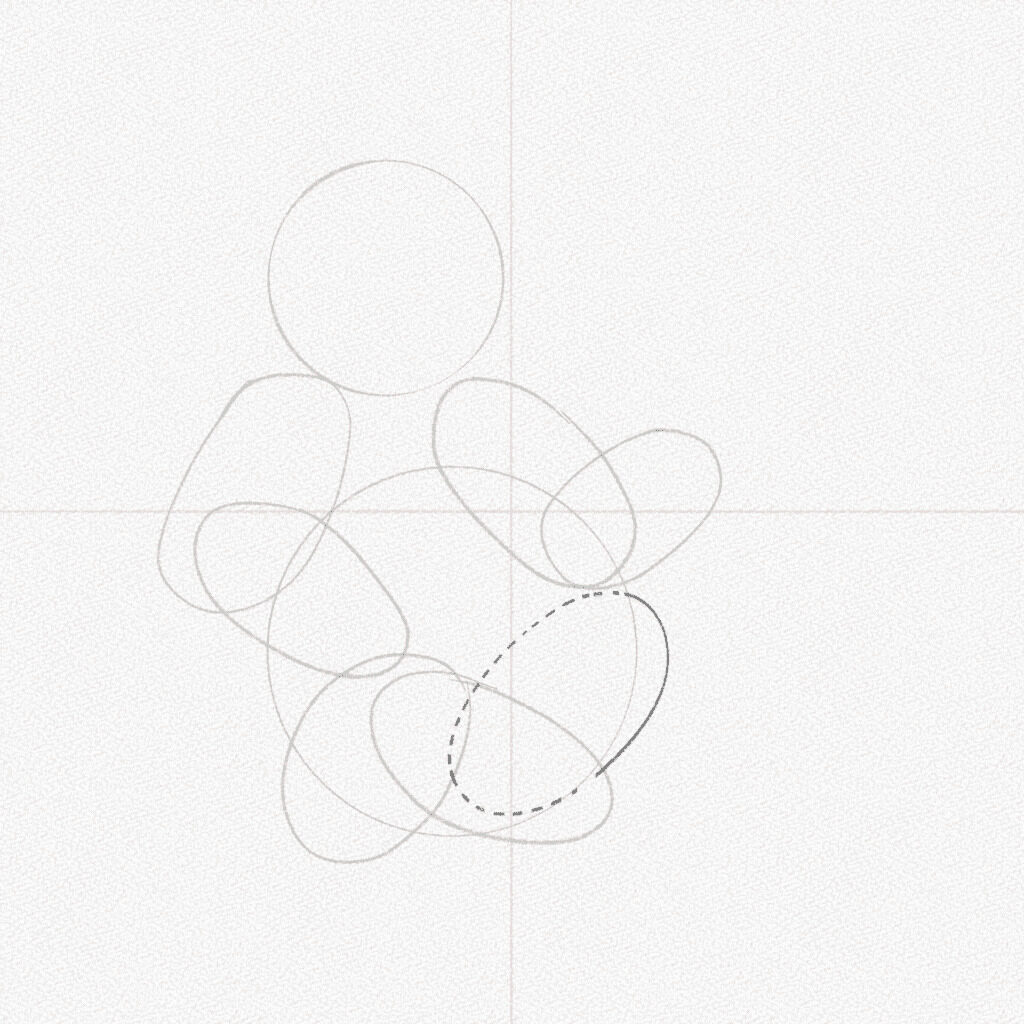
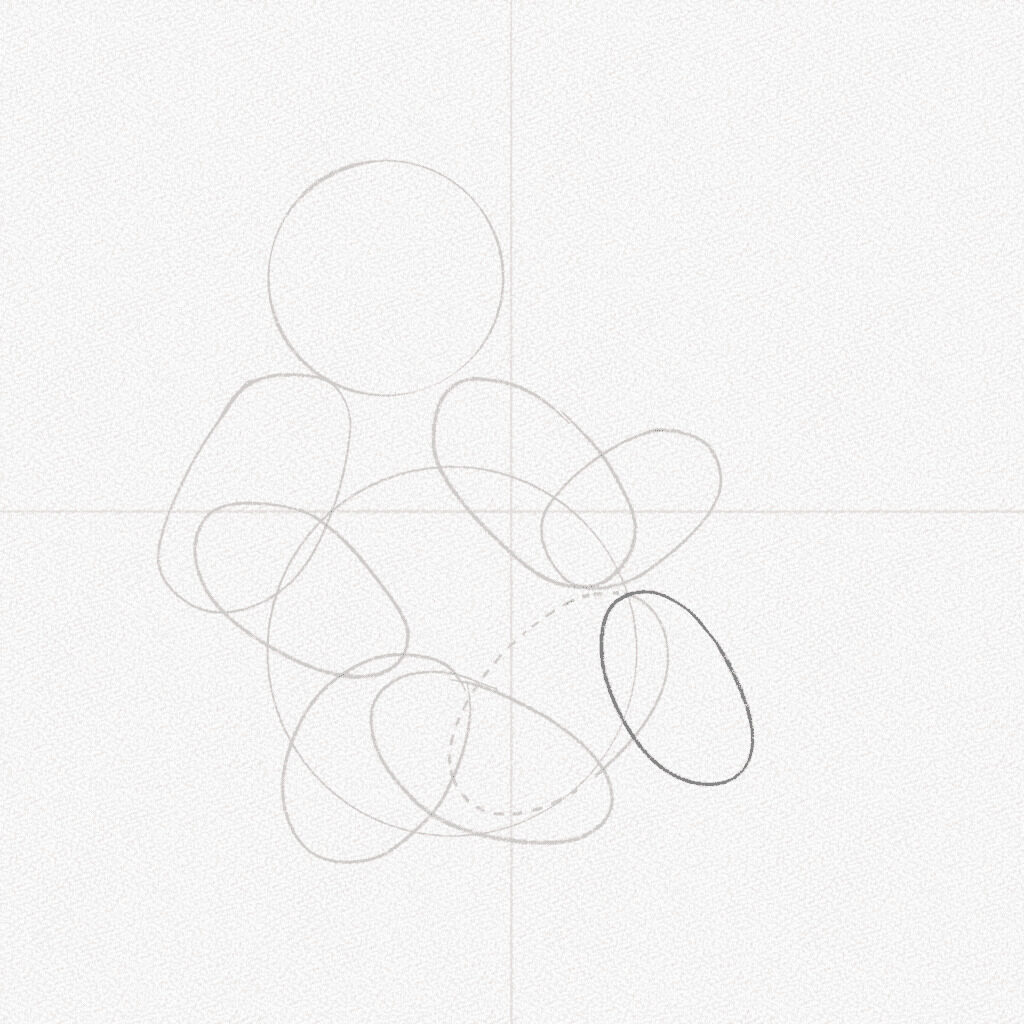
Step 10: Draw the paws
Use two small beans for the paws. Change the direction to add variety to your drawing.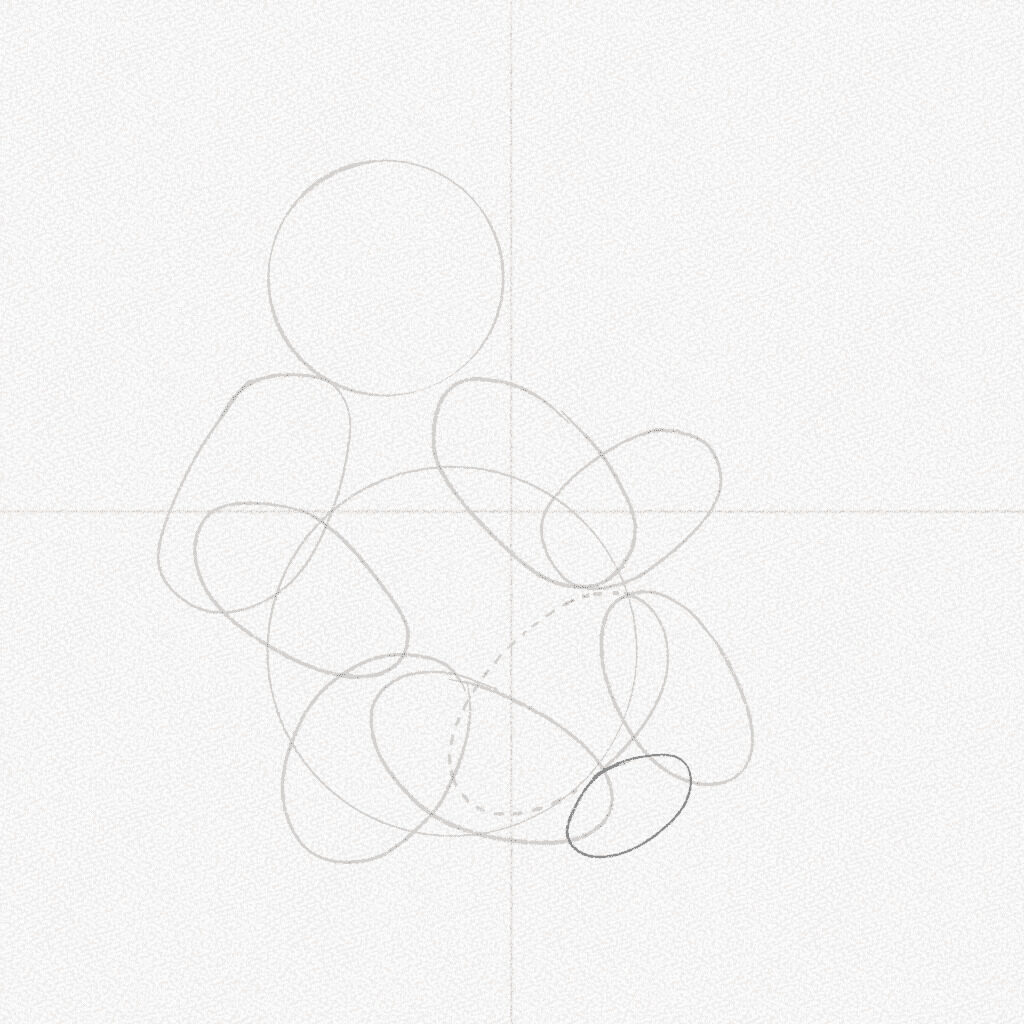
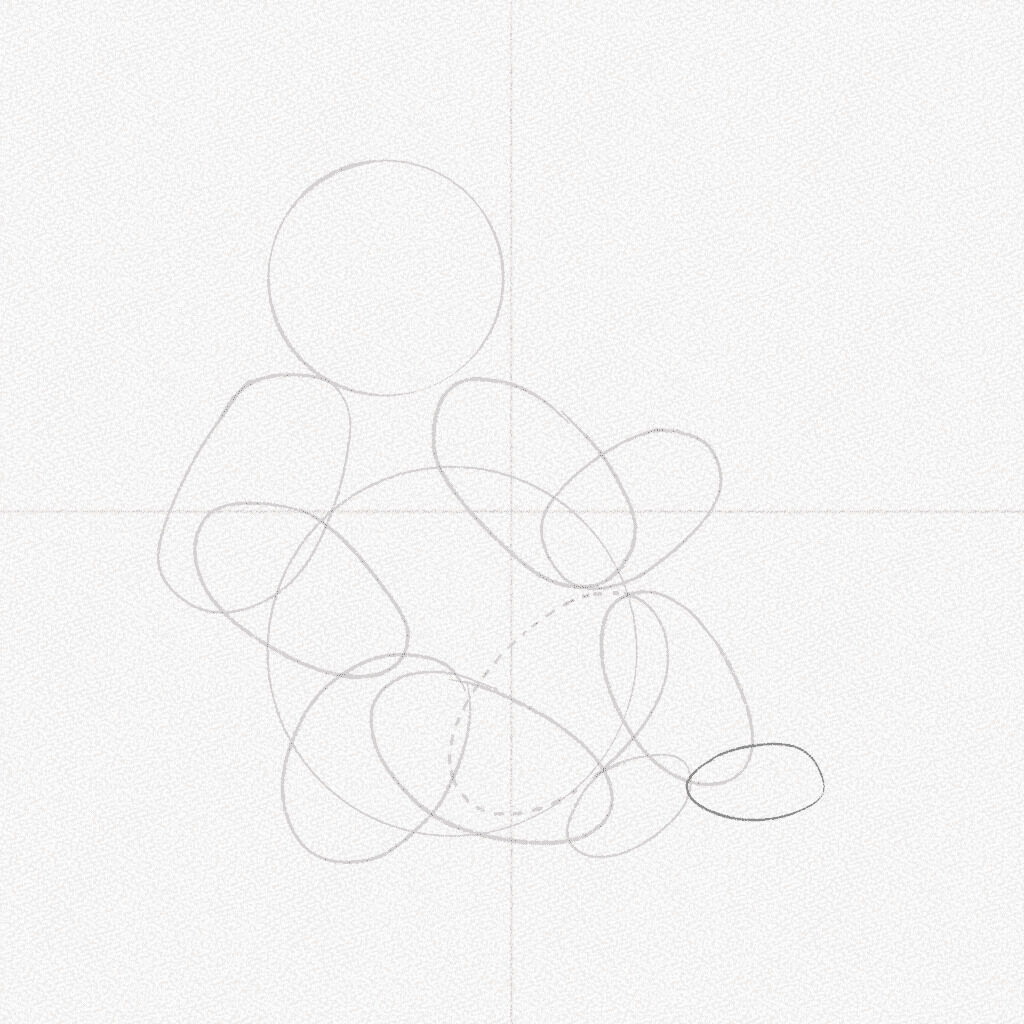
Step 11: Clean your sketch
This step is essential since it will allow us to see the shape underneath all the construction lines. Erase all the overlapping lines leaving the upper and lower limbs clean and defined. 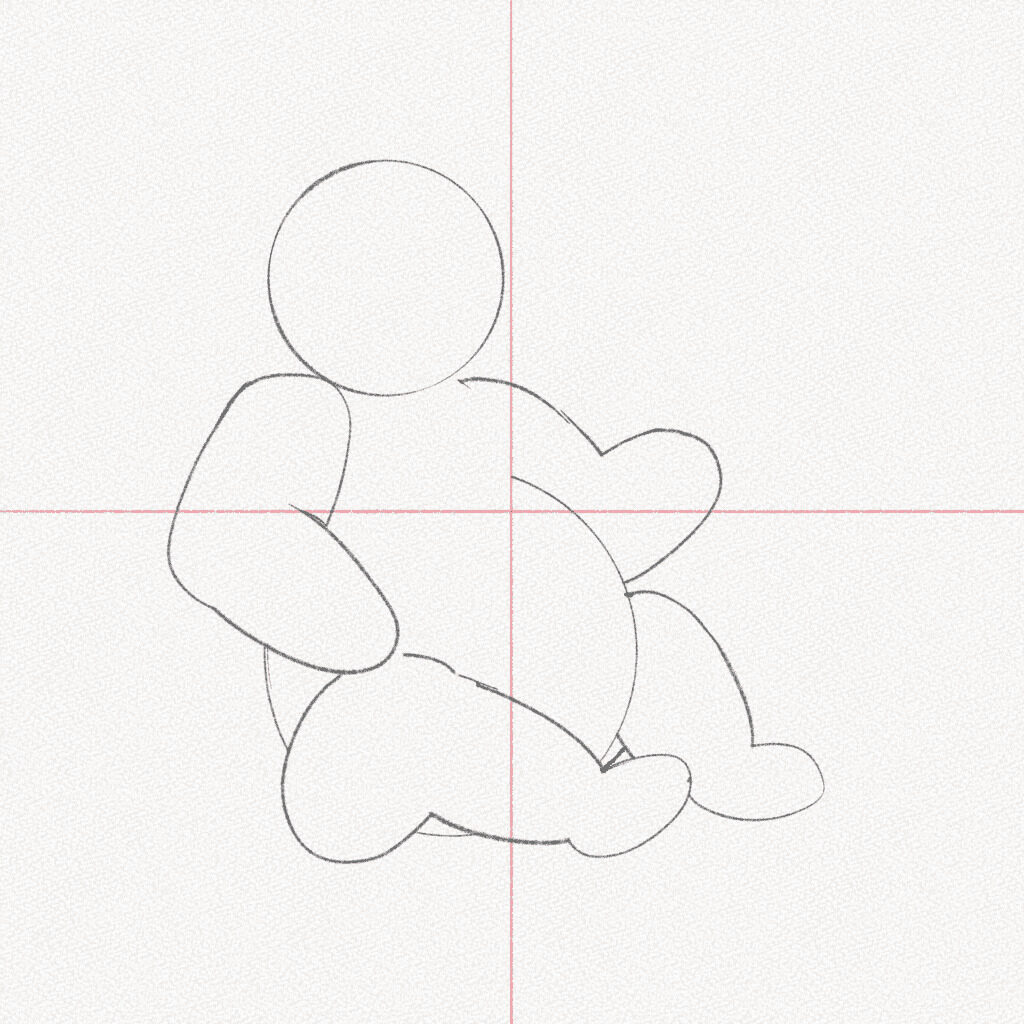
Step 12: Draw a hexagon
Draw an irregular hexagon in the lower part of the Panda’s head. This will be the mouth and nose of our Panda.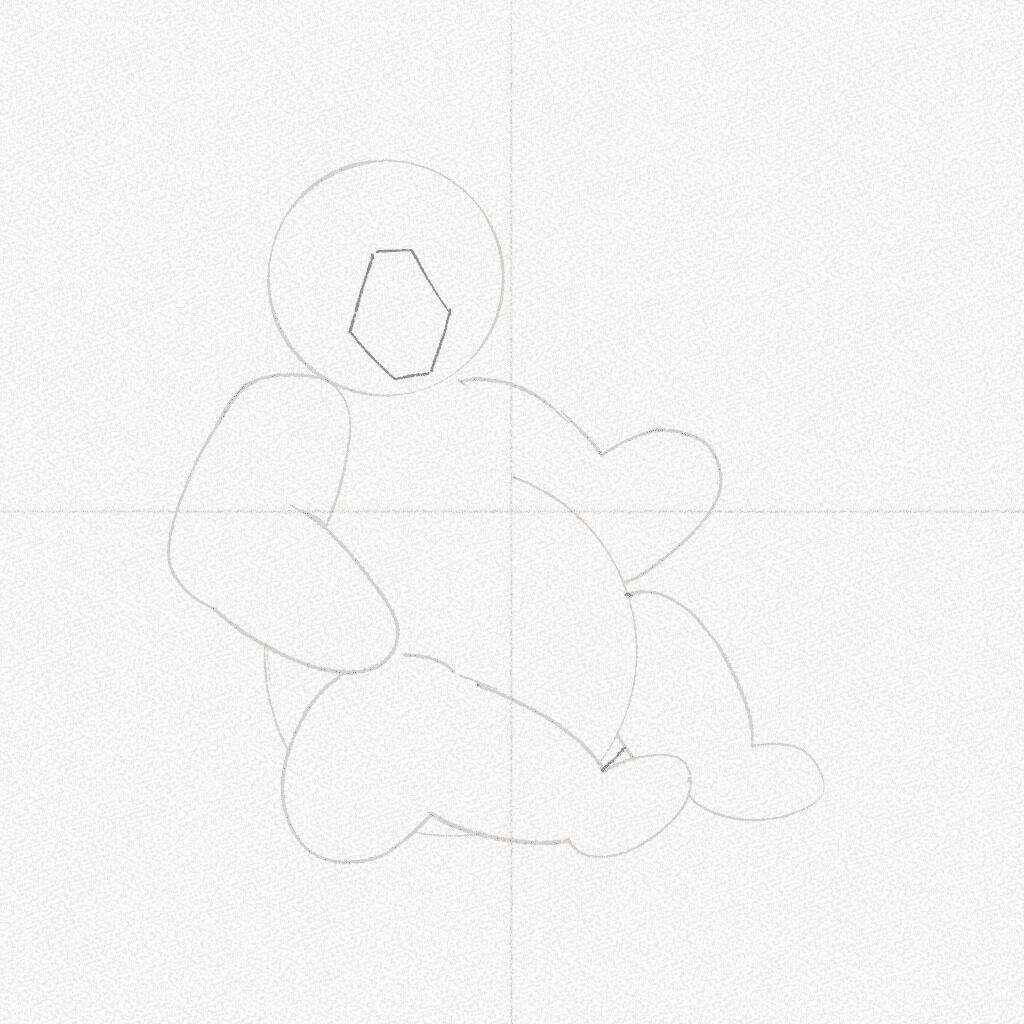
Step 13: Draw an inverted “Y”
Draw an inverted Y to define the Panda’s mouth.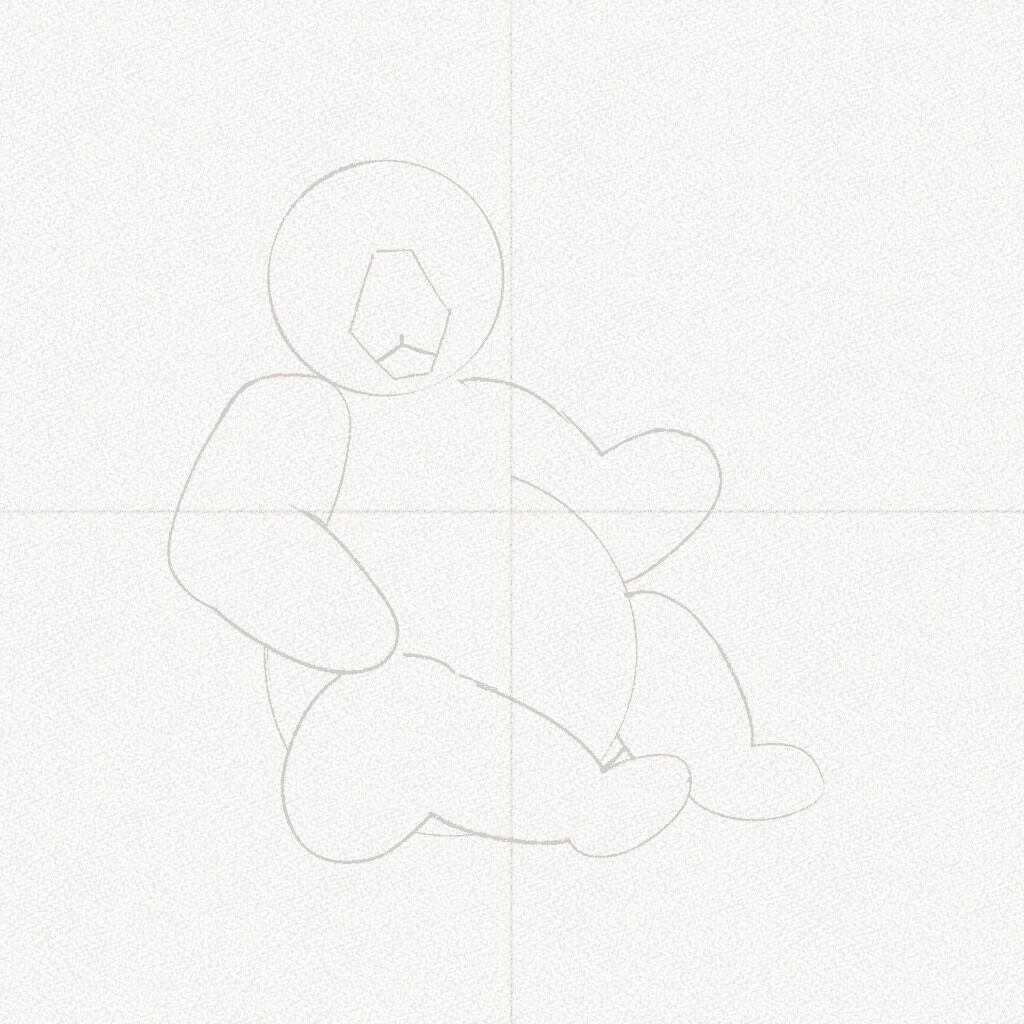
Step 14: Draw the eyes and nose
Draw the nose by making a C shape and topping it with an M shape. Then draw the eyes, making two blob-like lines next to the hexagon for the eye patches. Finally, add two small circles for the eyes.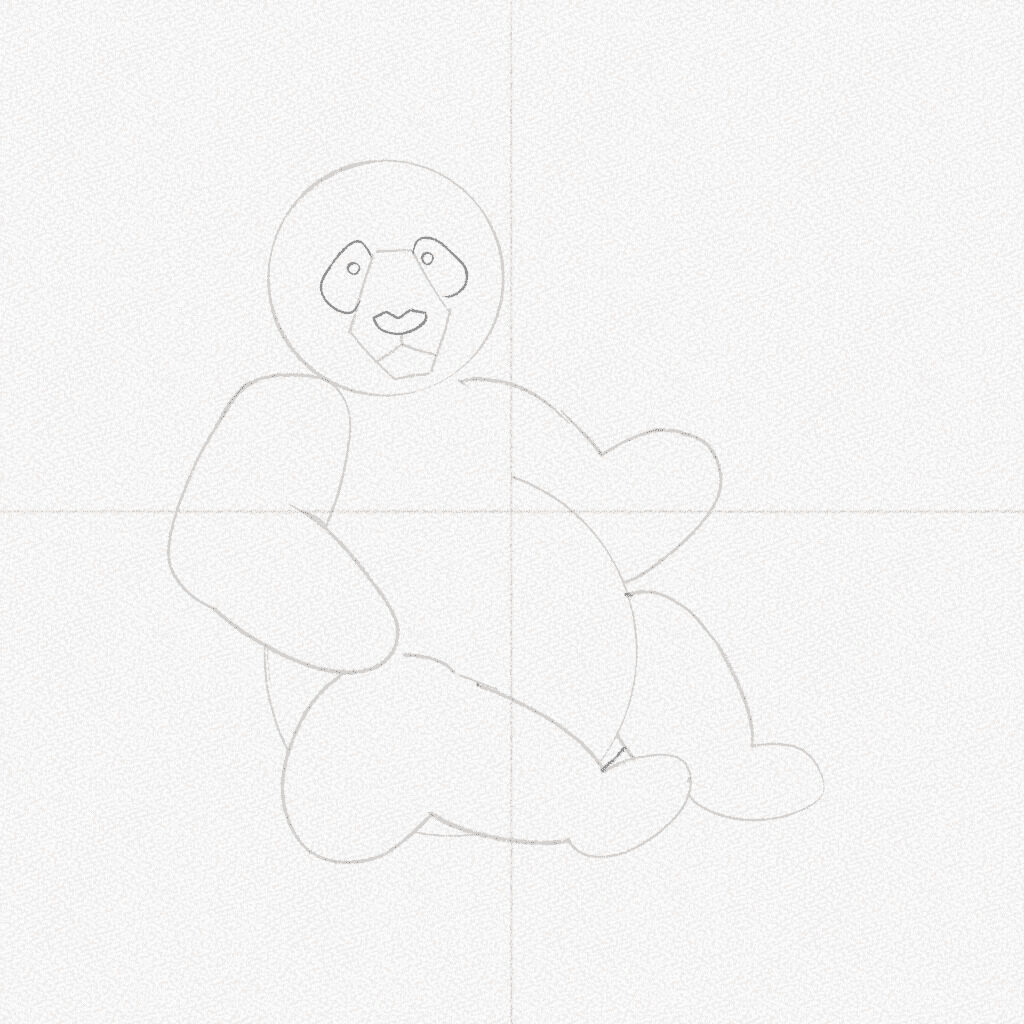
Step 15: Draw the ears
Add the ears right on top of the head, and you’re done!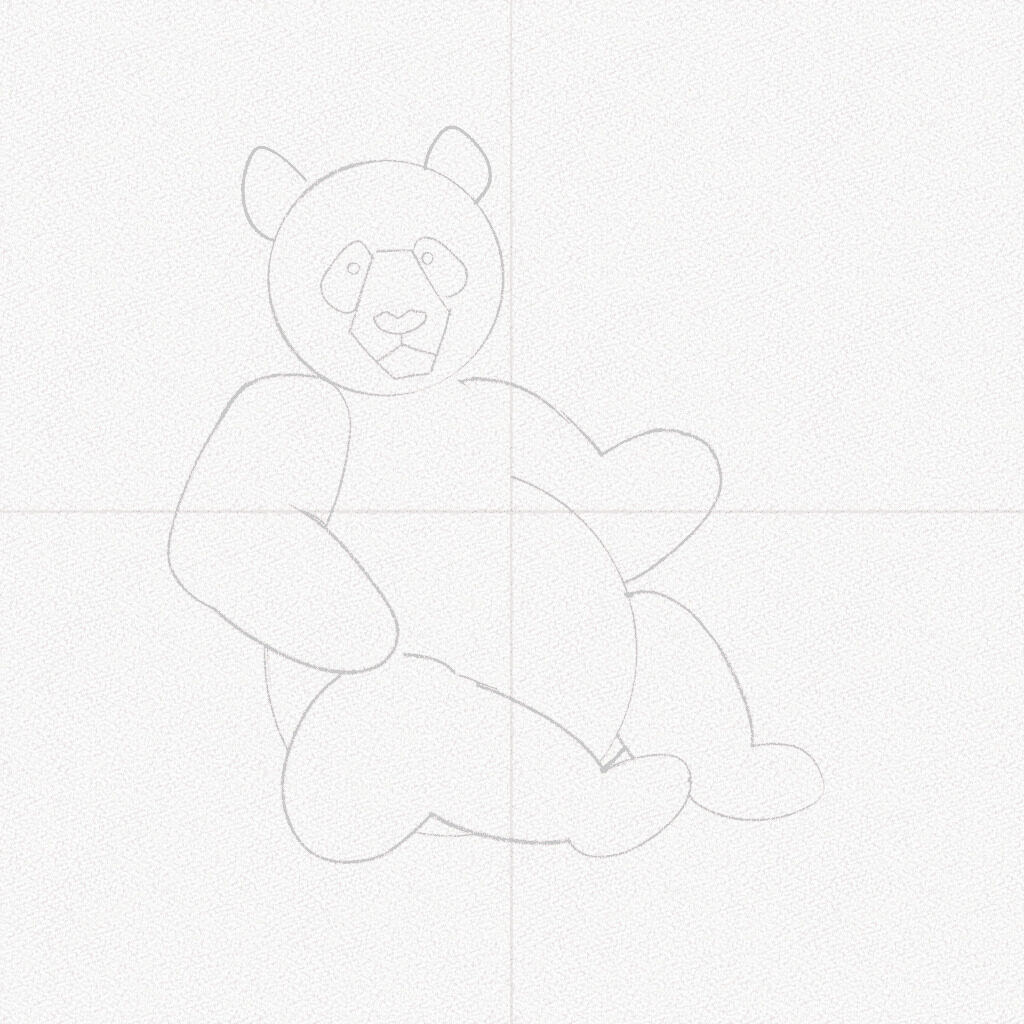
Now that you have the Panda construction lines, let’s build the fur on top of it.
Section 2.- How to Draw a Panda
For this section, we are going to use our 4B pencil.
Before starting your drawing, roll your kneaded eraser on top of your construction lines, leaving only a faint trace.
Step 17: Add fur
With your 4B pencil, start adding the fur around the Panda’s body. Use a combination of small and long lines to create the illusion of fur. Connect the body and head by giving the Panda a thick neck.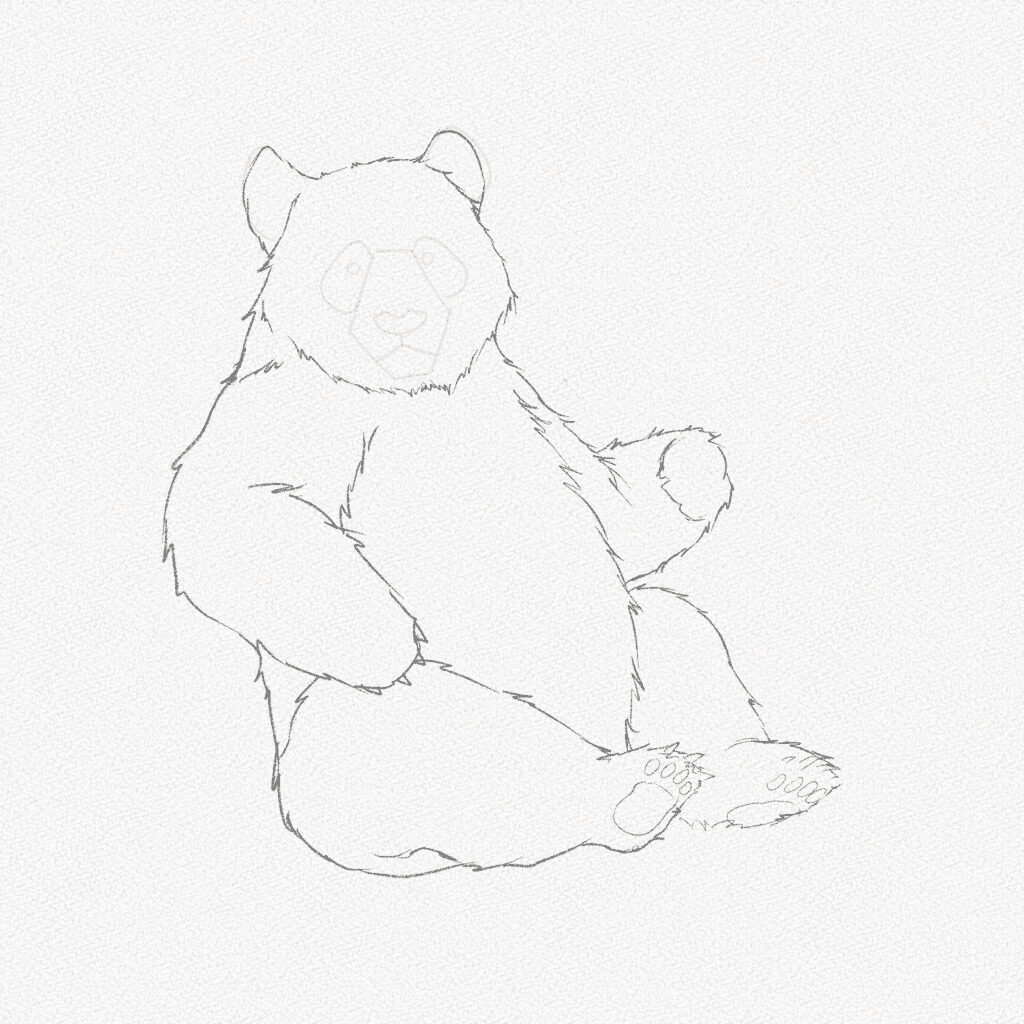
Step 18: Draw the Panda’s face
Sharpen your 4B pencil to a very fine tip and add fur to the Panda’s head and facial features. Don’t apply too much pressure since some of those areas will be shaded later.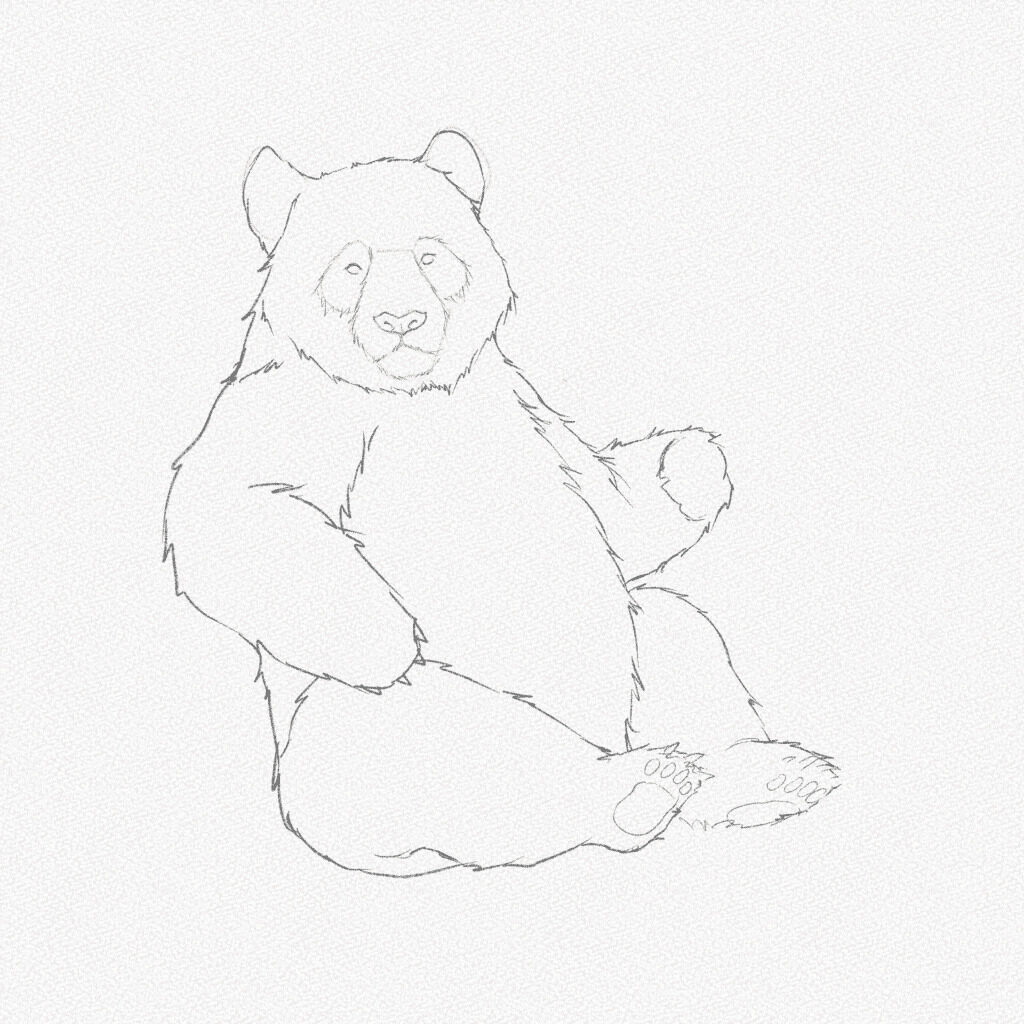
Step 19: Add a background
In order to complete our drawing, add a little bit of grass and bamboo around our Panda. 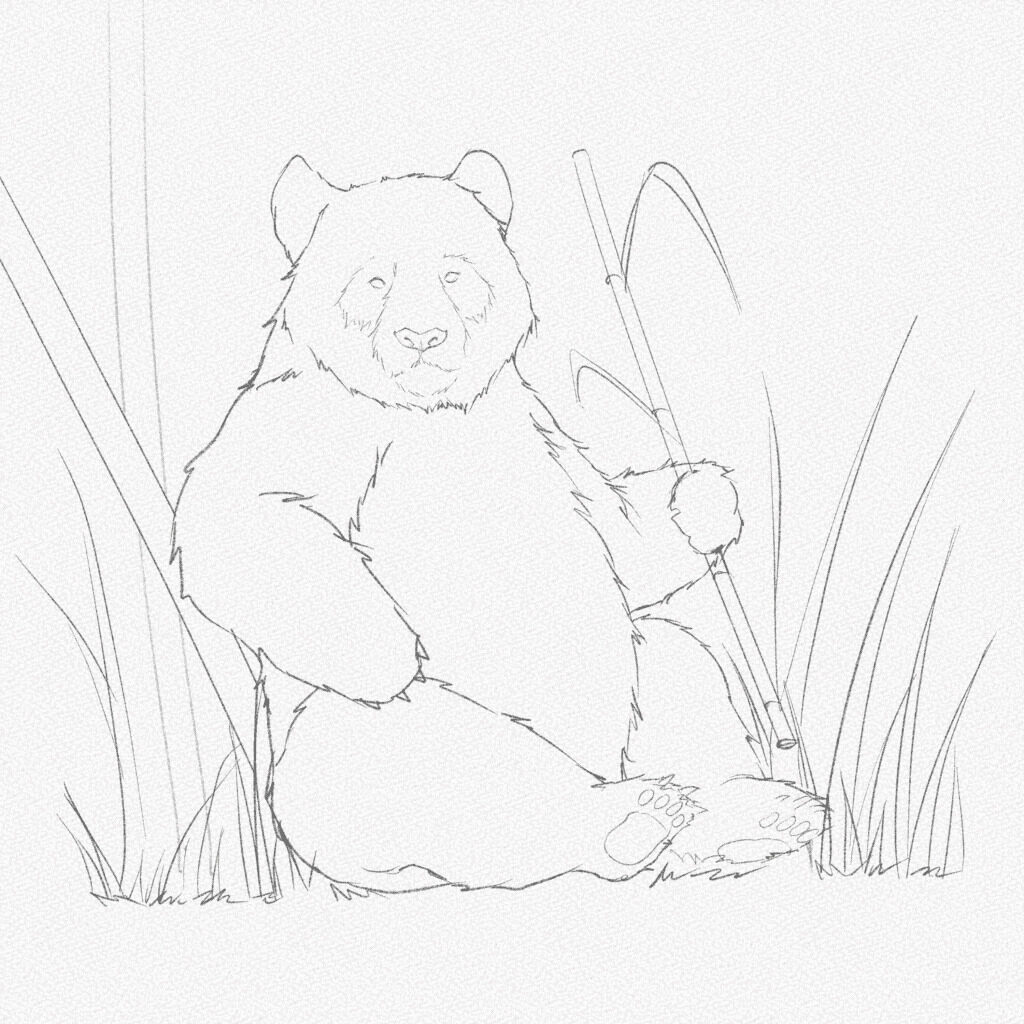
Section 3.- How to Shade a Panda
Step 20: Add a base layer of graphite
With your 4B pencil, add a soft layer of graphite in the areas where the Panda’s fur is the darkest. Keep it uniform and blend if needed.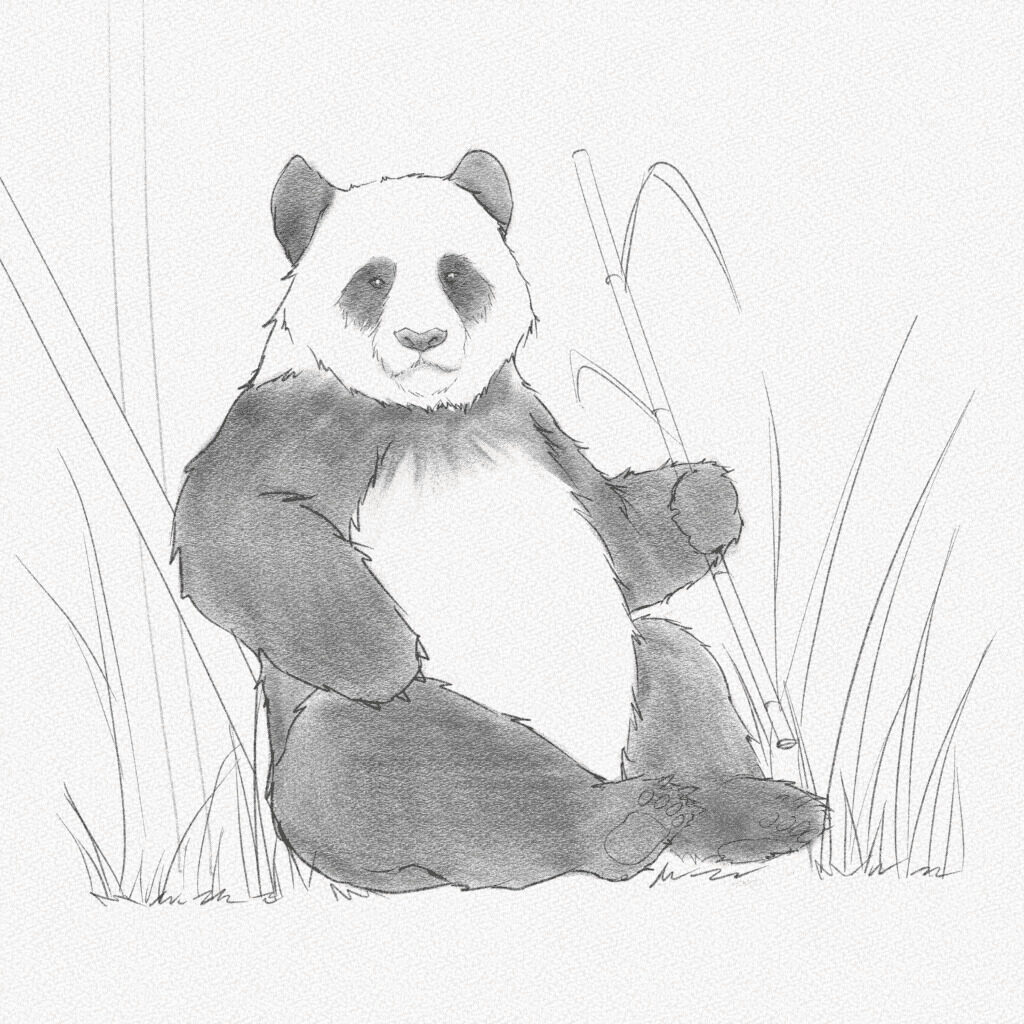
Step 21: Add the black fur
Sand your soft charcoal pencil into a flatter tip and shade the fur by pulling short lines up and down. Try to fill as much area as possible while keeping the fur texture. Shade the eyes and ears as well. 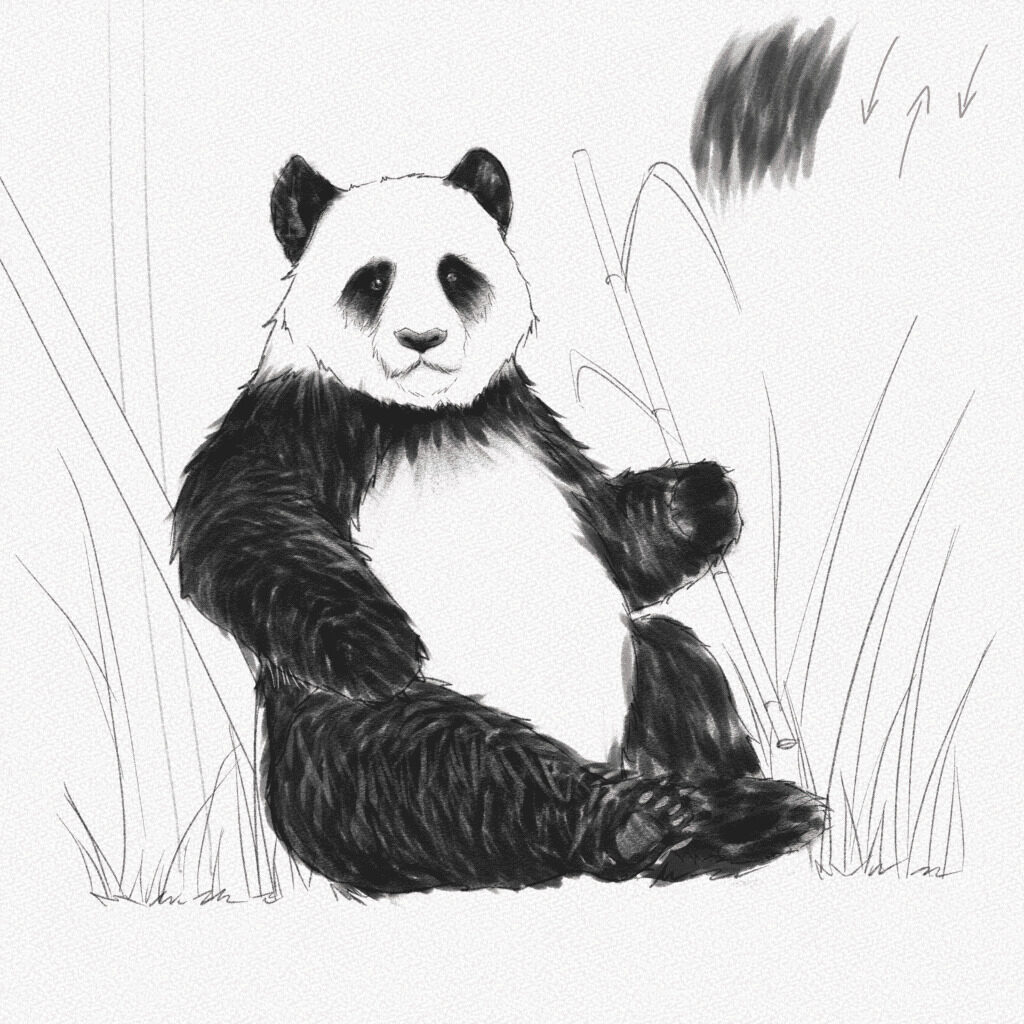
Step 22: Shade the white fur
Get some graphite or charcoal on the tip of your blending stump, clean it a bit and start shading the white parts of the fur with the same up-and-down movement as the previous step.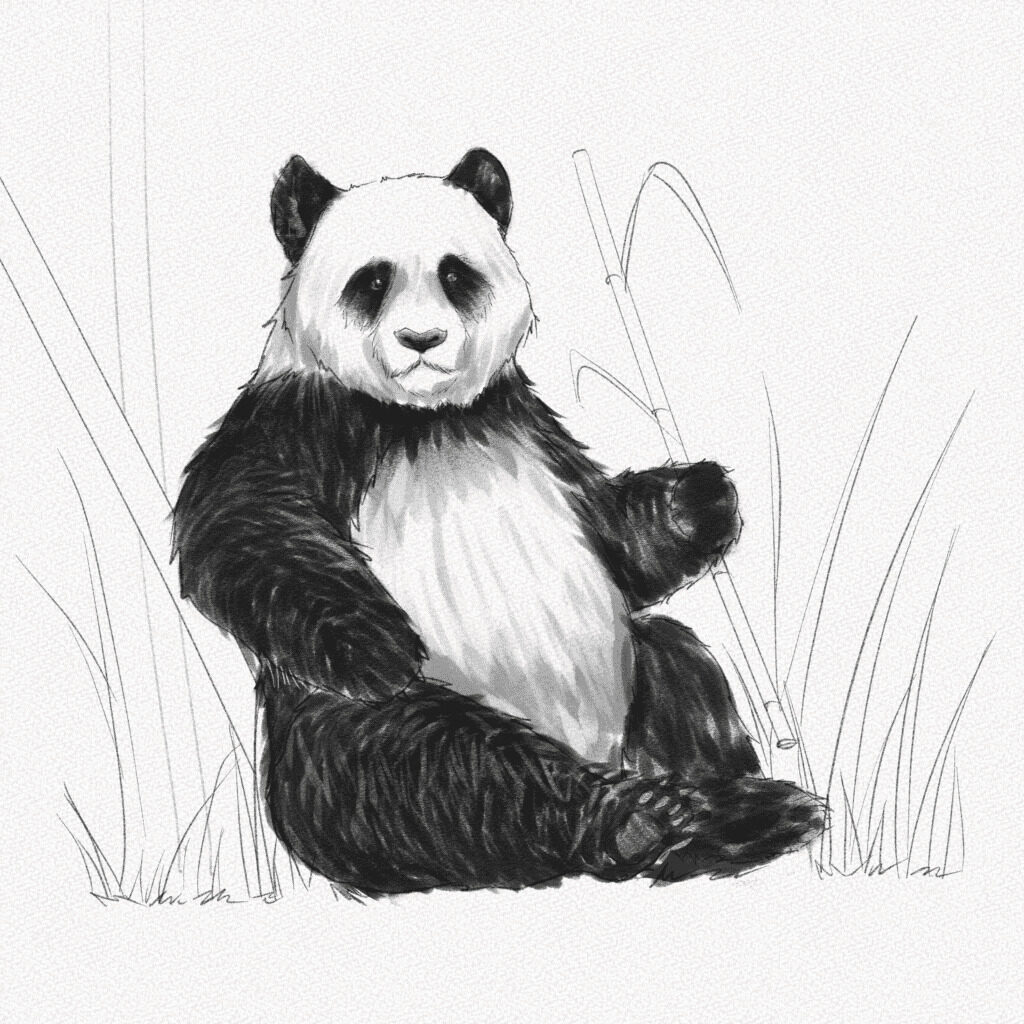
Step 23: Shade the background
Shade the background with your 4B pencil and outline the bamboo with your charcoal pencil flat side. Add some shading to the ground with your blending stump, and use your Tombow mono zero to add details to the fur.
And that’s it. You’re done!
You did it! You have completed this tutorial on how to draw a panda. We hope you found it helpful and feel confident in your ability to create your cute and cuddly depiction of this beloved animal. Drawing pandas may take time and practice, but don’t get discouraged if your first attempts don’t turn out exactly as you had hoped.
Happy drawing, until next time!
