Sunflowers are a beautiful and popular flower. They are one of the most well-known flowers in the world. The Sunflower’s history is closely related to art, as they have been used in paintings for centuries. Sunflowers were initially used to symbolize the sun, hence their name. These days, people use them for decorations or for their own artwork.
Artists have been using sunflowers in their paintings for centuries. In fact, there is evidence that the first paintings of sunflowers date back to around 1440 when Vincent van Gogh painted his famous “Sunflowers” series of paintings. Some other notable artists who used sunflowers in their work include Claude Monet and Edvard Munch.
In this tutorial, we are going to learn how to draw a realistic sunflower with graphite pencils!
What you’ll learn:
- How to draw a sunflower
- How to shade a sunflower
Materials needed:
- A piece of paper
- A 2H graphite pencil
- A 2B graphite pencil
- A 6B graphite pencil
- A Blending stump
- A Precision eraser
- A compass or circular tool
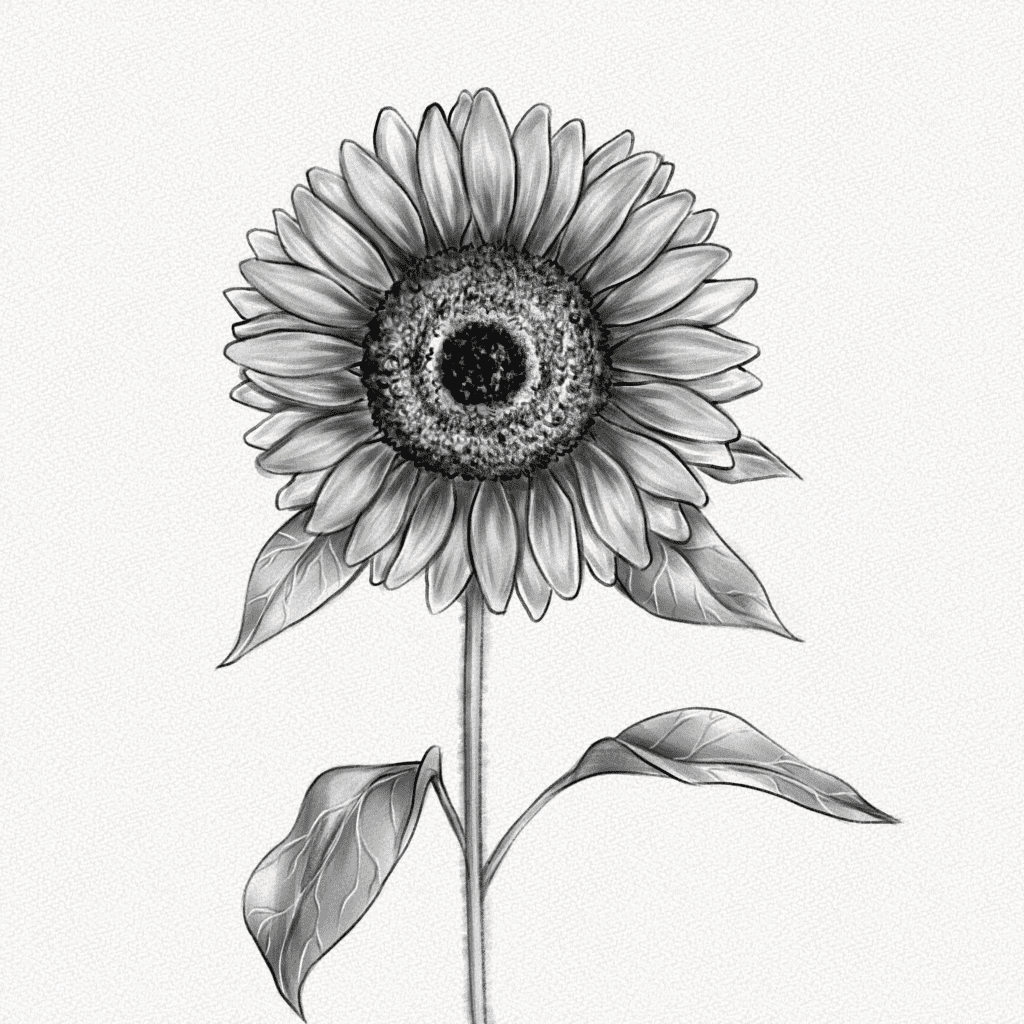
This is the Sunflower you’re going to draw:
Section 1.- How to Draw A Sunflower
Before jumping to draw the side profile, we must go through the head proportions again. Proportions stay the same; however, it might be difficult to translate the front view proportions onto the side view of the head, so keep reading and learn the steps in this section.
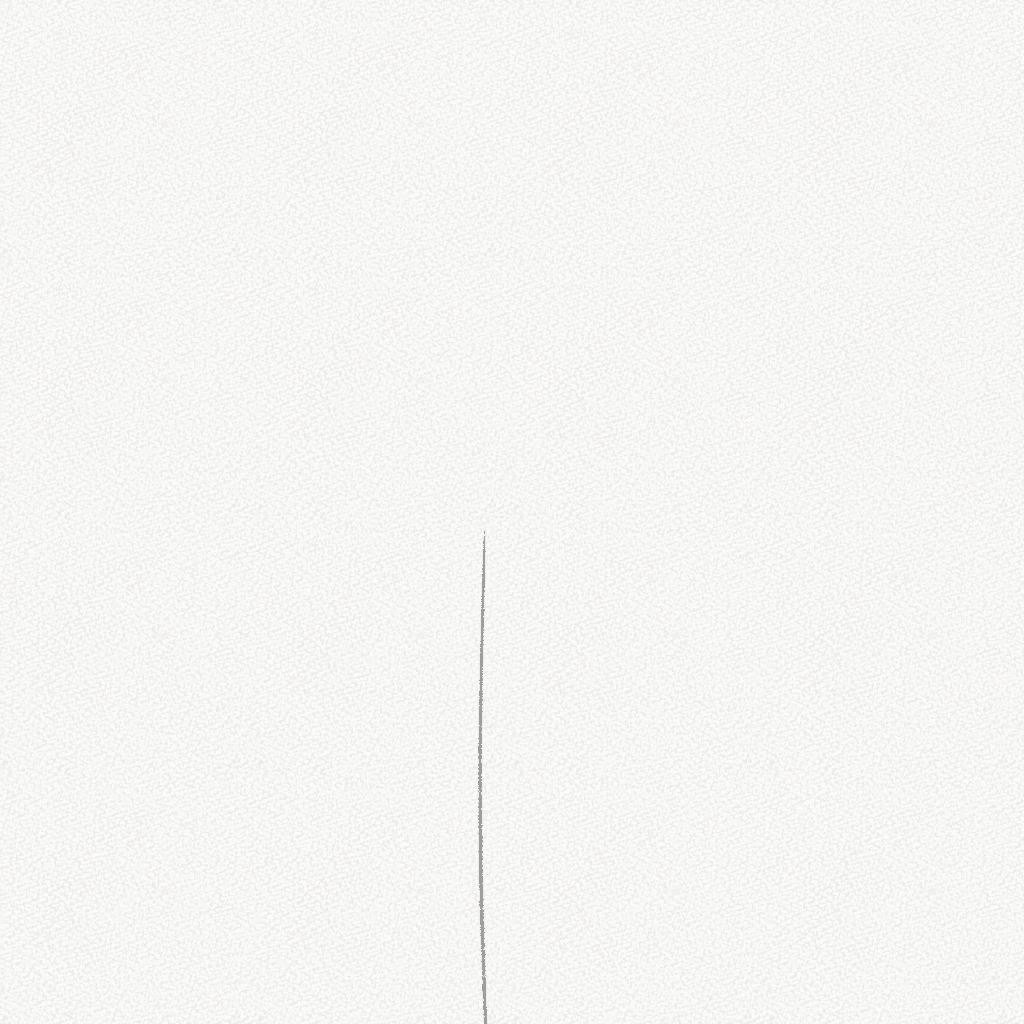
Step 1: Draw a line
For this step, we are going to use our 2H pencil. We are going to draw a line where we want the stem of our Sunflower to be. Remember sunflower stems are straight and rigid so draw a straight line and leave enough space for the flower.
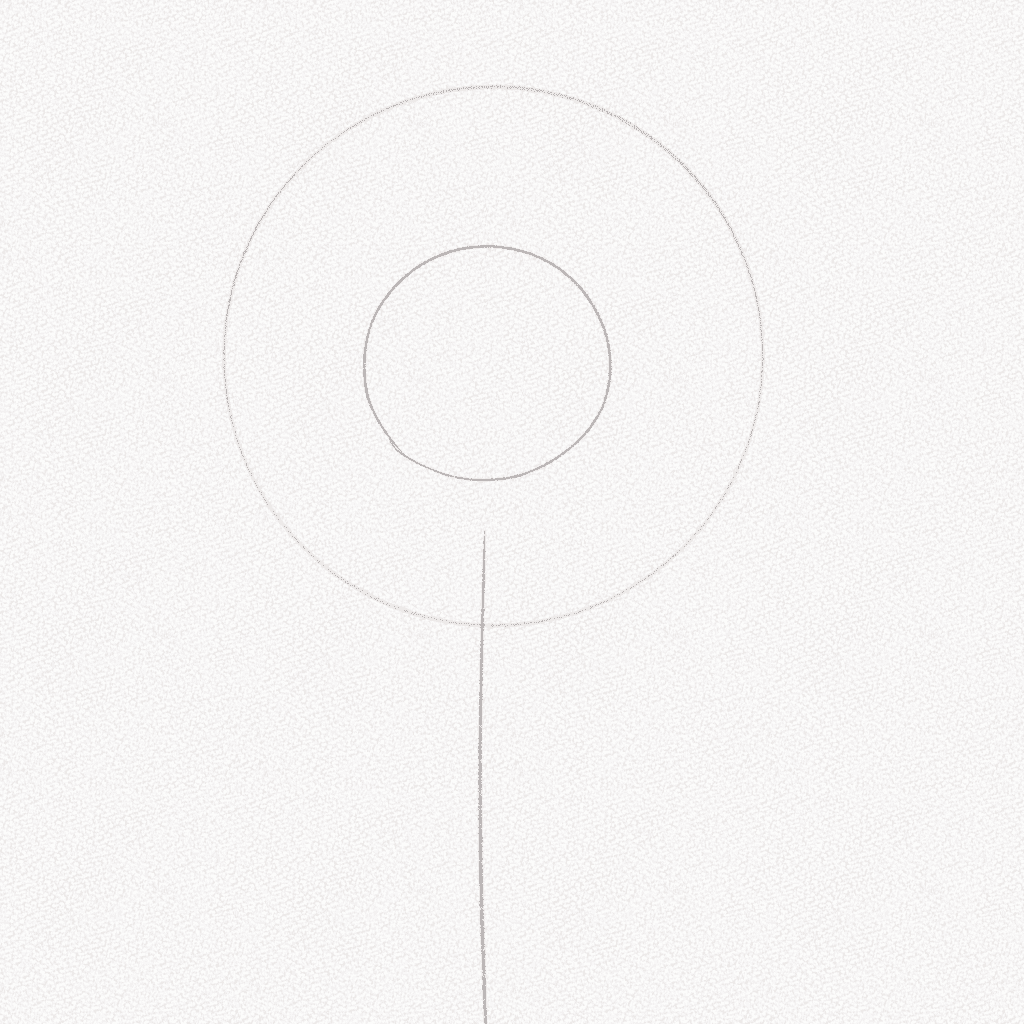
Step 2: Draw a circle
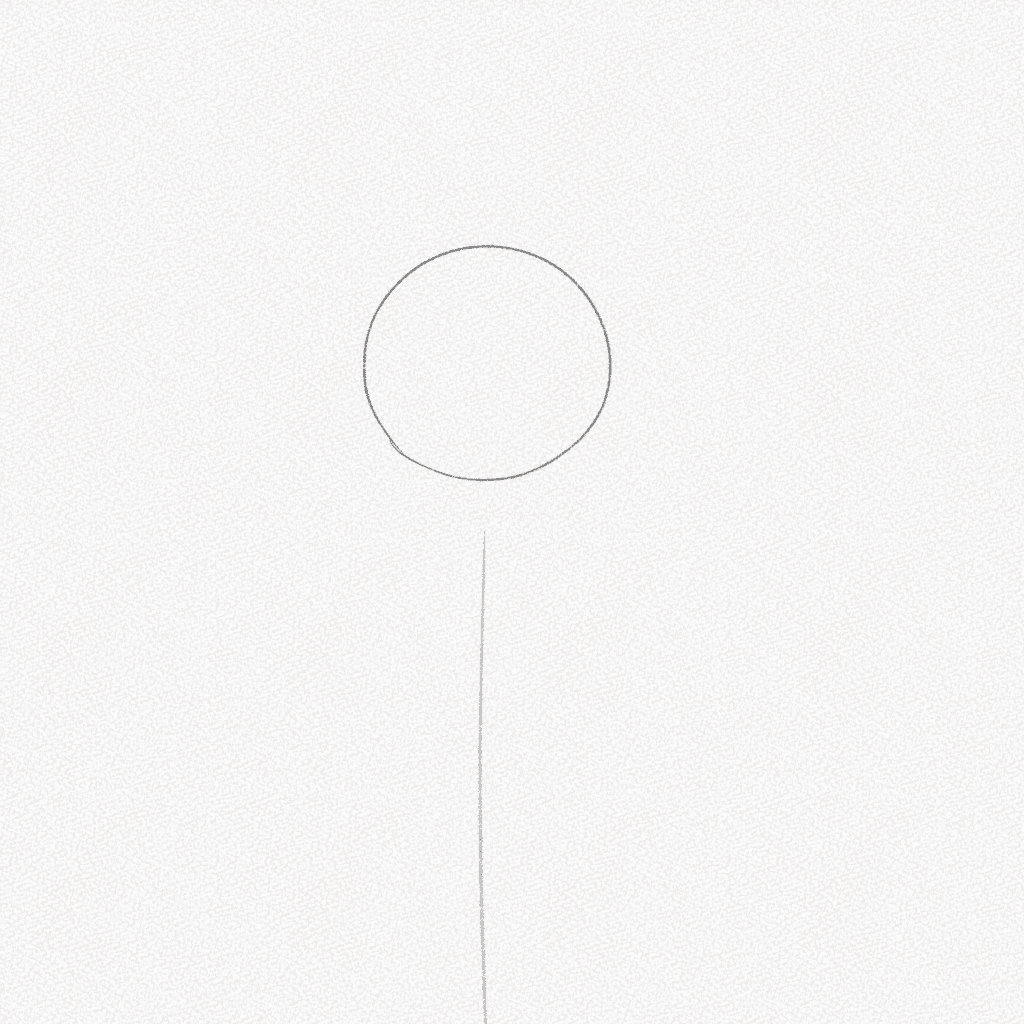
Using your compass or a circular tool, draw a circle where you want the center of your Sunflower to be. Keep in mind the sunflower center must be bigger than the petals, so don’t leave too much space between the stem and the circle.
Step 3: Draw another circle
With your 2H pencil, draw another circle around the center. This circle will be your guideline for the size of the petals. It is important to apply the least amount of pressure possible since this line will be erased later on.
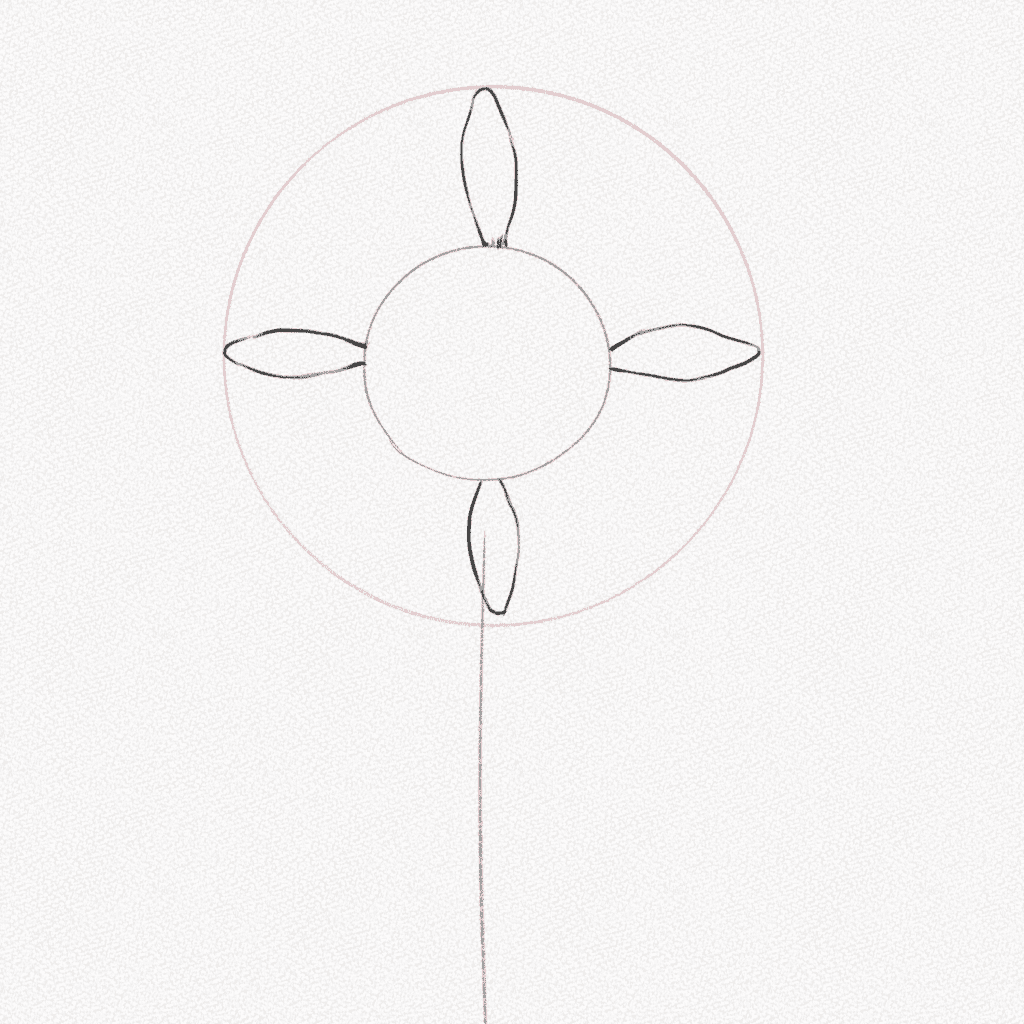
Step 4: Draw 4 petals
Draw four petals on the top, bottom, and sides of the circle.
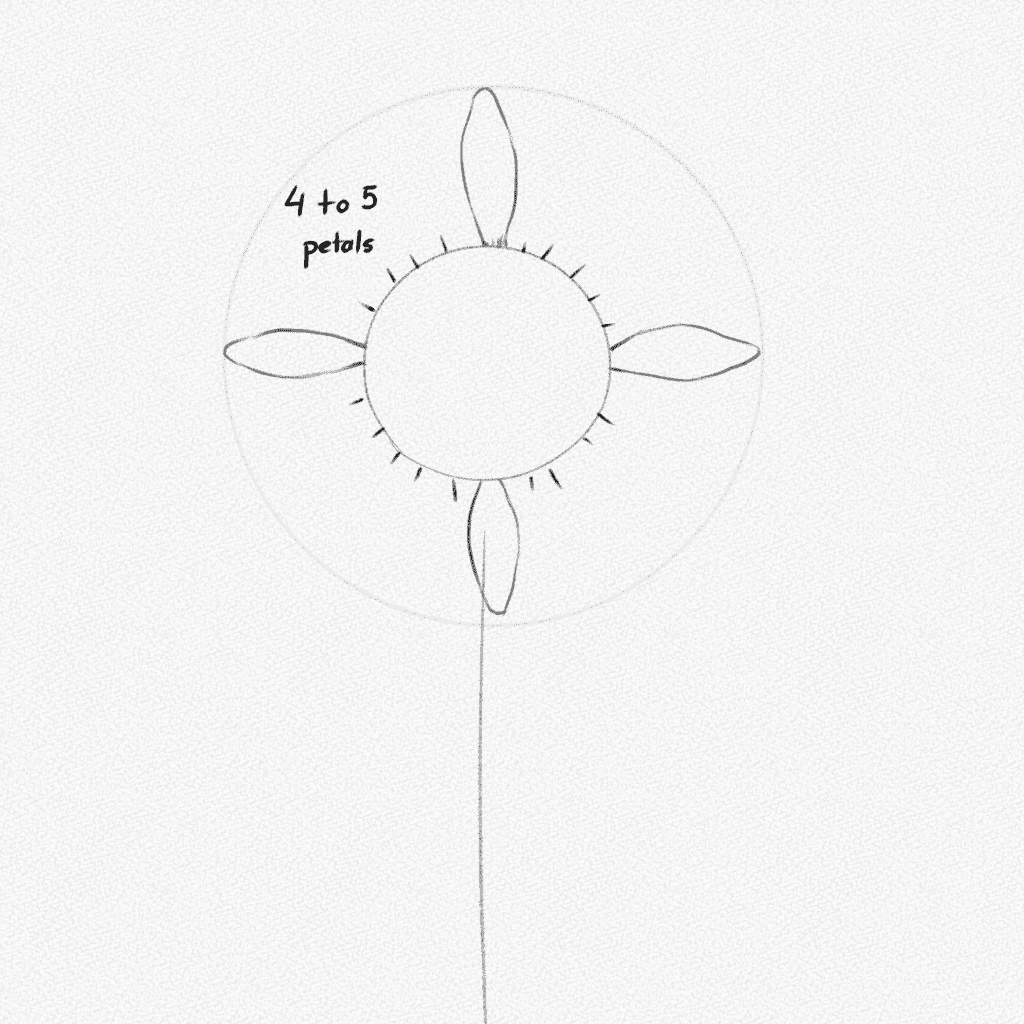
Step 5: Draw lines around the middle circle
Draw 4 to five lines around the middle circle; sunflowers don’t have a set number of petals. However, four to five is a very close approximation. Drawing these lines will ensure uniformity in the petal’s position.
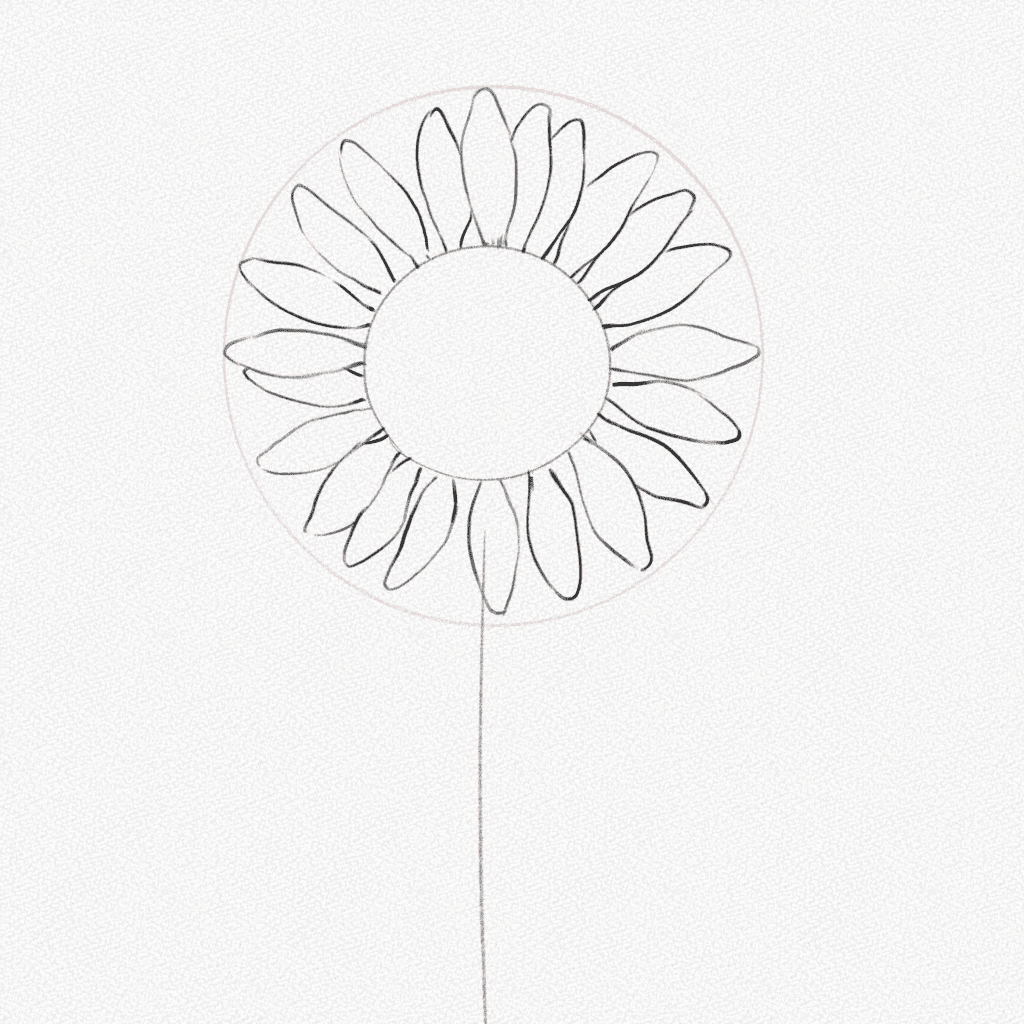
Step 6: Draw the petals
Draw the rest of the sunflower petals, make some of them closer to each other, make some overlap each other and tilt some. Petals are irregular, so be creative and vary the sizes a bit as well.
Step 7: Draw the second row of petals
Now that we have the first row of petals let’s draw the second row. Draw the visible part of the second row of petals on the free spaces behind the first row.
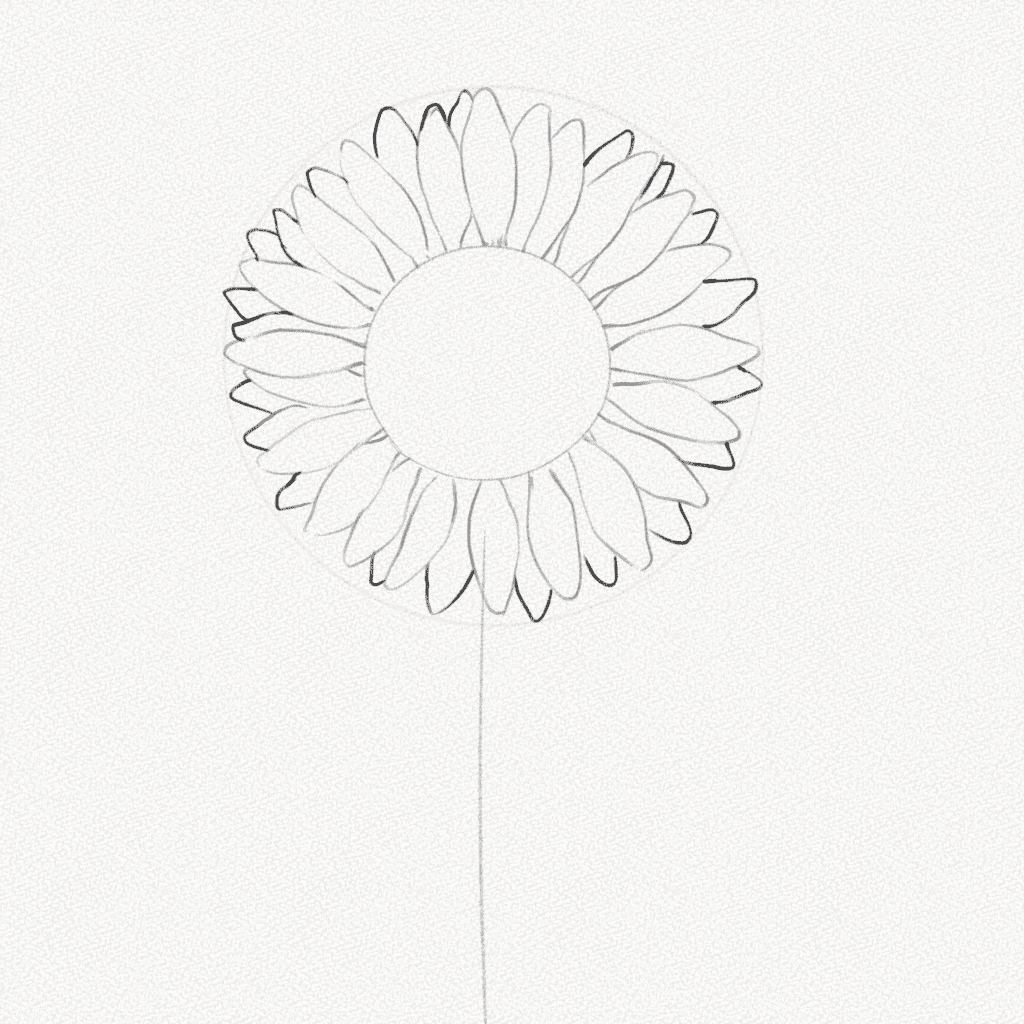
Step 8: Draw the stem
Complete the stem by drawing a second line beside the one we already drew. Remember sunflower stems are quite thick and firm so make those lines parallel and spaced enough.
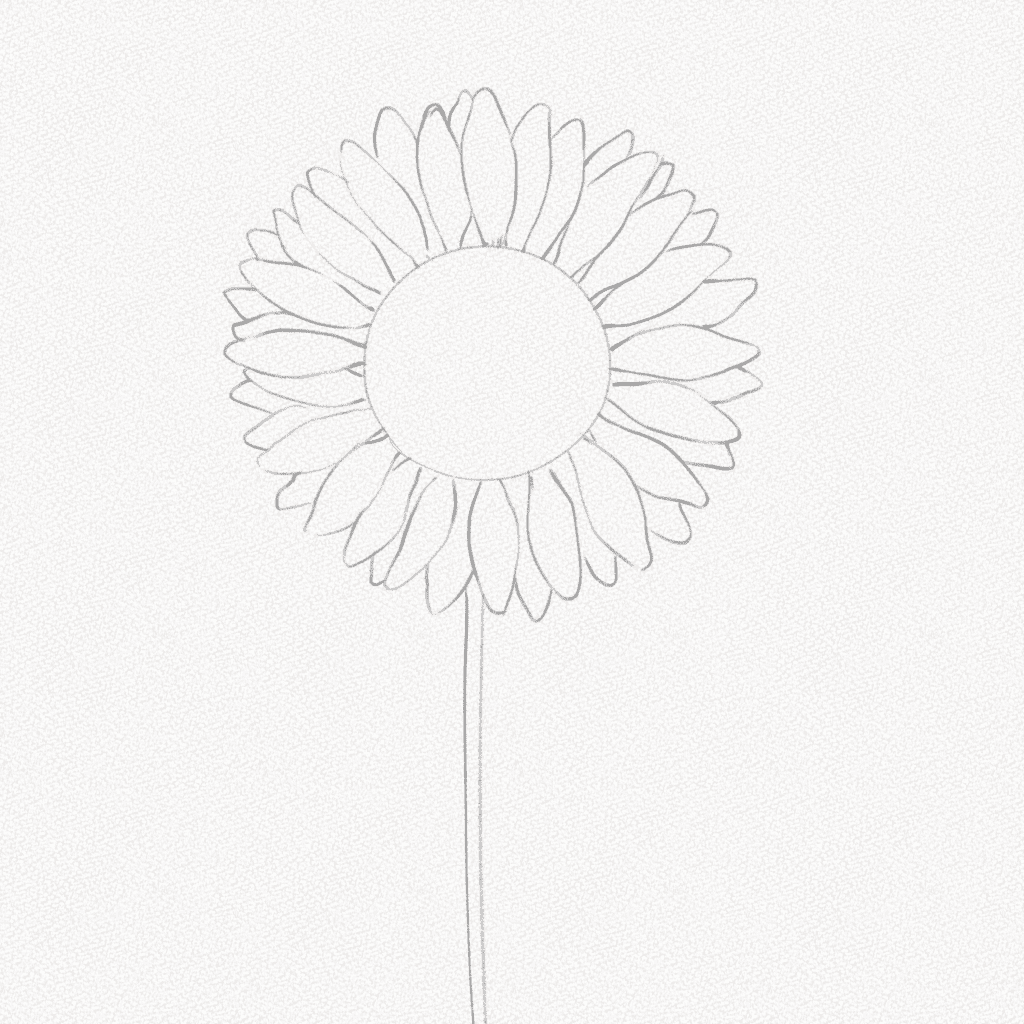
Step 9: Mark the leaves positions
Draw some small lines in the places you want the leaves to be. Make them spaced enough since sunflower leaves are pretty big.
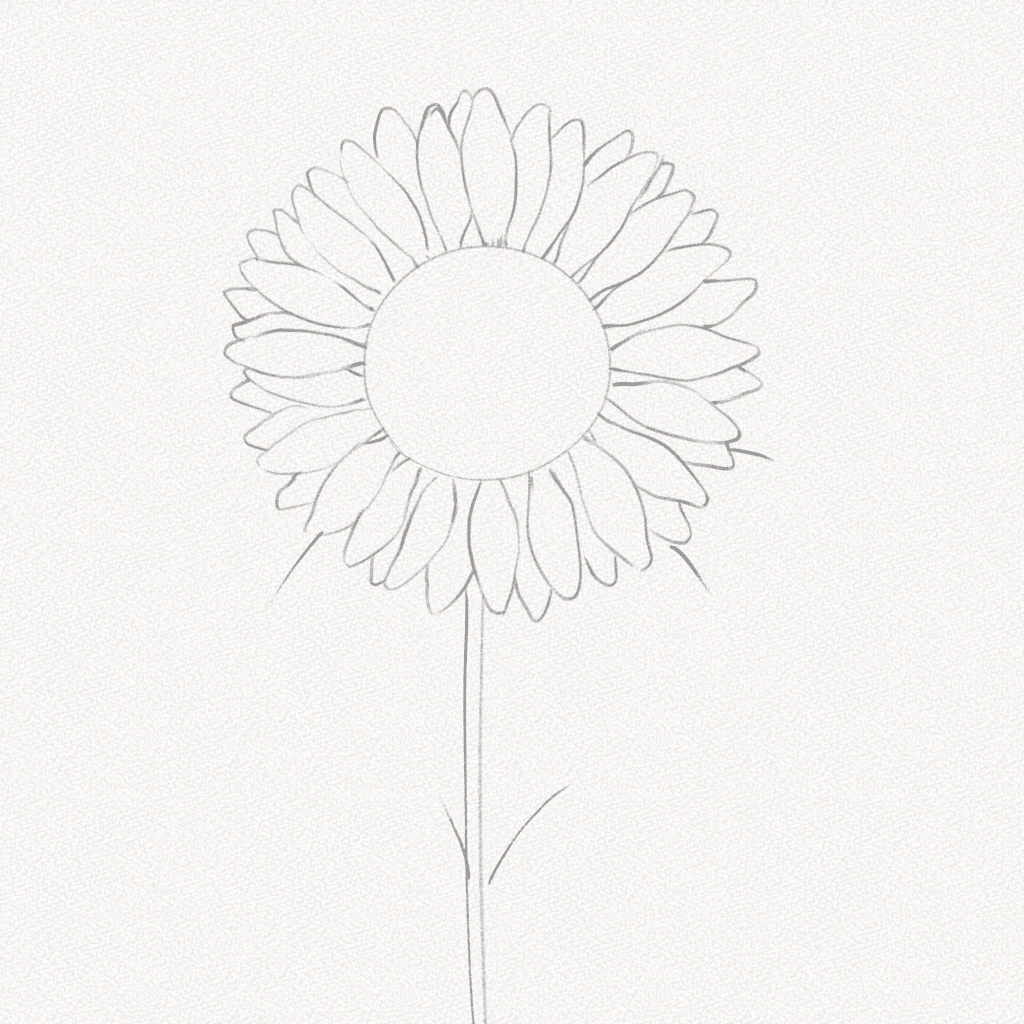
Step 10: Draw the upper leaves
Draw the leaves around the flower. These are smaller than the ones near the stem and thinner too.
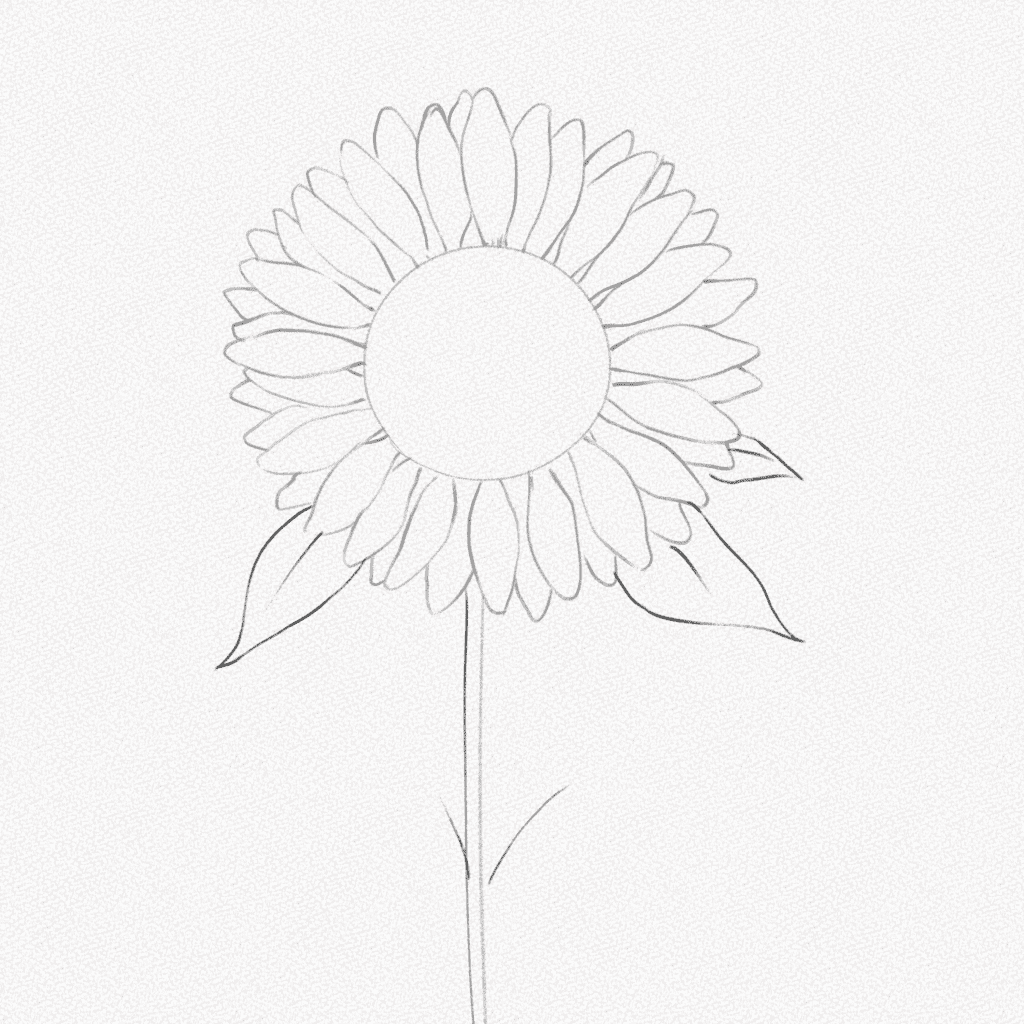
Step 11: Draw the lower leaves
The lower leaves are older, so they are more affected by gravity and are more prominent, and the shape falls naturally.
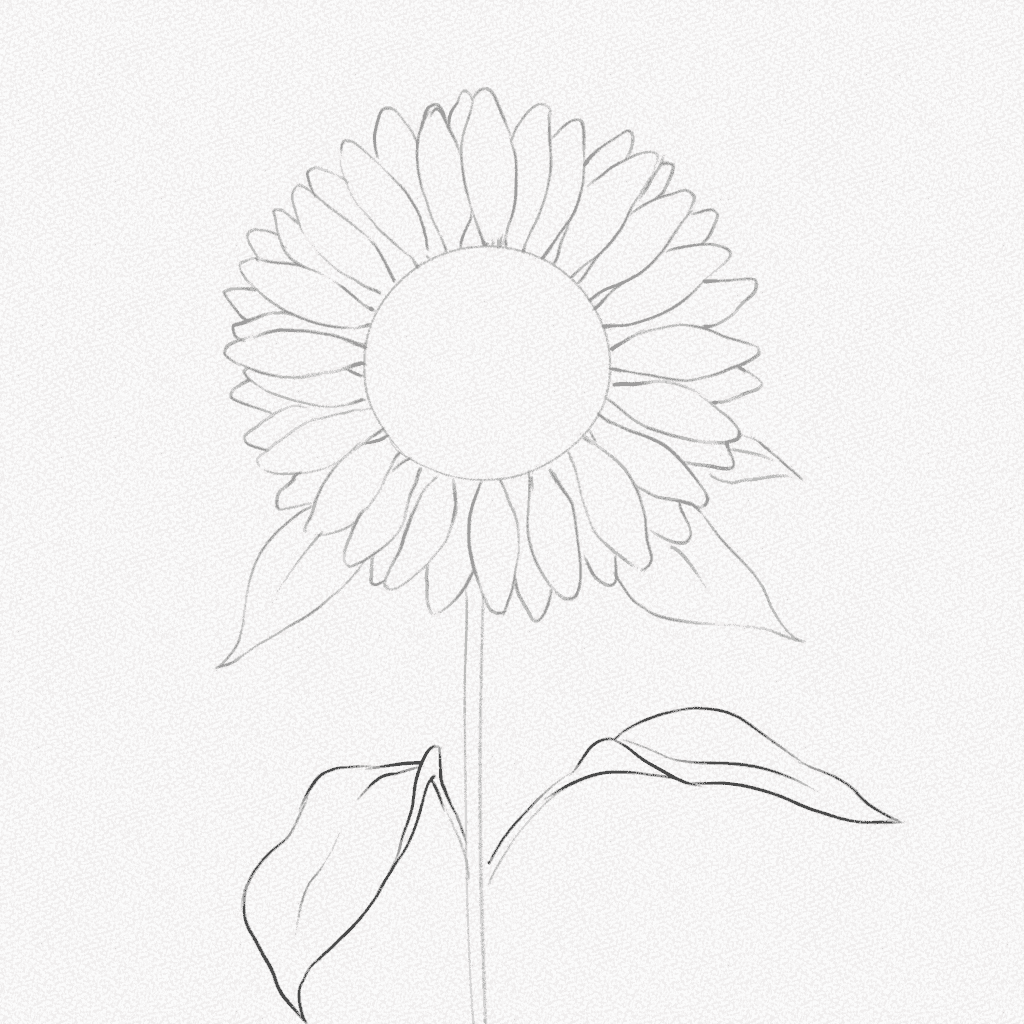
Step 12: Mark the center of the Sunflower
For this step, we will be using your 6B pencil, using small cloud-like traces for the border of the center of the Sunflower, and making sure the tip of the pencil is dull to achieve a better effect.
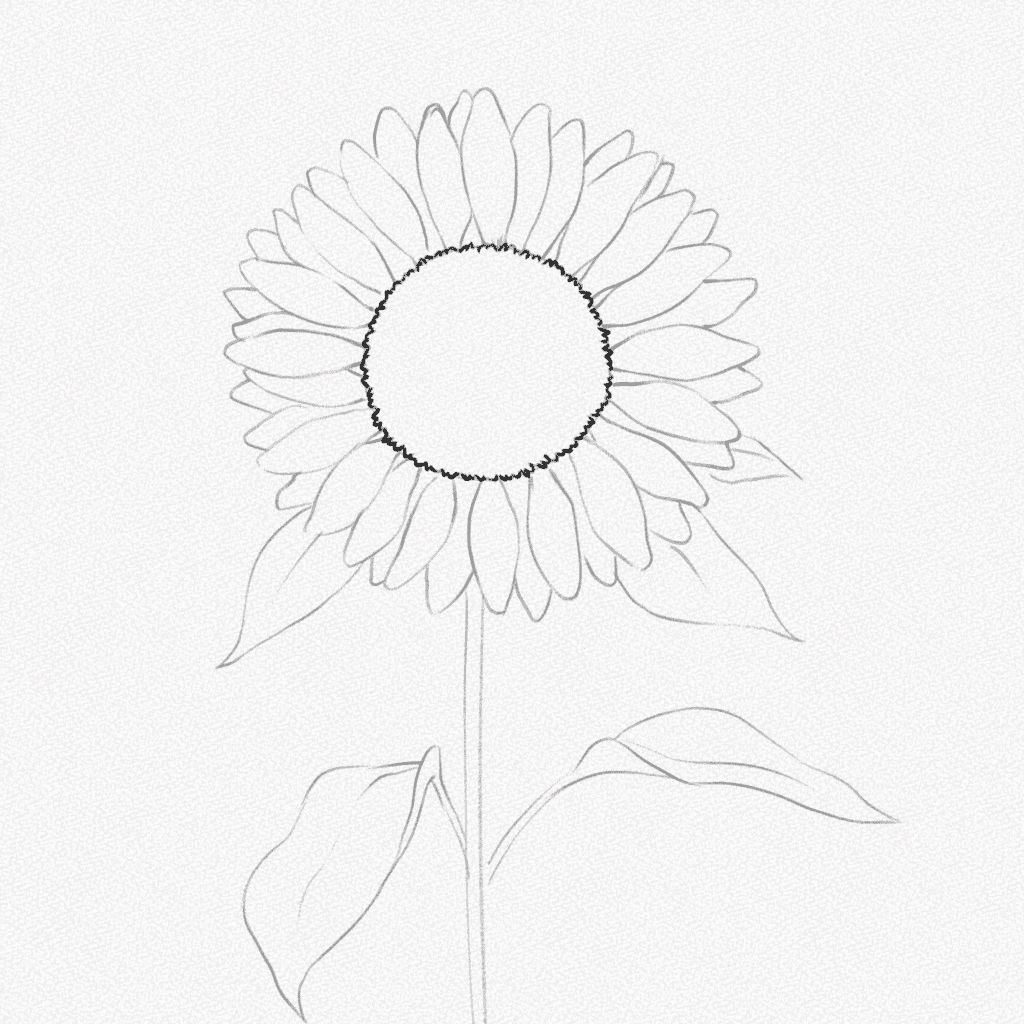
Step 13: Add some details
Sunflowers have a notorious difference of color in the center, so we are going to mark this difference by adding some cloud-like shapes in a circle.
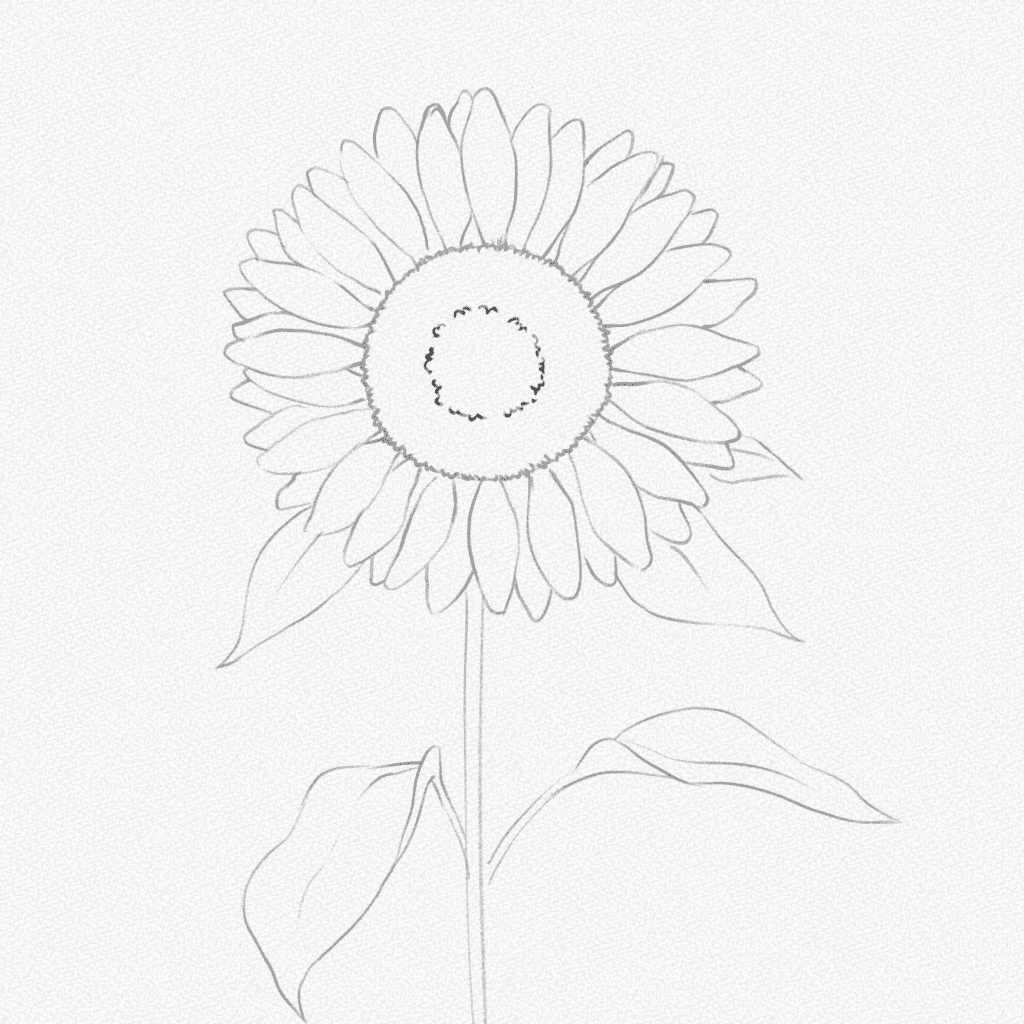
Section 2.- How to Shade A Sunflower
Step 14: Shade the center
Fill the area in between with small circular movements with your 6B pencil. Make sure to use a file or a piece of sandpaper to get the tip of your pencil thicker and flatter.
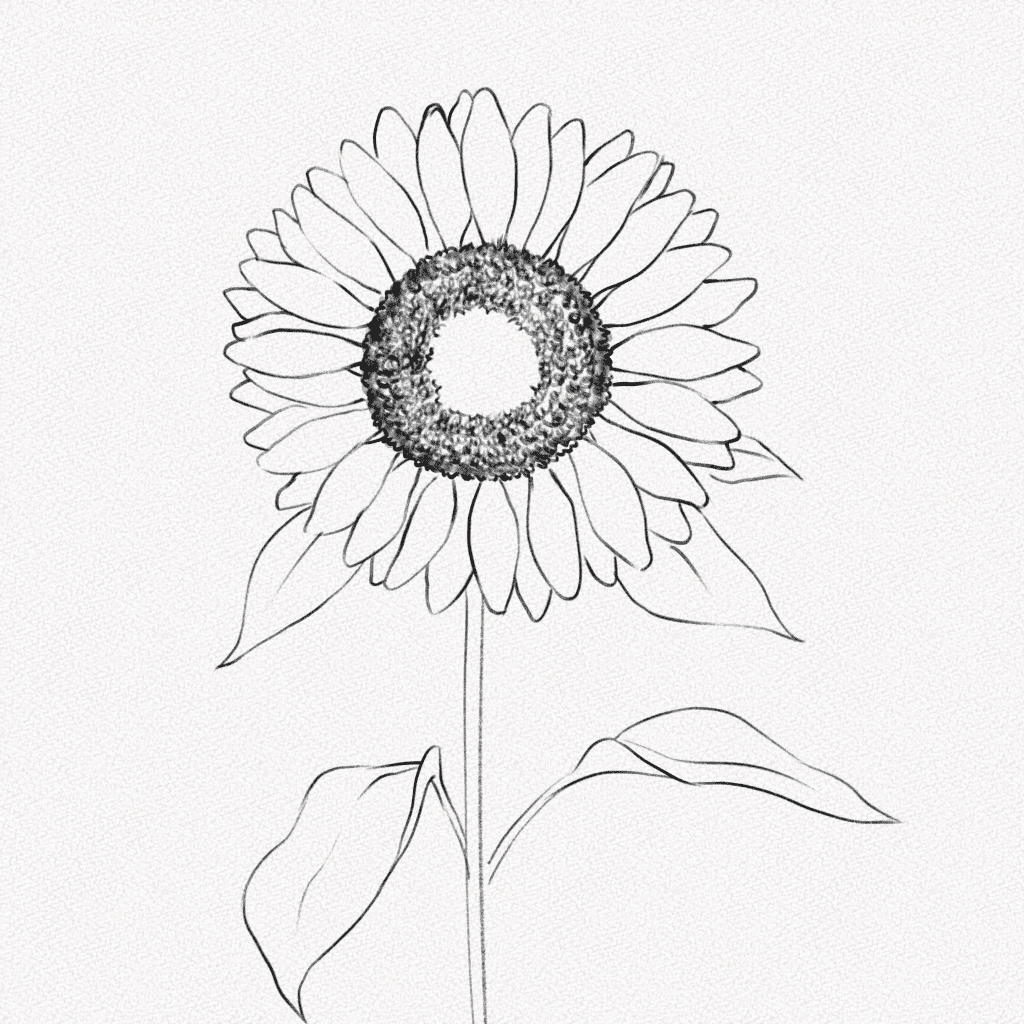
Step 15: Blend
Use your blending stump to pull some graphite from the center of the Sunflower to the petals. This will be our first layer of shading and we will build on top of it.
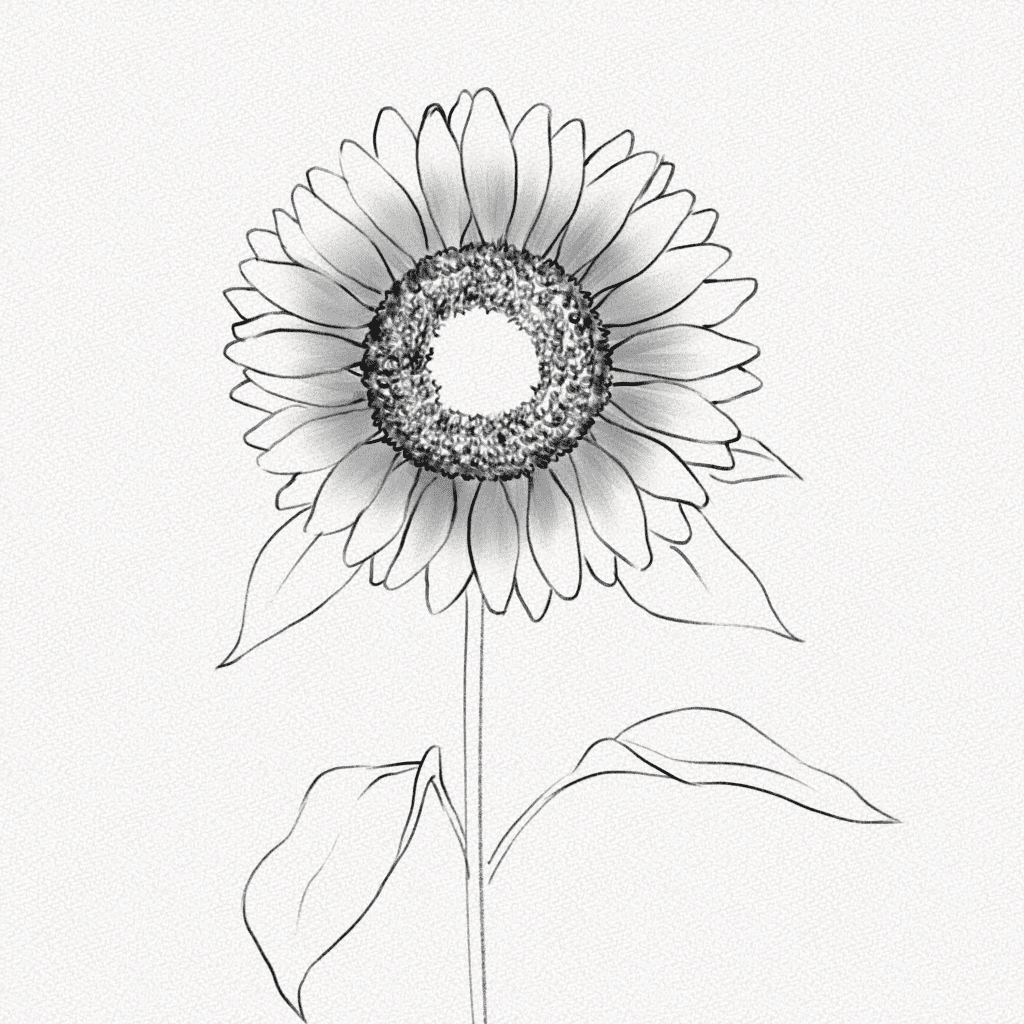
Step 16: Shade the petals
Repeat the step above. However, this time draw lines with the tip of your blending stump, emulating the petals’ folds. Use your mono-zero eraser to take away some graphite from the edges.
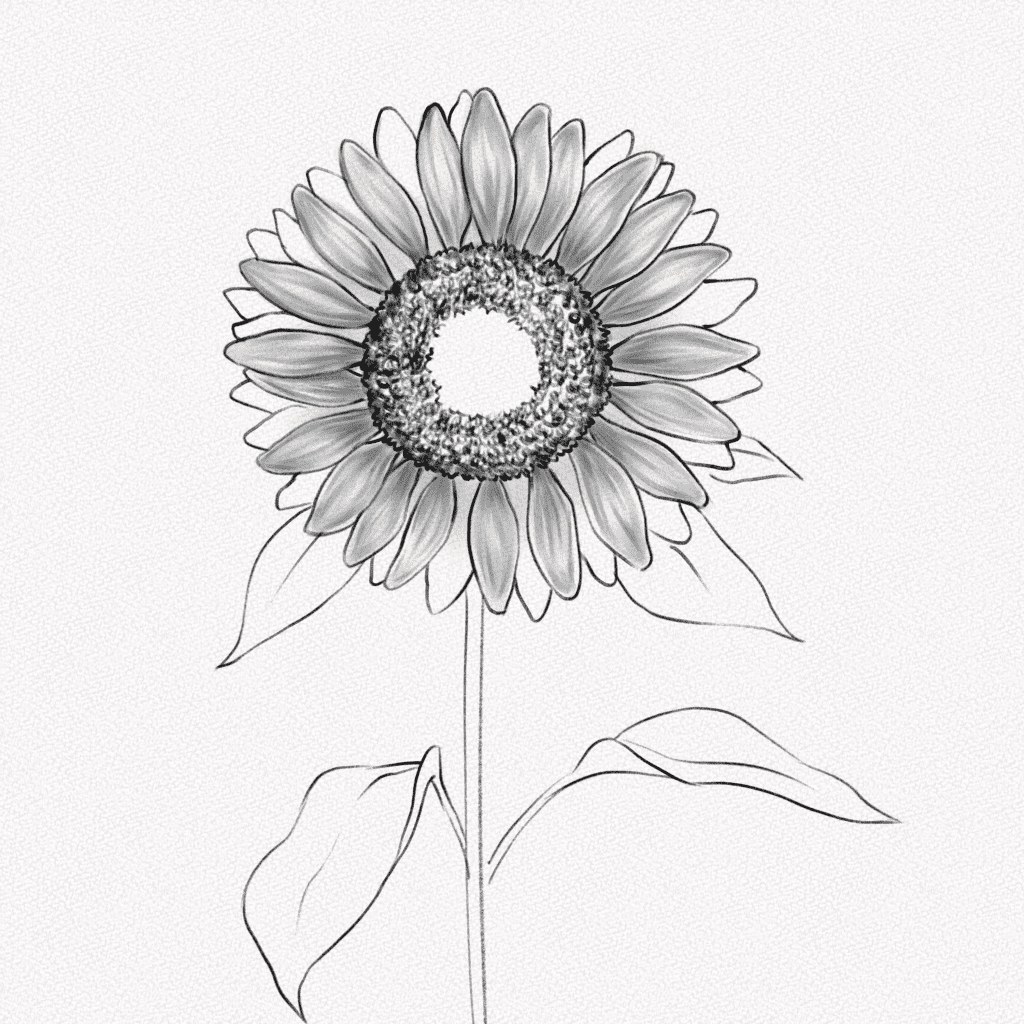
Step 17: Repeat
Do the same for the second row of petals. That area doesn’t get much sunlight, so add another layer of shading to the inner part of the petals.
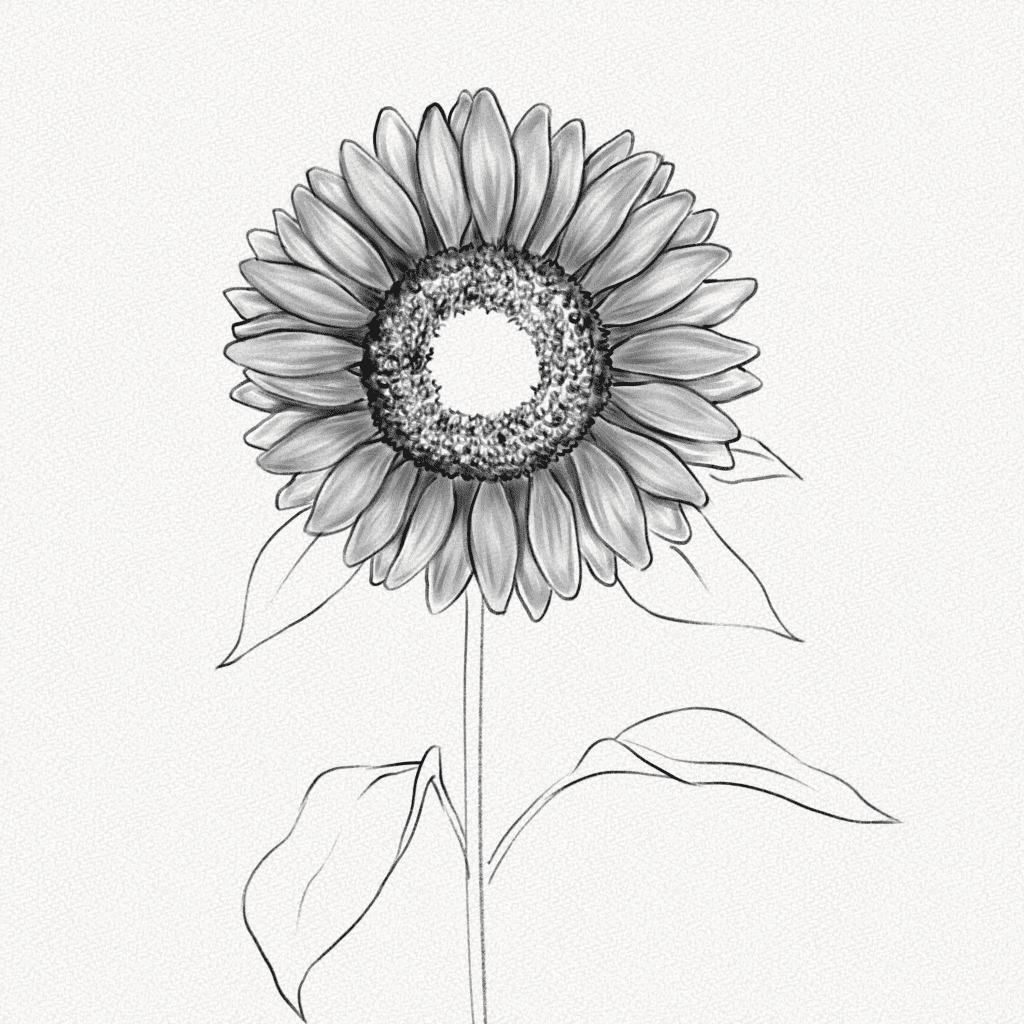
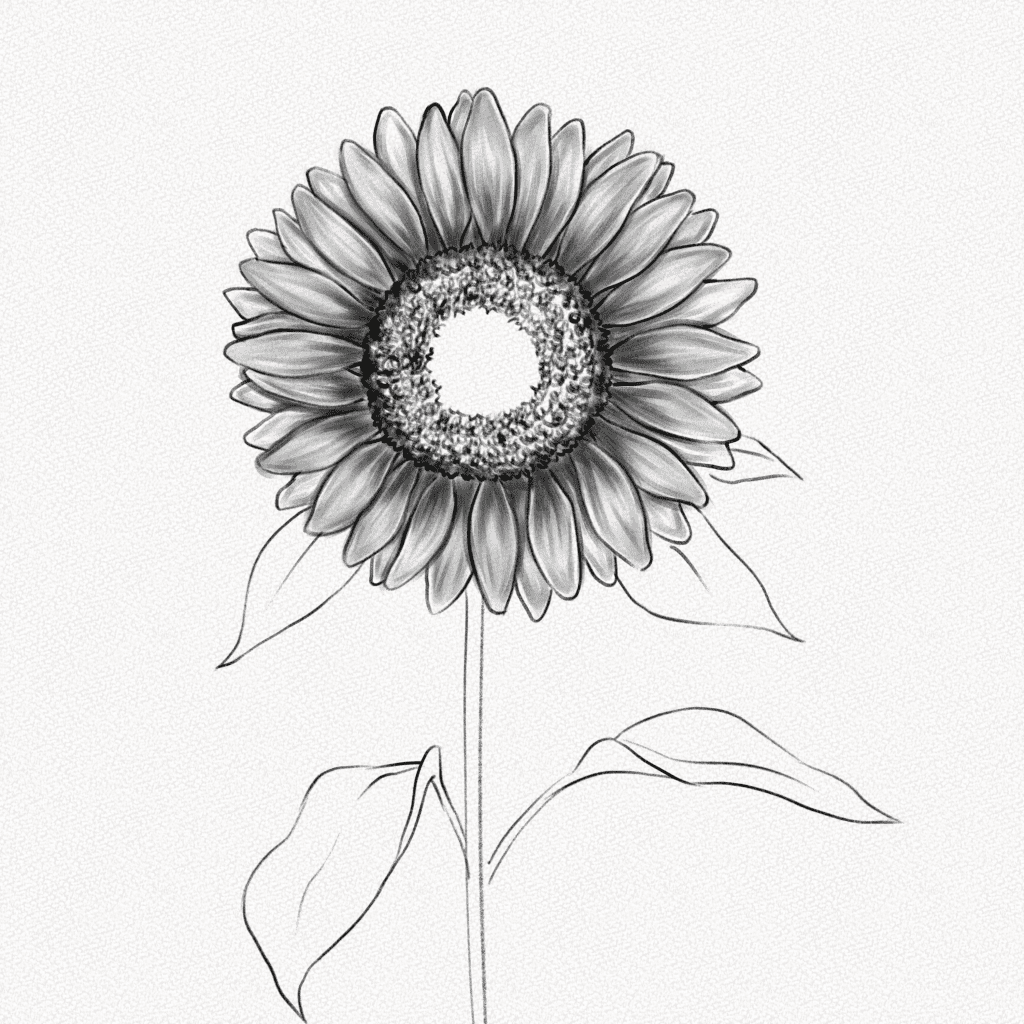
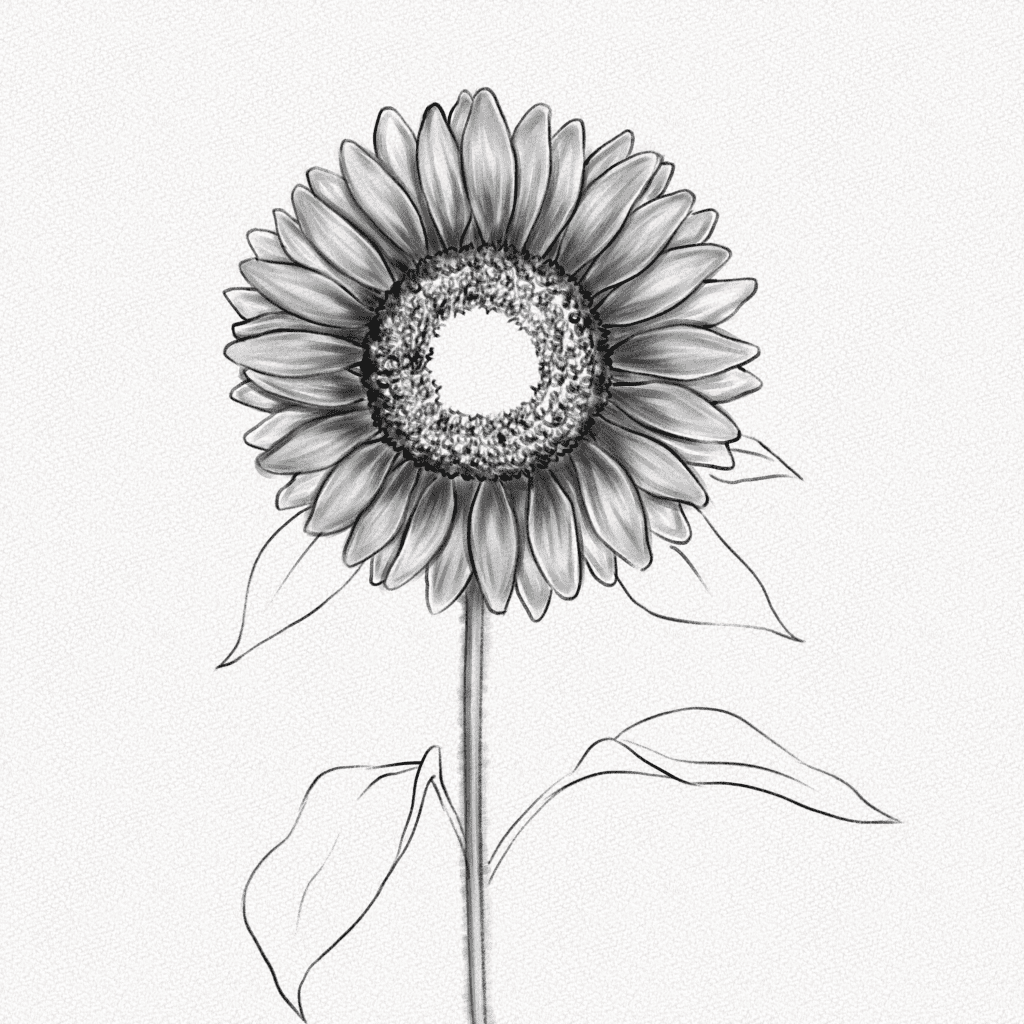
Step 18: Shade the stem
Shade the stem of the Sunflower, darkening one side more than the other. Clean your blending stump and pull some “hairs” from the stem outwards with the tip. Consider the direction of the light for this step.
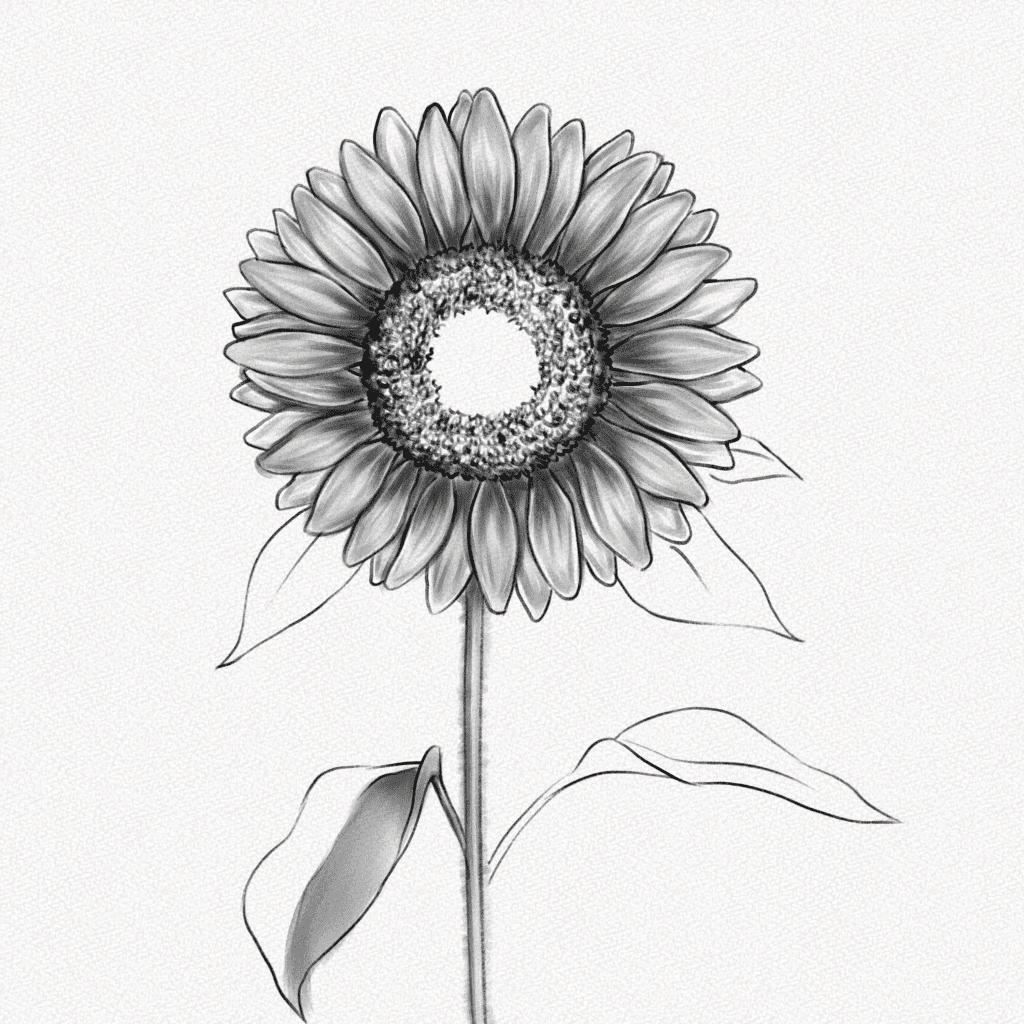
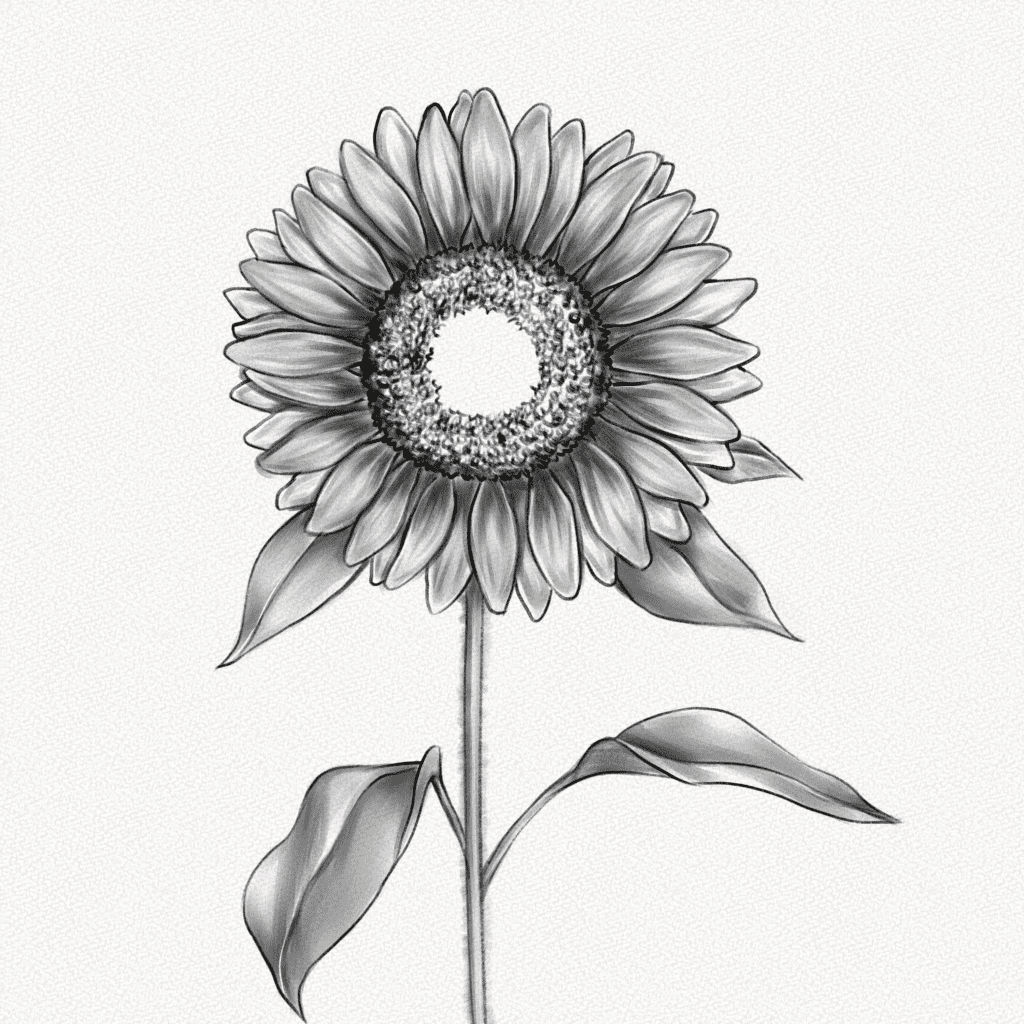
Step 19: Start shading the leaves.
Use your 2B and 6B pencil and blending stump for this step. Consider the direction of the light, the folding of the leaves, and the areas of projected shadows before you start with the shading.
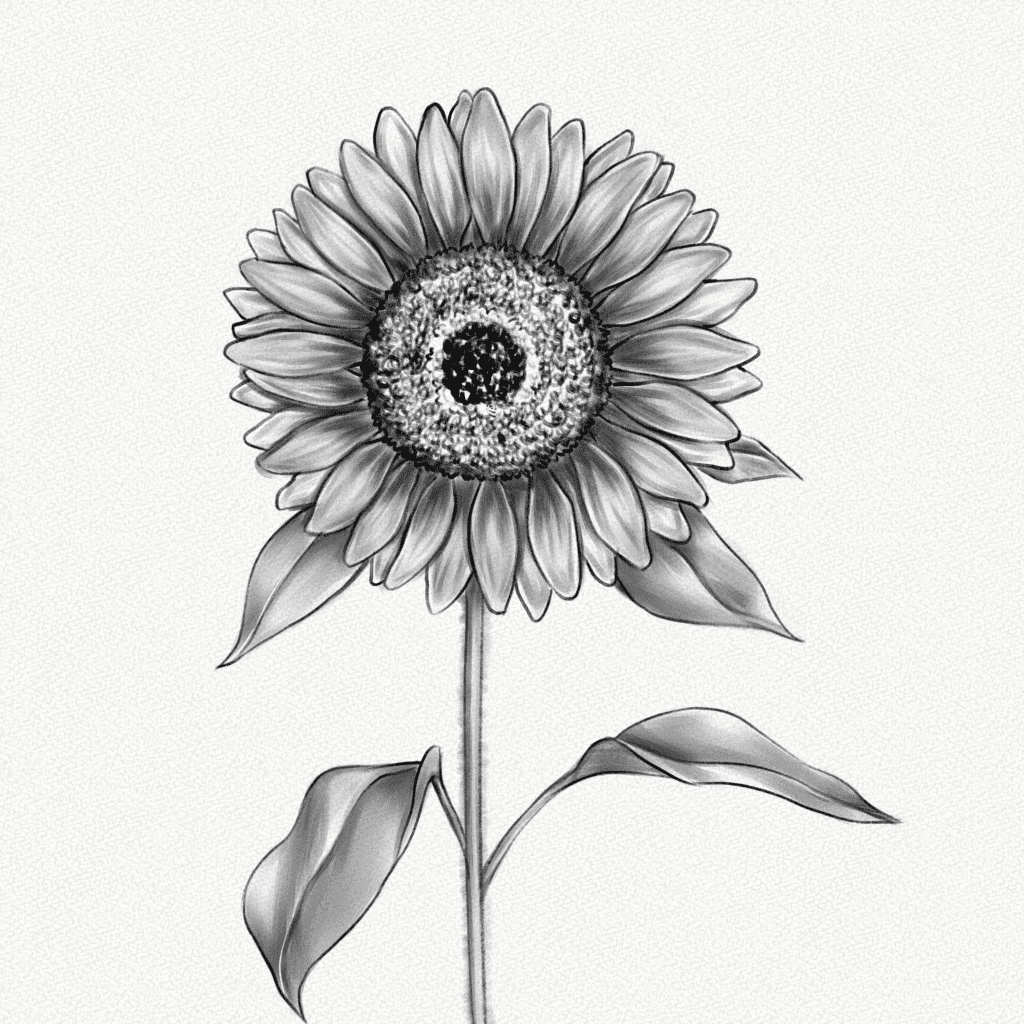
Step 20: Fill the middle area
The very middle of the Sunflower is the darkest area. Use your 6B pencil with a flat tip and build a couple of layers of graphite. Make sure to apply enough pressure to leave a very dark mark.
Step 21: Draw the veins
Use your precision eraser to draw the veins’ lines on each leaf, then use your 2B pencil to add a slight shadow next to those marks creating an engraved effect.
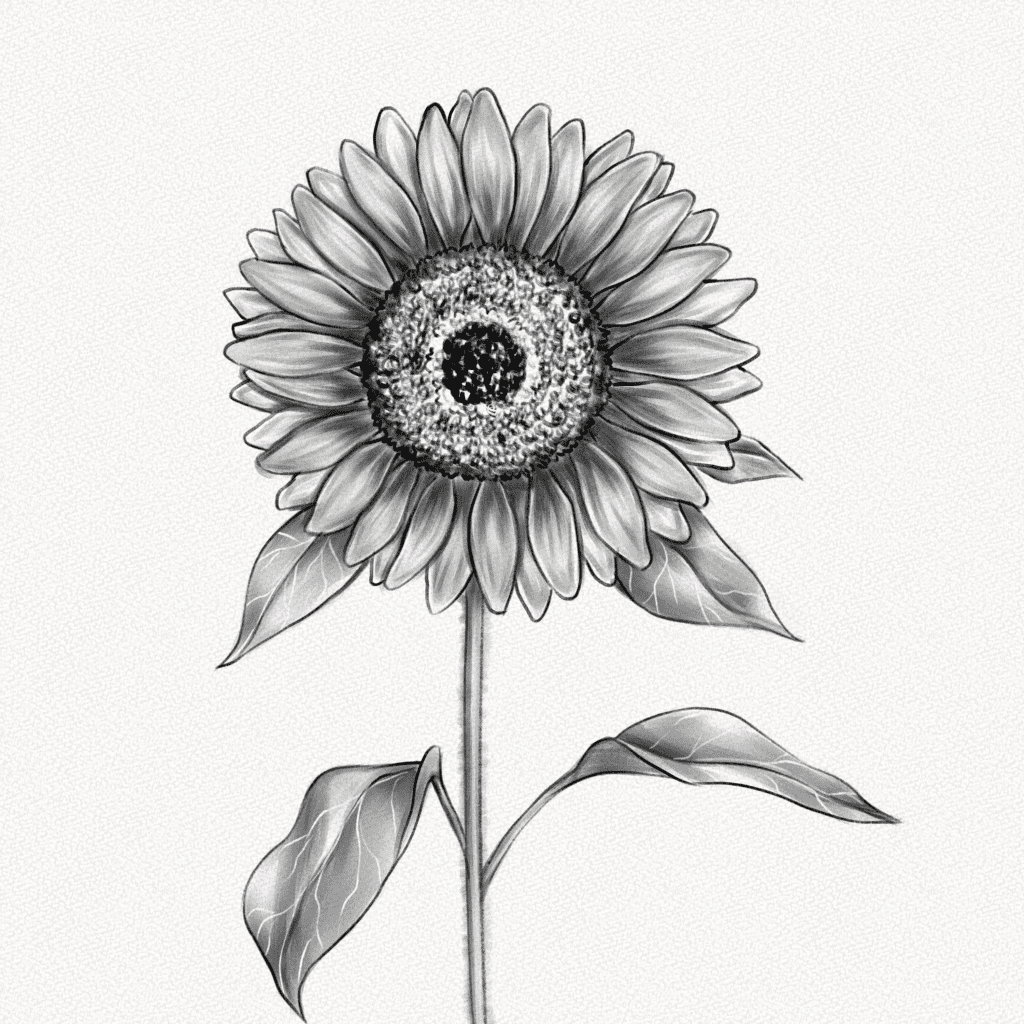
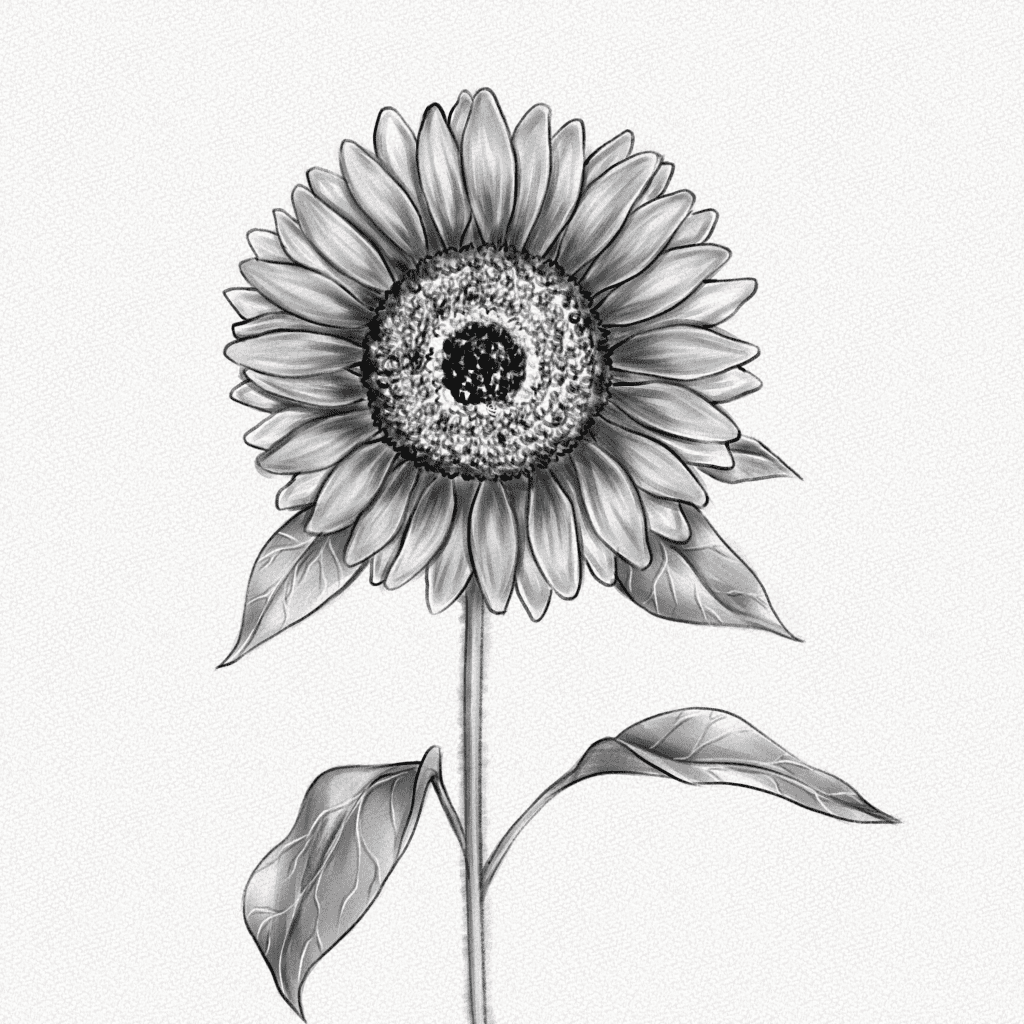
Step 22: Darken the center
Use your 6B pencil with a flat tip to make thick lines from the center of the flower toward the middle of each petal. This will add a layer of contrast to the Sunflower.

And that’s it. You’re done.
Thank you for following this tutorial. You did great!
I hope you learned something new today and now have a better grasp of drawing and shading a realistic sunflower.
Drawing flowers seems like the easiest task. However, in order to capture reality, there are many details we must pay attention to and that we usually miss. I hope this tutorial showed them and taught you some new and interesting shading techniques.
Until next time!
