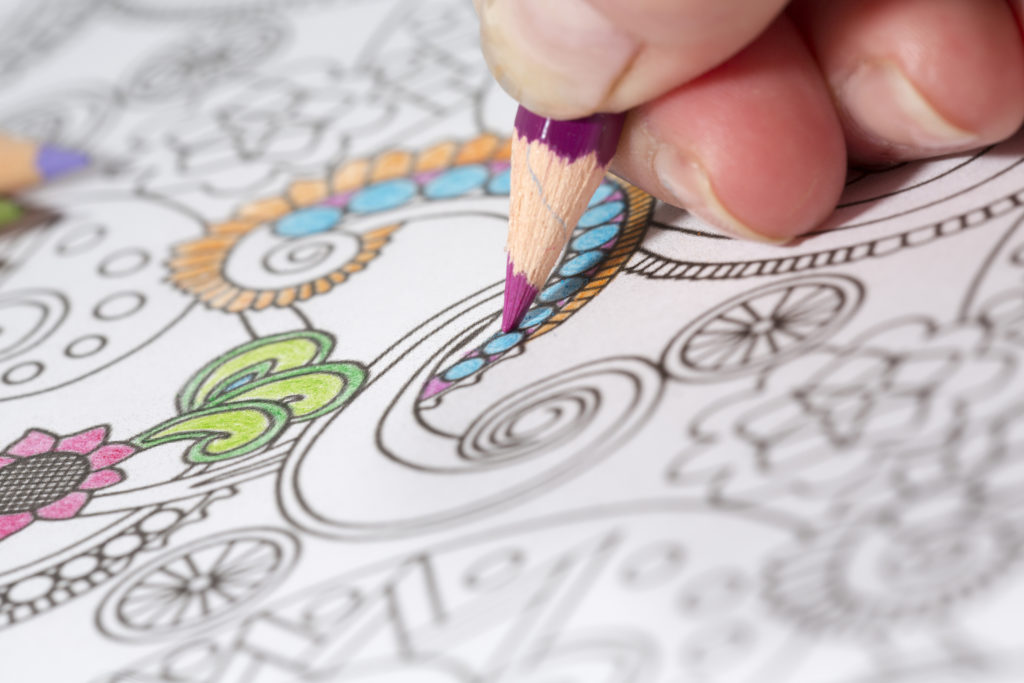
How to Color with Colored Pencils – A Brief Guide
To get the best out of your colored pencils, whether it’s to color your latest adult coloring books or to enhance your drawing skills, there are a few colored pencil techniques that can truly improve your drawing. With the proper technique, colored pencils can help artists color fine details or add more depth to drawing with the right techniques.
This basic knowledge will help artists have more control over their drawings and other artwork. Our tips below cover techniques, the best pencil sharpener for colored pencils, blending, and how important the type of paper is when coloring with colored pencils.
Colored pencils are versatile tools for creating vibrant, detailed, and layered art. Mastering their techniques, tools, and materials can significantly elevate your artwork, whether for casual coloring or professional projects. Below is a step-by-step guide to improve your skills in coloring with colored pencils.
Key Techniques and Insights
1. Materials
- Paper:
Use acid-free, medium-tooth paper for most projects to prevent yellowing and preserve colors. For detailed work, use smooth paper, while textured work benefits from cold-pressed paper. - Pencil Sharpener and Erasers:
Invest in a sharp pencil sharpener for precise tips and a kneaded eraser to reduce smudging.
2. Basic Techniques
- Pressure Control:
Light pressure produces soft tones, medium pressure offers blending opportunities, and hard pressure results in vibrant, bold colors. Adjust where you hold the pencil for optimal control. - Stippling:
Create texture or shading using small, controlled dots. - Back-and-Forth Stroke:
Consistent, straight strokes are ideal for even shading and blending.
3. Advanced Techniques
- Hatching and Cross-Hatching:
Use parallel lines (hatching) or intersecting lines (cross-hatching) to add depth and texture. - Scumbling (Layering):
Circular motions help fill large areas and create smooth, even color blends. - Blending Techniques:
- Dry Blending: Use a colorless blender or paper towel for seamless transitions.
- Wet Blending: Apply baby oil, rubbing alcohol, or mineral spirits with a brush for painterly effects.
Conclusion
Mastering colored pencil techniques like stippling, hatching, scumbling, and blending can transform your artwork. Experiment with different materials and methods to discover your unique style, whether working on realistic shading, bold illustrations, or textured compositions.
Colored Pencil Art
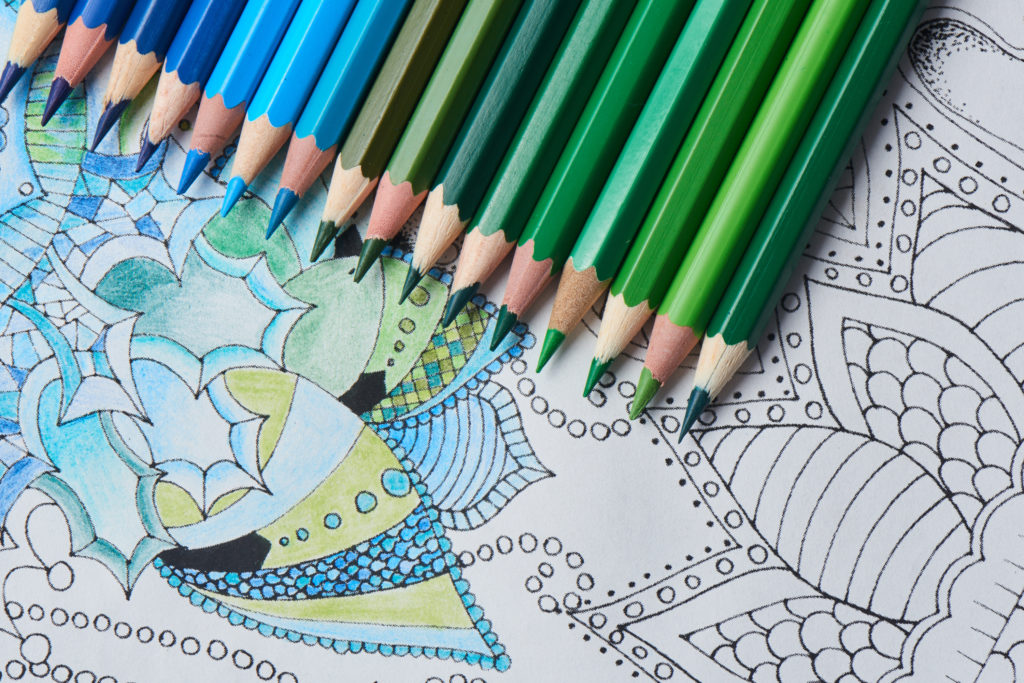
Before we get started talking about colored pencil techniques, we should cover some helpful tips to keep in mind.
Paper
Most art supply stores have such a variety of paper that it might not be obvious which would work best for a colored pencil drawing. Most coloring pages in a coloring book aren’t acid-free, meaning that they will become yellow over time, which will change the colors of your artwork.
The right paper to use with colored pencils starts with acid-free paper made out of pure cotton. While there is an extra cost, this type of paper is perfect for serious colored pencil artists looking to sell their art or gift it to loved ones.
The texture of the paper is another crucial detail to consider and is commonly called tooth of the paper. Some white paper has less texture, while watercolor paper has different grades of tooth to absorb the water better. If using watercolor pencils, a thicker tooth paper would be necessary.
Overall the most widely used paper for colored pencils is a medium tooth, cold-pressed paper. Although, for more realistic colored pencil work, many artists prefer smooth white paper to create specific blending and shading techniques.
Eraser and Sharpener
Using a kneaded eraser will reduce smudging, and the best pencil sharpener is a matter of personal choice. The most important tip is to ensure the sharpener isn’t dull.
A dull sharpener wastes valuable pigment and may ruin the pencils themselves. A sharp colored pencil can create fine details and fine parallel lines and helps create the hatching techniques described below.
Different Colored Pencil Techniques
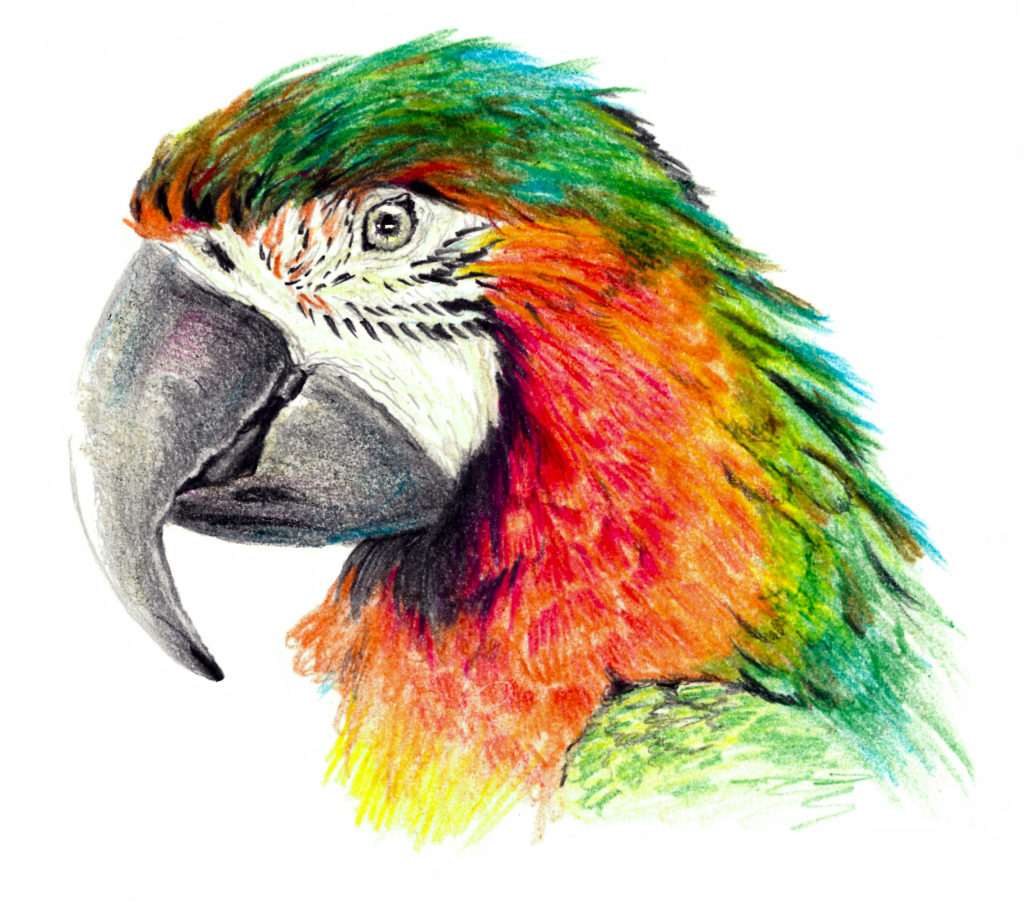
There are five main colored pencils techniques used for drawing or coloring in a coloring book. See if you can find some of the techniques in the drawing above.
Pressure
There are three different types of pressure commonly used with colored pencils. Either the fine point of the pencil or the body to produce light, medium, or hard pressure. A bit lighter pressure will draw lighter colors and lighter lines, and the same goes for medium and hard pressure.
Where you hold the colored pencil is vital as holding it further away from the tip will help draw lighter lines, while holding it closer to the tip naturally causes the artist to create darker shades.
It’s important to remember the light source when using pressure techniques. The area the light hits will be lighter, while the shadow area will be darker, creating a light and dark contrast. Mastering pressure is the first step in learning any of the techniques below.
Stippling
Stippling is a technique used to create texture by drawing small dots. The dots can either be next to each other or close together or made with a sharp or dull tip or for a varied effect. This colored pencil technique can be used to create shading.
Back and Forth Stroke
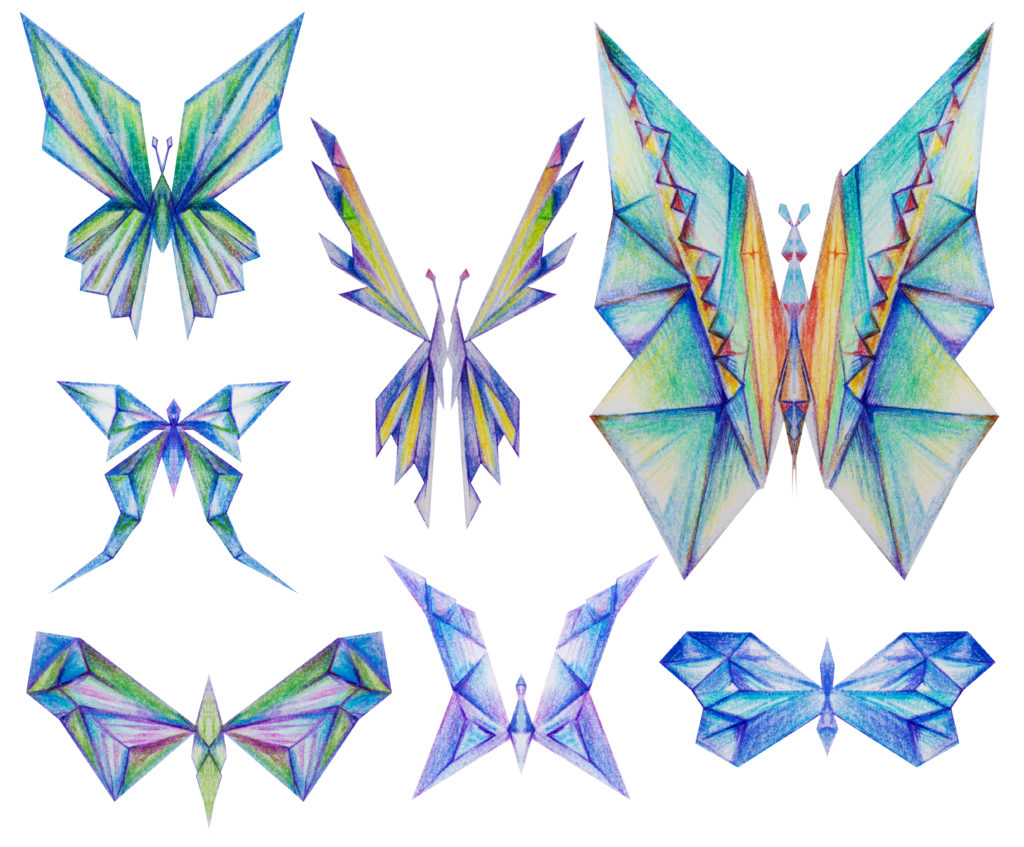
Useful for shading, blending, or layering, the back and forth stroke is a versatile colored pencil technique that involves drawing back and forth on the paper in a controlled motion.
Hatching / Blending
Hatching is simply drawing parallel lines either next to each other or spaced apart. Heavy pressure can be applied with the pencil for shadows or dark tones. Light pressure can draw light to dark contrast, depending on the effect desired.
Cross-Hatching / Shading
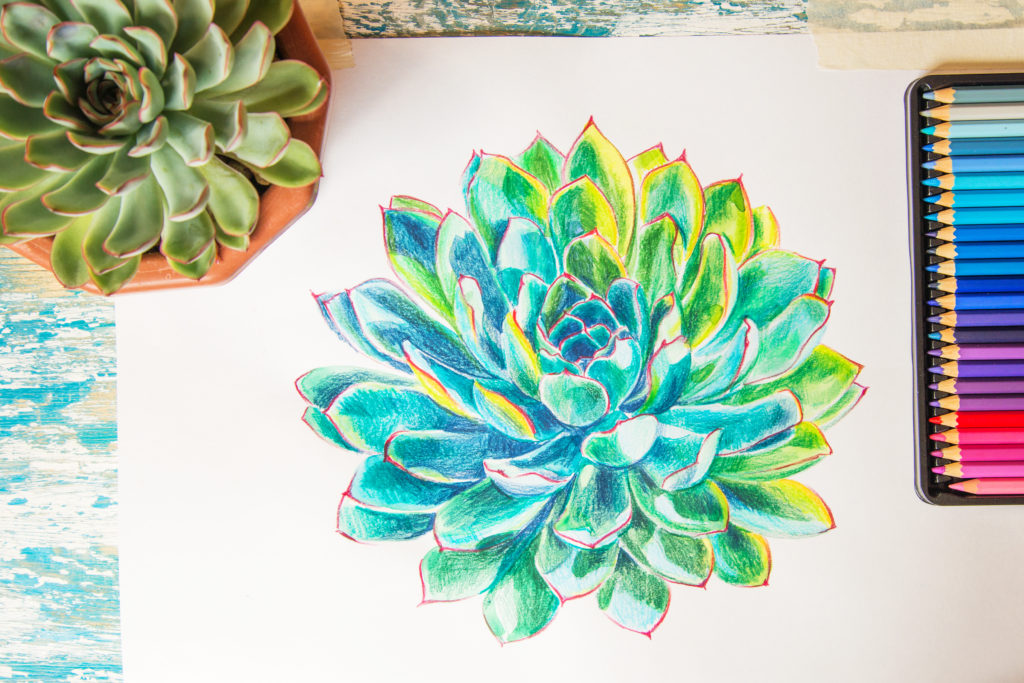
Cross-hatching draws parallel lines, one on top of the other in opposite directions. Multiple layers can be added to the drawing to create a shadow. This technique is primarily used for shading and can create darker or lighter shades depending on the pressure.
The key to producing this effect is to move the pencil in the opposite direction with as much pressure as necessary for the specific result. Including contrasting colors by using layers in lines can also create an interesting fill for a larger drawing.
Scumbling / Layering
Mainly used to create layers, scumbling is coloring in small or large circular movements, all in the same direction. This technique can be most helpful to fill a large area of a drawing with one color.
Colored Pencil Blending Techniques
Experimenting with blending techniques can be fun and enhance a colored pencil drawing. Note that using the right paper for wet blending is essential not to cause the paper to tear.
Dry Blending
To accomplish this technique, either a paper towel or a colorless blender will suffice. Colorless blenders are pencils without pigment used for dry blending wax-based colored pencils.
Paper towels or the colorless blender are useful for blending each pigment to create a smooth transition between colors. The effect can resemble paintings in other mediums.
Wet Blending
Like watercolor pencils in their blending effects, the wet technique uses baby oil, mineral spirits, or rubbing alcohol to make the wax-based pencils easier to blend. After finishing applying the colored pencil pigment to the paper, apply the liquid used to blend pigment to the paper with a small paintbrush and combine the other colors.
Note, if using oil-based colored pencils, you should only use an oil-based blending liquid for more smooth shading.
Conclusion
We hope you found this colored pencils article helpful. Mastering these techniques can make any colored pencil drawing come to life.
